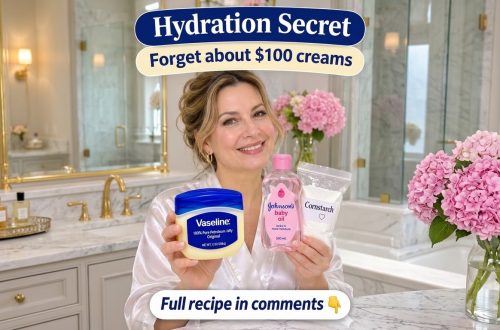
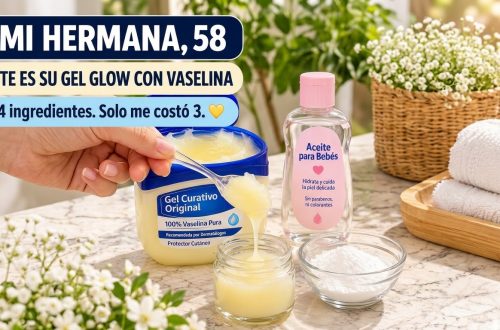
Are you dreaming of waking up to beautifully hydrated, glowing skin? We all wish for that radiant complexion without breaking the bank or spending hours on complicated routines. The good news is, achieving that coveted overnight glow might be simpler and more affordable than you think!
Today, we’re diving into a fan-favorite DIY beauty secret: the Overnight Collagen Gel. This nourishing concoction, often starring a household staple, can transform your skin, leaving it plump, smooth, and incredibly soft by morning. Forget expensive serums; your secret weapon for beautifully hydrated skin is just a few steps away.
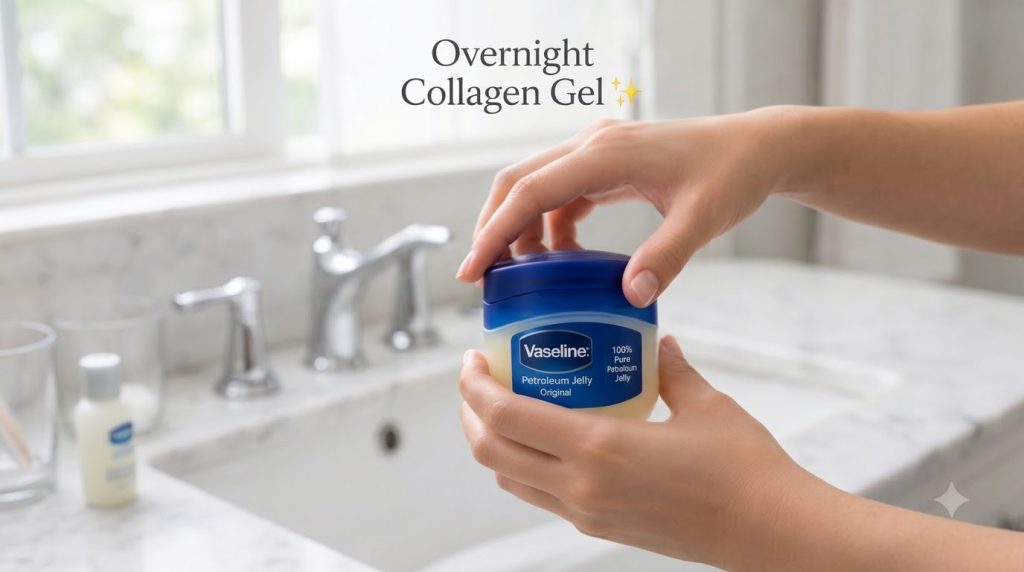
What is the DIY Overnight Collagen Gel?
Despite the name, this DIY “collagen gel” doesn’t contain actual collagen, but it works wonders by creating an optimal environment for your skin’s natural repair and rejuvenation processes. The star ingredient often used is petroleum jelly (like Vaseline), which acts as an occlusive barrier. This means it seals in moisture, preventing water loss from your skin throughout the night. When combined with other nourishing natural ingredients, it helps your skin appear plumper, smoother, and more youthful, mimicking the visual benefits of boosted collagen.
Why Petroleum Jelly?
- Intense Hydration: It locks in existing moisture, making it incredibly effective for dry or dehydrated skin.
- Skin Barrier Protection: It creates a protective layer, shielding your skin from environmental stressors and supporting its natural barrier function.
- Affordable & Accessible: A common household item, it’s an incredibly cost-effective beauty solution.
- Non-Comedogenic: For most skin types, it’s non-pore-clogging when used correctly, making it suitable even for those concerned about breakouts.
How to Make Your Own Overnight Collagen Gel
This recipe is designed to be simple and customizable. Always start with clean hands and sterilized containers to prevent contamination.
Ingredients You’ll Need:
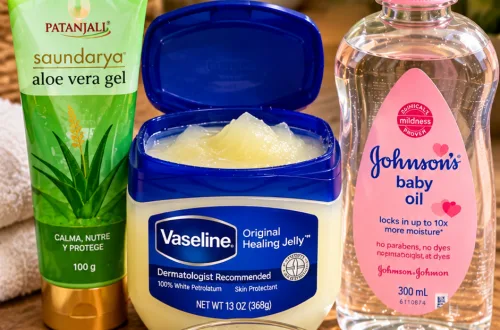
- 2 tablespoons Petroleum Jelly (e.g., Vaseline)
- 1 teaspoon Aloe Vera Gel (pure, 100% natural)
- ½ teaspoon Vitamin E Oil (from a capsule or bottle)
- Optional: 2-3 drops of Rosehip Oil or Jojoba Oil for extra nourishment
Step-by-Step Method:
- Melt the Petroleum Jelly: Scoop 2 tablespoons of petroleum jelly into a small, heat-safe bowl. You can gently warm it in a microwave for 10-15 seconds (be careful not to overheat) or use a double boiler method until it becomes a soft, pliable consistency.
- Add Aloe Vera Gel: Once the petroleum jelly is softened, add 1 teaspoon of pure aloe vera gel. Aloe vera is known for its soothing, hydrating, and healing properties.
- Mix in Vitamin E Oil: Pierce a Vitamin E capsule and squeeze out ½ teaspoon of the oil, or measure directly from a bottle. Vitamin E is a powerful antioxidant that helps protect and repair skin.
- Incorporate Optional Oils: If desired, add 2-3 drops of rosehip oil (great for anti-aging and dark spots) or jojoba oil (mimics skin’s natural sebum) for added benefits.
- Mix Thoroughly: Stir all ingredients together until they are well combined and form a smooth, consistent gel-like mixture. Ensure there are no lumps.
- Transfer to a Container: Carefully spoon your DIY Overnight Collagen Gel into a clean, airtight container, such as a small jar or a travel-sized pot.
Application for Best Results:
- Cleanse Your Face: Start with a thoroughly cleansed and toned face. Your skin should be free of makeup and impurities.
- Apply to Damp Skin (Optional but Recommended): For maximum hydration, you can apply a light layer of your favorite hydrating serum or a few spritzes of rose water to slightly damp skin before the gel. This helps to trap even more moisture.
- Apply the Gel: Take a small pea-sized amount of your DIY Overnight Collagen Gel. Gently warm it between your fingertips and then delicately massage it onto your face and neck. Use upward strokes and ensure even coverage, but avoid applying too thick a layer as it can feel heavy.
- Focus on Problem Areas: Pay extra attention to areas prone to dryness, fine lines, or wrinkles.
- Leave Overnight: Let the gel work its magic while you sleep. It will create a protective seal, allowing your skin to deeply hydrate and rejuvenate.
- Rinse in the Morning: In the morning, gently cleanse your face to remove any excess product, revealing your freshly hydrated, glowing skin!
Benefits You Can Expect
With consistent use, you can look forward to:
- Radiant & Glowing Skin: Improved hydration leads to a natural, healthy glow.
- Smoother Texture: Fine lines and rough patches appear minimized due to intense moisture.
- Plumper Appearance: Hydrated skin looks fuller and more youthful, reducing the appearance of wrinkles.
- Soft & Supple Feel: Your skin will feel incredibly soft and smooth to the touch.
- Boosted Confidence: A healthy complexion always makes you feel better about yourself!
Tips for Success
- Patch Test: Always perform a patch test on a small area of your skin (like behind your ear or on your inner arm) before applying any new DIY recipe to your entire face, especially if you have sensitive skin.
- Consistency is Key: For the best results, incorporate this into your nightly routine several times a week, or as needed.
- Adjust for Skin Type: If you have very oily skin, you might want to use a smaller amount or use it less frequently. For dry skin, feel free to be a bit more generous.
- Store Properly: Keep your DIY gel in an airtight container in a cool, dark place to maintain its efficacy and prevent bacterial growth.
Embrace this simple, natural, and affordable way to achieve beautiful, hydrated skin. Your journey to an overnight glow starts tonight! Try it out and let us know your results in the comments below. We can’t wait to hear about your radiant transformations!