Are you on the hunt for simple, affordable, and effective ways to boost your skin’s glow and achieve a smoother complexion? We all love a good beauty hack, especially when it involves ingredients we already have at home! Today, we’re diving into a surprisingly effective duo that many swear by for tackling common skin concerns: petroleum jelly and baking soda.
You might be thinking, “Baking soda on my face?” We understand the skepticism! While baking soda needs to be used with caution due to its alkaline nature, when combined correctly with the protective, moisturizing power of petroleum jelly, it can offer a gentle exfoliating and smoothing effect. Let’s explore how this unlikely pair can become your new secret weapon for radiant, soft skin.
The Power Duo: Unveiling Petroleum Jelly & Baking Soda
Before we jump into the recipe, let’s understand why these two ingredients, when used together carefully, might just be what your skin needs.
Petroleum Jelly: Your Skin’s Best Friend for Hydration
Petroleum jelly, commonly known as Vaseline, is a true skincare multitasker. It’s an occlusive ingredient, meaning it creates a protective barrier on the skin’s surface. This barrier not only locks in moisture, preventing water loss, but also shields your skin from environmental aggressors. For anti-aging, it helps to temporarily plump up fine lines and keep skin supple and hydrated, which is key to maintaining a youthful appearance.
Baking Soda: The Gentle Exfoliator (When Used Right!)
Baking soda is a mild abrasive, making it a popular choice for DIY exfoliation. Its fine texture can help remove dead skin cells, unclog pores, and reveal brighter, smoother skin underneath. However, its high pH level means it can be irritating if used too often or in high concentrations. This is where petroleum jelly comes in handy – it helps to buffer the baking soda, creating a gentler application.
Why This Combo Works for Smoother, Brighter Skin
When you combine petroleum jelly and baking soda, you get a unique blend that offers both gentle exfoliation and intense hydration. The baking soda works to slough off dull, dead skin, while the petroleum jelly immediately provides a moisturizing and protective layer, preventing the skin from becoming overly dry or irritated. This can lead to a visibly smoother texture and a radiant glow.
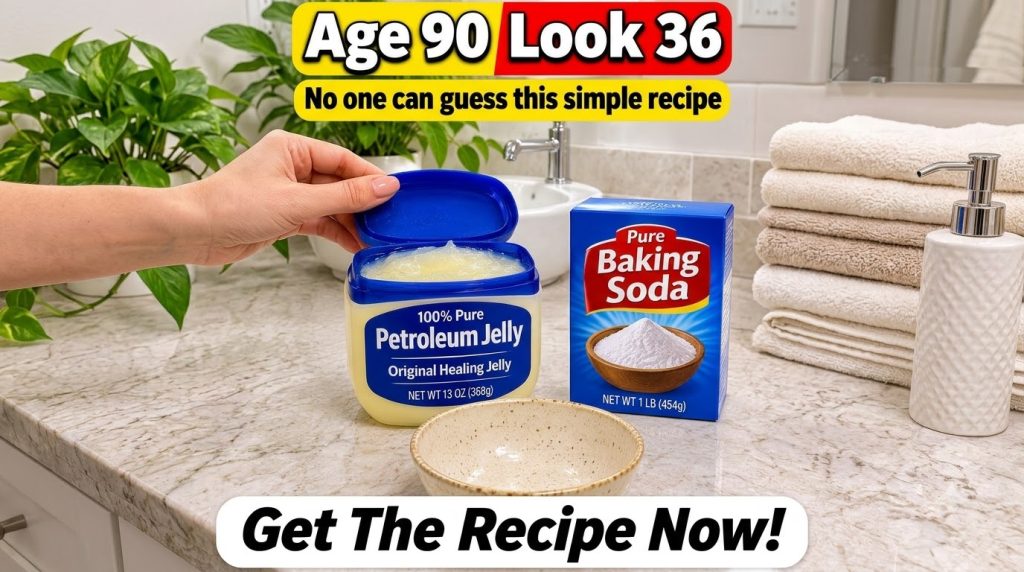
The DIY Recipe: Petroleum Jelly + Baking Soda Smoothing Mask
Ready to try this simple beauty secret? Here’s how to make and use your own smoothing mask.
Ingredients:
- 1 teaspoon baking soda
- 2 teaspoons petroleum jelly (Vaseline)
- Small, clean mixing bowl
- Spatula or spoon for mixing
Instructions:
- Combine Ingredients: In your clean mixing bowl, add 1 teaspoon of baking soda.
- Add Petroleum Jelly: Scoop in 2 teaspoons of petroleum jelly. Adjust the ratio slightly if you prefer a thicker or thinner consistency.
- Mix Well: Using your spatula or spoon, thoroughly mix the two ingredients until you get a smooth, consistent paste.
- Patch Test: Before applying to your face, always perform a patch test on a small, inconspicuous area of your skin (like behind your ear or on your inner forearm) to check for any irritation or adverse reactions. Wait 24 hours.
- Apply Gently: If your patch test is clear, apply a thin layer of the mixture to clean, damp skin. You can focus on areas with rough texture, blackheads, or dullness. Avoid the delicate eye area.
- Massage Lightly (Optional): For extra exfoliation, gently massage the mixture onto your skin in small, circular motions for about 30 seconds. Be very light-handed.
- Leave On: Let the mask sit on your skin for no more than 5 minutes. This allows the ingredients to work their magic without over-exfoliating.
- Rinse Thoroughly: Rinse your face completely with lukewarm water, ensuring all residue is removed.
- Moisturize: Follow up with your favorite hydrating toner and moisturizer to lock in the benefits and soothe your skin.
Important Considerations & Tips for Best Results
- Frequency: Due to the exfoliating nature of baking soda, use this mask sparingly – no more than once a week. For very sensitive skin, once every two weeks or even less often might be ideal.
- Skin Type: This recipe is generally best for oily or combination skin. If you have very dry or sensitive skin, proceed with extreme caution and reduce the amount of baking soda.
- Avoid Open Wounds: Never apply this mixture to broken skin, active acne breakouts, or open sores.
- Listen to Your Skin: If you experience any redness, burning, stinging, or excessive dryness, rinse immediately and discontinue use.
By incorporating this simple yet powerful DIY remedy into your routine, you can unveil skin that feels incredibly smooth, soft, and radiates a healthy, natural glow. It’s an affordable way to enjoy the benefits of gentle exfoliation and deep hydration, bringing you closer to your glass skin goals!

Have you tried this hack or similar DIY remedies? Share your experiences and tips in the comments below! We love hearing about your natural beauty journeys.