Embark on a flavorful journey into the world of homemade preserves with these easy pickling recipes! Whether you’re new to canning or looking to expand your repertoire, learning how to pickle vegetables at home is a rewarding experience. Not only does it allow you to savor the taste of fresh produce long after its season has passed, but it also adds incredible zest and crunch to your meals.
Today, we’re focusing on two beloved classics that are surprisingly simple to make: zesty Bread & Butter Pickles and fiery Spicy Pickled Jalapeños. These recipes are perfect for beginners and seasoned picklers alike, promising delicious results that will elevate your sandwiches, salads, and snack platters. Get ready to transform humble vegetables into vibrant, tangy, and irresistibly crunchy delights!
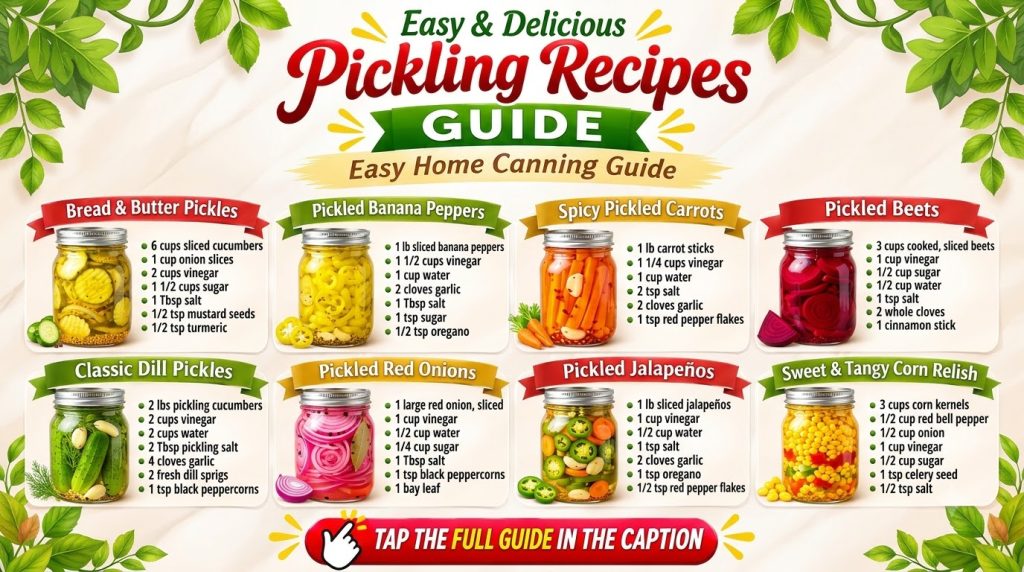
Why You’ll Love These Easy Pickling Recipes
- Surprisingly Simple: Both recipes use straightforward methods perfect for beginners.
- Packed with Flavor: From the sweet tang of bread & butter pickles to the spicy kick of jalapeños, these recipes deliver big taste.
- Versatile Ingredients: Uses common, affordable vegetables and pantry staples.
- Boosts Any Meal: Excellent additions to sandwiches, tacos, burgers, salads, or as a standalone snack.
- Extend Produce Life: A fantastic way to preserve your garden harvest or fresh market finds.
- Customizable: Easily adjust spice levels, sweetness, and seasonings to fit your preference.
Ingredients
For Easy Bread & Butter Pickles (Yields approximately 3 pints)
- 4 cups (about 900 g) pickling cucumbers, thinly sliced
- 1 large (about 200 g) yellow onion, thinly sliced
- 2 tablespoons (30 g) pickling salt (or kosher salt)
- 2 cups (470 ml) apple cider vinegar
- 1 cup (200 g) granulated sugar
- 1 teaspoon mustard seeds
- 1/2 teaspoon celery seeds
- 1/4 teaspoon ground turmeric
- 1/4 teaspoon red pepper flakes (optional, for a slight kick)
For Spicy Pickled Jalapeños (Yields approximately 2 pints)
- 1 pound (about 450 g) fresh jalapeño peppers, sliced into 1/4-inch (0.6 cm) rounds
- 2 cloves garlic, peeled and thinly sliced
- 1 1/2 cups (355 ml) white vinegar
- 1 1/2 cups (355 ml) water
- 1 tablespoon (15 g) pickling salt (or kosher salt)
- 1 teaspoon black peppercorns
- 1/2 teaspoon oregano (dried)
Ingredient Notes
- Cucumbers: Use pickling cucumbers (Kirby, Persian) for the best crunchy texture. Avoid large slicing cucumbers as they tend to become soft.
- Jalapeños: Fresh, firm jalapeños are key. For less heat, remove some of the seeds and membranes. For more heat, leave them all in!
- Vinegar: Apple cider vinegar offers a milder, slightly fruitier flavor for bread & butter pickles, while white vinegar provides a sharper, classic tang for the jalapeños. Do not use vinegars with less than 5% acidity for pickling.
- Pickling Salt: This is a fine-grained, additive-free salt that dissolves easily and doesn’t cloud the brine. Kosher salt can be used as a substitute, but avoid iodized table salt.
- Spices: Mustard seeds, celery seeds, and turmeric are classic for bread & butter pickles. For jalapeños, garlic, black peppercorns, and oregano add a wonderful aromatic depth. Feel free to experiment with other spices like coriander seeds or bay leaves.
Equipment You’ll Need
- Large mixing bowls
- Sharp knife and cutting board
- Measuring cups and spoons
- Large non-reactive pot or saucepan
- Clean pint or quart canning jars with lids and bands
- Jar lifter (helpful for hot jars)
- Funnel (for filling jars)
How to Make Easy Pickling Recipes
Making Bread & Butter Pickles
- Prepare Cucumbers and Onions: In a large bowl, combine the thinly sliced cucumbers and onions. Sprinkle with pickling salt and toss gently to coat. Let this mixture stand for at least 1 hour (or up to 3 hours) at room temperature. This step draws out excess water, helping to keep the pickles crunchy.
-
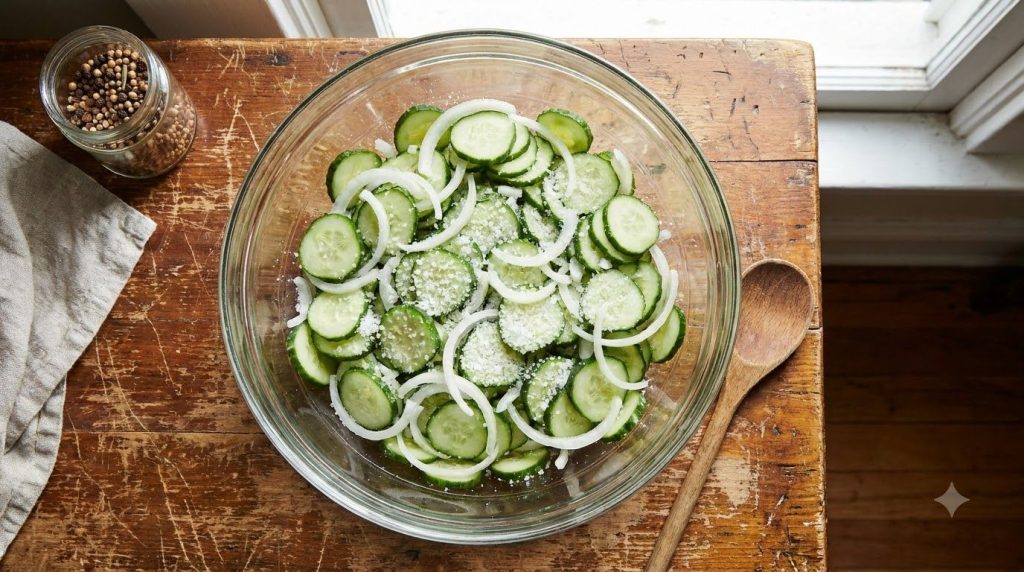
Salt the cucumbers and onions to draw out moisture. - Rinse and Drain: After the resting period, drain the cucumber and onion mixture thoroughly in a colander. You can gently rinse them with cold water to remove excess salt, then drain again very well, pressing lightly to remove as much liquid as possible. Set aside.
- Prepare the Brine: In a large non-reactive pot, combine the apple cider vinegar, granulated sugar, mustard seeds, celery seeds, turmeric, and optional red pepper flakes. Bring the mixture to a boil over medium-high heat, stirring until the sugar is completely dissolved.
- Combine and Heat: Add the drained cucumber and onion mixture to the hot brine. Bring the mixture back to a gentle simmer, just until the cucumbers turn slightly translucent but are still firm. This usually takes about 5-7 minutes. Do not overcook, or your pickles will be soft.
- Jar the Pickles: Carefully pack the hot cucumber and onion mixture into clean, warm pint or quart jars, leaving about 1/2 inch (1.25 cm) headspace. Ladle the hot brine over the vegetables, ensuring they are fully submerged.
-
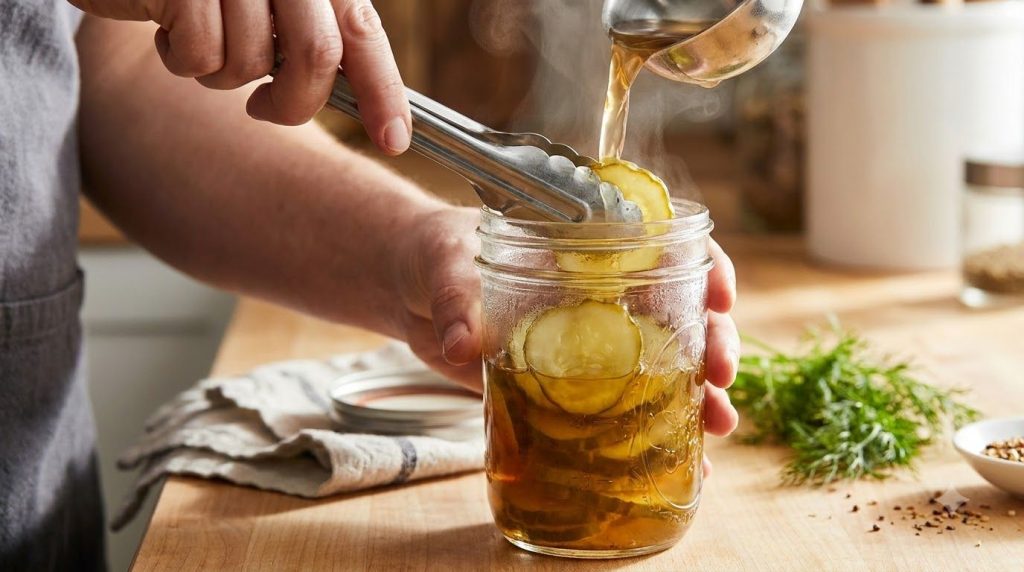
Fill the jars with pickles and hot brine. - Seal Jars: Wipe the jar rims clean with a damp cloth. Place the lids on top and screw on the bands until finger-tight.
- Process (Optional for Shelf Stability): For shelf-stable pickles, process the filled jars in a boiling water bath for 10 minutes (adjusting for altitude if necessary). Otherwise, allow the jars to cool completely before refrigerating.
- Cool and Store: Let the jars cool on the counter undisturbed for 24 hours. Check for a good seal (lid should be concave and not flex). Any jars that don’t seal should be stored in the refrigerator and consumed within 2-3 weeks. Sealed jars can be stored in a cool, dark place for up to 1 year. Once opened, refrigerate.
Making Spicy Pickled Jalapeños
- Prepare Jalapeños: Wash the jalapeños thoroughly. Wearing gloves is highly recommended to protect your hands from the capsaicin. Slice the jalapeños into 1/4-inch (0.6 cm) rounds. You can remove some seeds for less heat, but the seeds add to the spice!
-
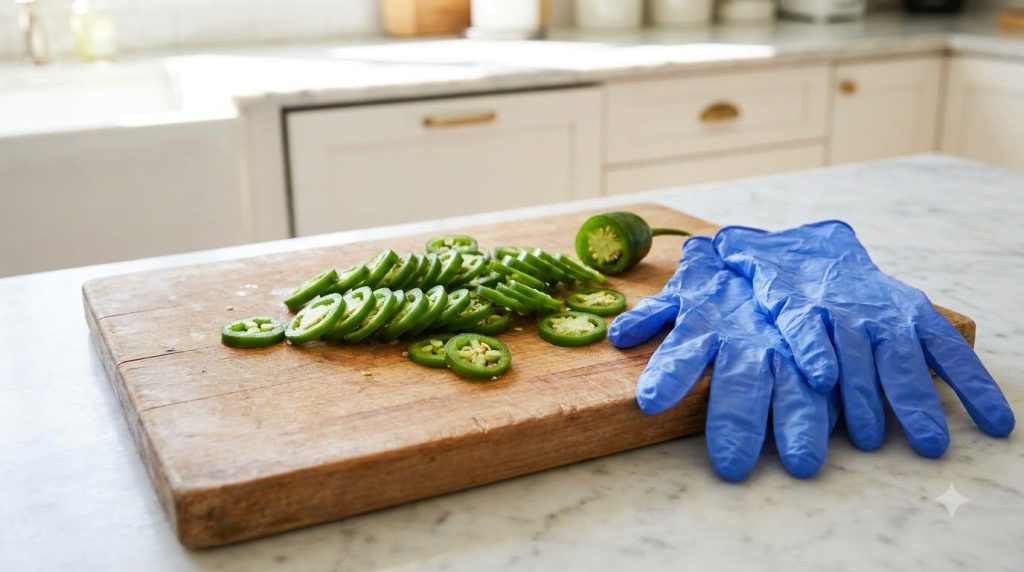
Slice the jalapeños, wearing gloves for protection. - Prepare Jars: Sterilize your pint jars and lids. Keep them hot until ready to fill.
- Pack Jars: Evenly distribute the sliced garlic, black peppercorns, and dried oregano among the prepared jars. Then, tightly pack the sliced jalapeños into each jar, leaving about 1/2 inch (1.25 cm) headspace.
- Prepare the Brine: In a non-reactive pot, combine the white vinegar, water, and pickling salt. Bring the mixture to a rolling boil over medium-high heat, stirring until the salt is fully dissolved.
- Pour Brine: Carefully pour the hot brine over the jalapeños in each jar, ensuring all peppers are submerged and maintaining 1/2 inch (1.25 cm) headspace.
-
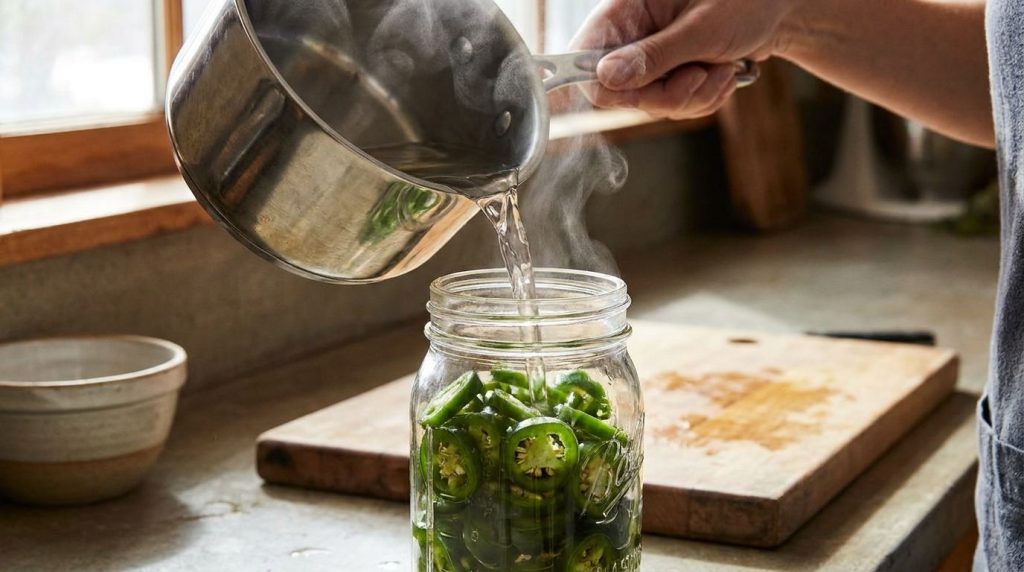
Submerge the jalapeños in the hot brine. - Seal and Process: Wipe the jar rims clean. Place lids on top and screw bands on until finger-tight. For shelf-stable pickled jalapeños, process in a boiling water bath for 10 minutes (adjust for altitude). Alternatively, allow to cool and refrigerate for quick consumption.
- Cool and Store: Let the jars cool completely on the counter for 24 hours. Check for seals. Store unsealed jars in the refrigerator. Sealed jars can be stored in a cool, dark place for up to 1 year. Refrigerate after opening.
Pro Tips for the Best Results
- Use Fresh, Firm Produce: Always start with the freshest, blemish-free cucumbers and jalapeños for the best flavor and texture. Limp vegetables will result in limp pickles.
- Sterilize Your Jars: While not strictly necessary for quick pickles stored in the fridge, sterilizing jars is crucial for shelf-stable canning to prevent spoilage. Wash jars and lids in hot, soapy water, then simmer jars in boiling water for 10 minutes.
- Accurate Measurements: Stick to the recommended vinegar-to-water ratios and salt quantities. These are crucial for both flavor and safe preservation.
- Don’t Overcook: When adding vegetables to hot brine, only cook until they are slightly translucent or heated through. Overcooking will make your pickles mushy.
- Proper Headspace: Leaving the correct 1/2 inch (1.25 cm) headspace in your jars is vital for proper sealing and to prevent lids from buckling during processing.
- Allow Time to Mellow: While you can eat quick pickles the next day, the flavors of both bread & butter pickles and pickled jalapeños truly develop and meld after sitting for at least 1-2 weeks.
Common Mistakes to Avoid
- Using Table Salt: Iodized table salt can cloud your brine and may contain anti-caking agents that affect the texture and clarity of your pickles. Always opt for pickling salt or kosher salt.
- Skipping the Cucumber Soaking/Salting Step: For bread & butter pickles, this initial salting draws out excess water, preventing soggy pickles and ensuring a crisp bite.
- Not Wearing Gloves for Jalapeños: The capsaicin in jalapeños can cause a severe burning sensation if it gets on your skin or, worse, in your eyes. Always wear gloves when handling them.
- Inconsistent Slices: Aim for uniform slices for both cucumbers and jalapeños to ensure even cooking and consistent texture in every bite.
- Improper Sealing: For shelf-stable canning, ensure jar rims are clean before sealing and that bands are finger-tight. Lids that don’t seal properly mean the pickles are not shelf-stable and must be refrigerated.
- Under-Acidified Brine: Never reduce the amount of vinegar specified in a pickling recipe, as it’s essential for food safety and preventing spoilage.
Variations & Substitutions
- Sweeter Bread & Butter Pickles: Increase the sugar amount slightly, or add a touch of brown sugar for deeper caramel notes.
- Dill Pickles: For a classic dill pickle, use whole pickling cucumbers, increase the salt slightly, add fresh dill sprigs and garlic cloves to the jars, and use a simple brine of equal parts white vinegar and water with salt.
- Other Pickled Vegetables: Use the bread & butter brine for carrots, green beans, or even bell peppers. The spicy jalapeño brine works wonderfully with sliced carrots, cauliflower florets, or pearl onions for a spicy giardiniera.
- Garlic & Herb Pickles: Add whole garlic cloves, bay leaves, or fresh herb sprigs (like thyme or rosemary) to your pickle jars before pouring the brine for extra aromatic depth.
- Heat Level Adjustment: For spicier bread & butter pickles, increase the red pepper flakes. For milder jalapeños, remove more seeds and membranes before slicing.
Serving Suggestions
These homemade pickles are incredibly versatile! Bread & Butter Pickles are a classic companion to burgers, hot dogs, and deli sandwiches. Their sweet and tangy crunch also brightens up tuna melts, chicken salad, or even a simple cheese board. Chop them up and stir into tartar sauce or potato salad for an extra zing.
Spicy Pickled Jalapeños are perfect for adding a fiery kick to tacos, nachos, huevos rancheros, or chili. They make a fantastic topping for pizza, a bold addition to scrambled eggs, or a zesty accompaniment to grilled meats. Don’t be afraid to add them to a spicy margarita for a unique twist!
Storage & Reheating
Refrigerator Storage (Quick Pickles): If you skip the boiling water bath, these are considered quick pickles and must be stored in the refrigerator. Place cooled, sealed jars in the fridge. They will be ready to eat within 24 hours but taste best after a week. Consume within 2-3 weeks for optimal freshness and texture.
Pantry Storage (Shelf-Stable Canning): If processed in a boiling water bath according to instructions and properly sealed, jars can be stored in a cool, dark place (like a pantry) for up to 1 year. Always check for a proper seal before storing. Once opened, any remaining pickles must be refrigerated.
Reheating: Pickles are typically enjoyed cold or at room temperature. Reheating is not recommended as it will compromise their crisp texture.
FAQ
Can I use regular cucumbers instead of pickling cucumbers?
While you can, pickling cucumbers (like Kirby or Persian) are generally firmer and have fewer seeds, leading to a much crisper pickle. Regular slicing cucumbers tend to become softer when pickled.
Why did my pickles turn out soft?
Several factors can cause soft pickles: using cucumbers that aren’t fresh or are too large, overcooking them in the brine, or an imbalance in the brine solution. Ensure you use firm, fresh produce and follow the cooking times precisely.How do I know if my jar is properly sealed?
After the jars have cooled for 12-24 hours, the lid should be concave (curved inwards) and not flex or pop when pressed. If a lid is still convex or pops, it means it didn’t seal properly, and that jar should be refrigerated and consumed quickly.
Can I reduce the sugar in the Bread & Butter Pickles?
You can adjust the sugar slightly to your taste, but avoid drastic reductions, especially in recipes intended for canning, as sugar can contribute to the overall preservation process and texture. For quick pickles, there’s more flexibility.
How long do homemade pickled jalapeños last?
If properly canned and sealed, they can last up to a year in a cool, dark pantry. Once opened or if only refrigerated (quick pickles), they are best consumed within 2-3 weeks.
Do I need to sterilize jars for refrigerator pickles?
While not strictly necessary for safety if you plan to consume them within a few weeks and store them in the fridge, it’s good practice to wash jars thoroughly with hot soapy water and rinse well to ensure cleanliness and prevent unwanted bacteria.
What is headspace, and why is it important?
Headspace is the empty space between the food surface and the underside of the lid. It’s crucial for creating a vacuum seal in canned goods. Too little headspace can cause the lid to buckle, and too much can prevent a proper seal.
Recipe Card
Bread & Butter Pickles & Spicy Pickled Jalapeños
Learn to make two classic, easy pickling recipes at home: tangy Bread & Butter Pickles and fiery Spicy Pickled Jalapeños. Perfect for beginners!
Ingredients
For Easy Bread & Butter Pickles:
- 4 cups (900 g) pickling cucumbers, thinly sliced
- 1 large (200 g) yellow onion, thinly sliced
- 2 tablespoons (30 g) pickling salt
- 2 cups (470 ml) apple cider vinegar
- 1 cup (200 g) granulated sugar
- 1 teaspoon mustard seeds
- 1/2 teaspoon celery seeds
- 1/4 teaspoon ground turmeric
- 1/4 teaspoon red pepper flakes (optional)
For Spicy Pickled Jalapeños:
- 1 pound (450 g) fresh jalapeño peppers, sliced into 1/4-inch rounds
- 2 cloves garlic, peeled and thinly sliced
- 1 1/2 cups (355 ml) white vinegar
- 1 1/2 cups (355 ml) water
- 1 tablespoon (15 g) pickling salt
- 1 teaspoon black peppercorns
- 1/2 teaspoon oregano (dried)
Instructions
For Bread & Butter Pickles:
- In a large bowl, combine sliced cucumbers and onions with pickling salt. Toss to coat and let stand for 1-3 hours.
- Drain thoroughly, rinsing gently if desired, then drain very well, pressing out excess liquid.
- In a large non-reactive pot, combine apple cider vinegar, sugar, mustard seeds, celery seeds, turmeric, and optional red pepper flakes. Bring to a boil, stirring until sugar dissolves.
- Add drained cucumbers and onions to the hot brine. Return to a gentle simmer for 5-7 minutes, until cucumbers are slightly translucent but still firm. Do not overcook.
- Carefully pack the hot mixture into clean, warm pint/quart jars, leaving 1/2 inch (1.25 cm) headspace. Ladle hot brine over vegetables, ensuring they are submerged.
- Wipe jar rims, place lids, and screw bands finger-tight.
- Optional for shelf-stability: Process in a boiling water bath for 10 minutes.
- Cool completely for 24 hours. Check seals. Refrigerate unsealed jars.
For Spicy Pickled Jalapeños:
- Wearing gloves, wash and slice jalapeños into 1/4-inch rounds.
- Sterilize pint jars and lids; keep warm.
- Evenly distribute sliced garlic, black peppercorns, and oregano among jars. Tightly pack jalapeños into jars, leaving 1/2 inch (1.25 cm) headspace.
- In a non-reactive pot, combine white vinegar, water, and pickling salt. Bring to a rolling boil, stirring until salt dissolves.
- Carefully pour hot brine over jalapeños, ensuring they are submerged and maintaining 1/2 inch (1.25 cm) headspace.
- Wipe jar rims, place lids, and screw bands finger-tight.
- Optional for shelf-stability: Process in a boiling water bath for 10 minutes.
- Cool completely for 24 hours. Check seals. Refrigerate unsealed jars.
Notes
For best flavor, allow pickles to mellow in the refrigerator for at least 1-2 weeks before consuming. Always use fresh, firm produce and maintain proper hygiene during preparation.
Storage
Refrigerator Pickles: Store cooled, sealed jars in the refrigerator for 2-3 weeks.
Shelf-Stable Canned Pickles: If processed, store in a cool, dark pantry for up to 1 year. Refrigerate after opening.
Nutrition
Nutrition information is an estimate and may vary depending on the ingredients and brands used.