Restore Grout Sparkle: Easy DIY Cleaning Paste
Dingy, discolored grout lines can make even the cleanest tiled surfaces look tired and neglected. If you’re looking for an effective and affordable way to brighten up your floors or shower walls, a simple homemade cleaning paste might be your new favorite solution.
This DIY hack leverages common household ingredients to tackle tough grime and restore a fresh, clean look to your grout. It’s a practical and straightforward method that avoids harsh chemicals, making it a great option for maintaining a sparkling home.
What You’ll Need
Gathering your materials beforehand makes the process smooth and quick.
Ingredients
- 1 cup baking soda (sodium bicarbonate)
- 1/4 to 1/2 cup 3% hydrogen peroxide (add gradually until a thick paste forms)
Tools
- Glass or non-metallic mixing bowl
- Mixing spoon or spatula
- Stiff-bristled scrub brush (an old toothbrush works well for tight spaces)
- Clean cloths or sponges
Why This DIY Can Be Useful
The magic behind this simple paste lies in the properties of its key ingredients:
- Baking Soda: This versatile household staple acts as a mild abrasive, helping to gently scrub away dirt and grime without scratching surfaces. It also works as a natural deodorizer, neutralizing odors often trapped in dirty grout.
- Hydrogen Peroxide: A mild bleaching agent, 3% hydrogen peroxide effectively tackles stains and brightens surfaces. When combined with baking soda, it creates a powerful cleaning action that helps lift embedded dirt and lighten discoloration in grout lines.
How to Make It
Whipping up your cleaning paste is incredibly easy.
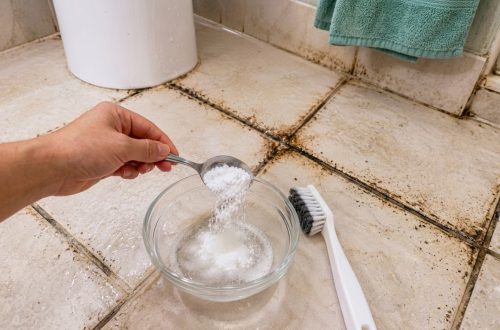
- Pour the 1 cup of baking soda into your glass or non-metallic mixing bowl.
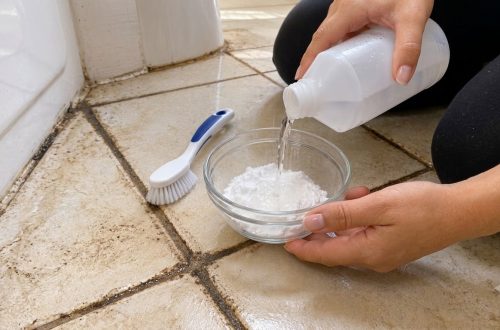
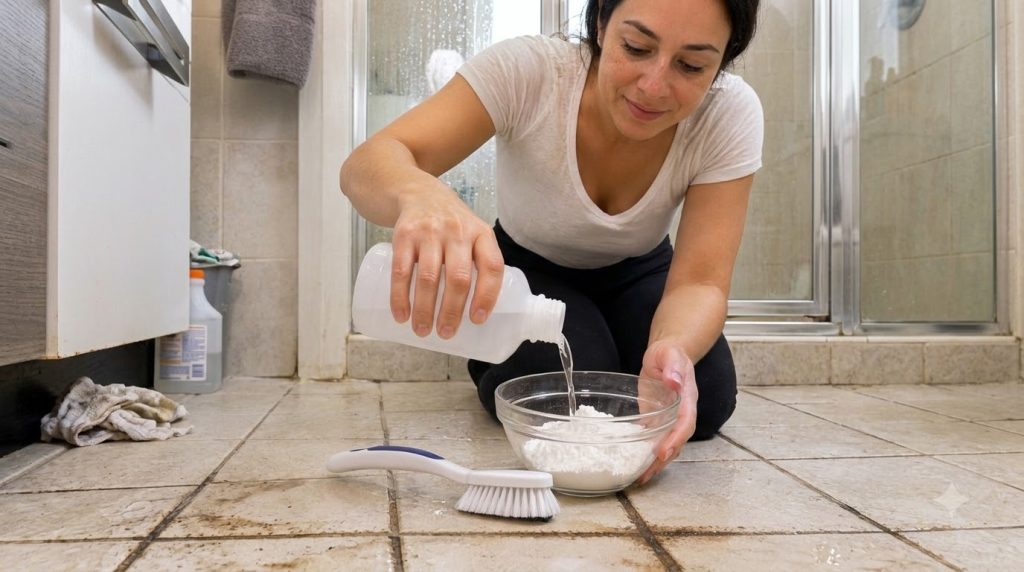
- Gradually add the hydrogen peroxide, starting with 1/4 cup. Mix thoroughly with your spoon or spatula.
- Continue to add small amounts of hydrogen peroxide, a teaspoon at a time, mixing until you achieve a thick, spreadable paste consistency. It should be firm enough to adhere to the grout without being too runny.
How to Use It
Once your paste is ready, it’s time to put it to work.
- Apply the paste generously directly onto your dirty grout lines. You can use your mixing spoon, a spatula, or even your fingers (wearing gloves is recommended).
- Allow the paste to sit on the grout for 5-10 minutes. This gives the ingredients time to penetrate and break down the grime. For tougher stains, you can let it sit for up to 30 minutes.
- Using your stiff-bristled scrub brush, firmly scrub the grout lines in small sections. You’ll see the dirt beginning to lift as you scrub.
- Once you’ve scrubbed an area, wipe away the paste residue with a clean, damp cloth or sponge.
- Finally, rinse the area thoroughly with clean water to remove any remaining baking soda and hydrogen peroxide. You may need to wipe with a fresh damp cloth a few times to ensure all residue is gone.
What to Expect
You can expect a noticeable improvement in the brightness and cleanliness of your grout. This DIY paste is excellent for removing surface grime, mild discoloration, and everyday dirt that dulls the look of your tiles. For very old, deeply embedded, or heavily stained grout, you may need to repeat the application or allow the paste to sit for a longer duration. Results will vary depending on the initial condition of your grout.
Helpful Tips
- Patch Test: Always test the paste on an inconspicuous area of your grout and tile first, especially if you have colored grout or natural stone, to ensure no adverse reactions or discoloration.
- Consistency is Key: If your paste is too runny, add a little more baking soda. If it’s too dry, add a few more drops of hydrogen peroxide.
- Detail Work: An old toothbrush is perfect for reaching into narrow grout lines and corners for a precise scrub.
- Ventilation: Ensure the area you are cleaning is well-ventilated, especially in bathrooms, to allow fresh air circulation.
Important Notes / Safety
- Surface Compatibility: This paste is generally safe for ceramic and porcelain tiles with sealed grout. However, exercise caution on unsealed natural stone tiles (like marble, granite, or travertine) or colored grout, as the hydrogen peroxide could potentially cause lightening or etching. Always patch test.
- Do Not Mix with Vinegar: While both are excellent cleaners, avoid mixing hydrogen peroxide directly with vinegar in a sealed container, as it can create peracetic acid, which is corrosive. In this DIY, they are not used together.
- Storage: It’s best to make a fresh batch of this paste each time you clean for maximum effectiveness. If you have a small amount leftover, store it in an airtight, non-metallic container for a very short period (no more than a day or two) as the hydrogen peroxide will lose its potency over time once opened and exposed to light and air.