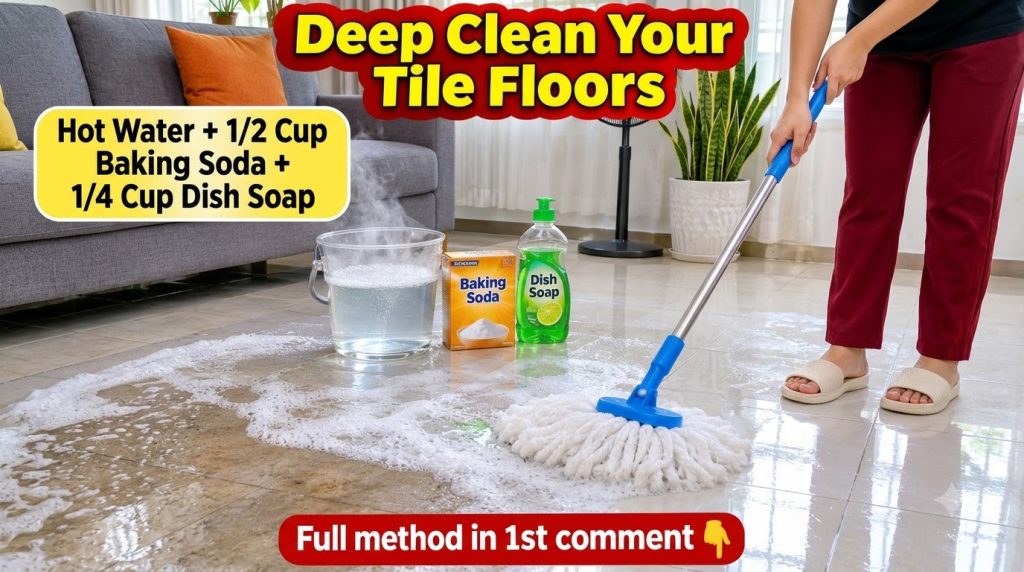
Tired of dull, lackluster floors that just don’t seem to sparkle no matter how much you scrub? It’s a common problem in busy homes, but achieving a truly clean and glistening floor doesn’t have to be a monumental task. This simple DIY cleaning method harnesses the power of suds to lift away dirt and grime, leaving your floors looking refreshed and bright with surprisingly little effort. It’s an effective way to tackle everyday messes and bring a satisfying shine back to your tiled surfaces.
What You’ll Need
Materials:
- Warm water: 1 gallon (approximately 4 liters, or enough to fill your mop bucket)
- Mild liquid dish soap: 1-2 tablespoons (choose a biodegradable, gentle formula if possible)
Tools:
- Mop bucket
- String mop (or your preferred type of floor mop)
Why This DIY Can Be Useful
This DIY cleaning method relies on the power of suds to effectively clean your floors. Dish soap, even in small quantities, is an excellent degreaser and surfactant. When mixed with warm water, it creates a foamy solution that can penetrate and loosen stubborn dirt, grime, and sticky residues from your floor surfaces. The suds lift these particles, making it easier for your mop to capture and remove them, leading to a visibly cleaner and brighter floor.
How to Make It
- Fill your mop bucket with approximately 1 gallon of warm water. The warmth helps to activate the soap and makes it more effective at dissolving grime.
- Add 1 to 2 tablespoons of mild liquid dish soap to the warm water in the bucket. Avoid adding too much soap, as this can lead to excessive suds that are hard to rinse and may leave a residue.
- Gently swirl the water with your mop to create a light foam. You don’t need a huge amount of bubbles, just enough to activate the cleaning properties of the soap.
How to Use It
- Prepare the Area: Before you start mopping, sweep or vacuum your floors thoroughly to remove any loose dirt, dust, and debris. This prevents you from just pushing around dirt with your mop.
- Dip and Wring: Dip your mop into the sudsy cleaning solution. Make sure it’s fully saturated, then wring out any excess liquid until the mop is damp, not dripping wet. Overly wet floors can be slippery and may take a long time to dry.
- Mop in Sections: Start mopping in one corner of the room and work your way backward toward the exit, cleaning in small, overlapping sections. Apply gentle pressure to scrub away dirt and grime.
- Address Stubborn Spots: For any stubborn stains or sticky spots, concentrate your efforts by gently scrubbing the area with the damp, sudsy mop head.
- Rinse the Mop: As you mop, periodically rinse your mop head in the bucket (you may need to change the water if it gets too dirty) and re-saturate it with the cleaning solution.
- Rinse the Floor (Optional but Recommended): For a truly sparkling, streak-free finish, especially on tiled floors, you might want to do a final rinse. After mopping with the sudsy solution, empty your bucket, refill it with clean, plain warm water, and go over the floors again with a clean, damp mop. This helps remove any soap residue.
- Allow to Dry: Let your floors air dry completely. Ensure good ventilation to speed up the drying process and prevent streaks.
What to Expect
After using this sudsy cleaning method, you can expect visibly cleaner floors that feel fresh and look much brighter. Stubborn dirt and everyday grime should be significantly reduced, and your tiled surfaces should have a renewed, sparkling appearance. While it won’t magically repair damage or deep-set stains, it provides an effective and satisfying clean for regular maintenance.
Helpful Tips
- Vacuum First: Always vacuum or sweep your floors before mopping. This simple step prevents you from creating muddy streaks or just pushing dirt around.
- Change Water Often: If your floor is particularly dirty, you may need to change your cleaning solution and rinse water multiple times. Using clean water is key to truly clean floors.
- Use Two Buckets: Consider using two buckets – one for your sudsy cleaning solution and one for plain rinse water. This keeps your cleaning solution cleaner for longer.
- Work in Sections: Mopping in small, manageable sections helps ensure you don’t miss any spots and allows you to rinse your mop more effectively.
- Ventilate: Open windows or use fans to help floors dry faster, reducing the chance of streaks and preventing moisture buildup.
Important Notes / Safety
- Patch Test: If you are unsure how your specific floor type will react, always test the cleaning solution in an inconspicuous area first.
- Avoid Over-Wetting: Do not over-wet wooden floors or laminate floors, as excessive moisture can cause damage. This method is best suited for tile or linoleum.
- Slippery Surfaces: Floors will be slippery when wet. Exercise caution and ensure the area is well-marked until completely dry.
- Rinse Thoroughly: Always rinse your floors thoroughly, especially if using dish soap, to prevent any sticky residue that can attract more dirt.
- Keep Pets and Children Away: Keep pets and small children away from the freshly mopped area until the floor is completely dry to prevent slipping or contact with cleaning residues.