There’s a special comfort in the smooth, cared-for feel of real wooden furniture. It brings warmth and character to our homes. However, over time, daily use can leave wooden surfaces looking a little dull or dry, losing that inviting luster. If your favorite wooden pieces, like a cherished dining chair, are starting to show signs of wear and tear, you don’t always need harsh chemicals or expensive refinishing.
This simple, homemade wood polish is a fantastic way to nourish your wooden furniture, restoring its natural sheen and soft texture. It’s an easy, budget-friendly DIY that helps maintain the beauty and prolong the life of your wooden items, making them feel loved and look refreshed.
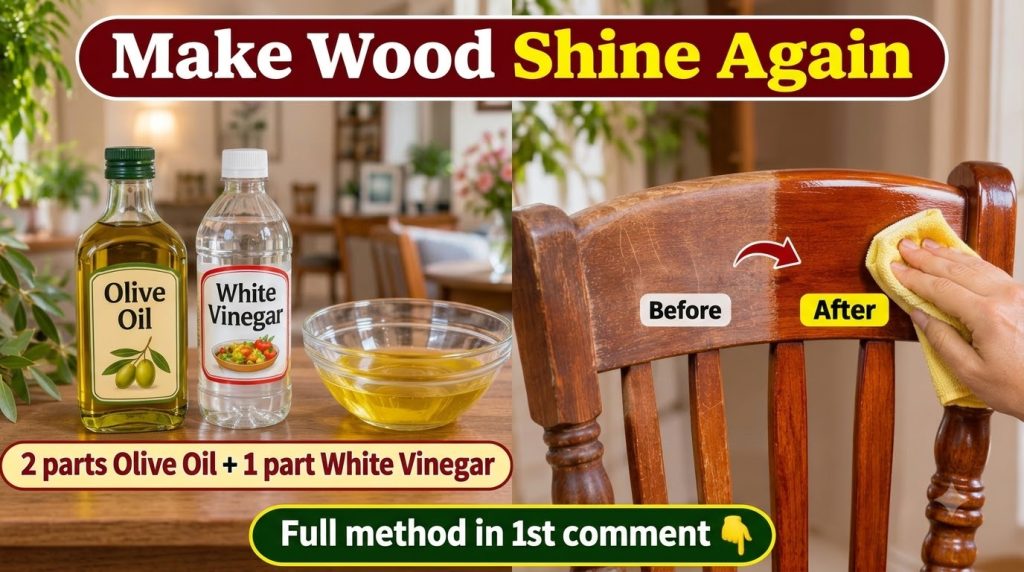
What You’ll Need
- 1/4 cup olive oil
- 1/4 cup fresh lemon juice
- Small mixing bowl
- Two clean, soft cloths (microfiber or cotton work best)
Why This DIY Can Be Useful
This simple DIY combines the nourishing properties of olive oil with the gentle cleaning power of lemon juice.
- Olive oil helps to hydrate and condition the wood, bringing out its natural grain and restoring a healthy luster. It penetrates the surface to protect against dryness.
- Lemon juice acts as a natural cleaner, helping to cut through grime, dirt, and light residue, while also providing a fresh scent. Its mild acidity can also help to gently brighten the wood without being abrasive.
Together, these ingredients create a polish that both cleans and moisturishes, giving your wood a soft, polished finish.
How to Make It
- Pour 1/4 cup of olive oil into your small mixing bowl.
- Add 1/4 cup of fresh lemon juice to the bowl.
- Stir the mixture well until the oil and lemon juice are thoroughly combined. The mixture may look slightly cloudy, which is normal.
How to Use It
- Prepare the Surface: Before applying the polish, gently wipe down your wooden furniture with a dry, clean cloth to remove any loose dust or debris.
- Apply the Polish: Dip one of your clean, soft cloths into the homemade polish, ensuring it’s damp but not saturated.
- Rub In: Apply the polish to the wooden surface in small sections, rubbing gently with the grain of the wood. Use circular motions to work the polish into the wood.
- Let It Sit: Allow the polish to sit on the wood for a few minutes (5-10 minutes is usually sufficient) to allow the oil to penetrate.
- Buff to Shine: Using your second clean, dry cloth, buff the polished area in the direction of the wood grain until you achieve a smooth, even sheen and remove any excess oil. Ensure no greasy residue is left behind.
What to Expect
After using this DIY polish, your wooden furniture should feel noticeably smoother and look revitalized. Expect to see an enhanced, natural luster, and a reduction in the appearance of minor surface dullness. This polish is excellent for maintenance and bringing life back to lightly worn surfaces, but it won’t repair deep scratches, chips, or heavily damaged finishes. Regular application will help maintain the renewed appearance.
Helpful Tips
- Test First: Always perform a patch test on an inconspicuous area of your furniture first to ensure compatibility with your specific wood finish.
- Consistency is Key: For best results, stir the polish mixture occasionally during application, as the oil and lemon juice can separate.
- Less is More: Apply thin, even coats rather than saturating the wood. Too much polish can leave a greasy residue.
- Regular Maintenance: Use this polish every few months, or as needed, to keep your wooden furniture looking its best.
Important Notes / Safety
- This polish is generally safe for most finished wooden furniture. Do not use it on unfinished wood, antique pieces with delicate finishes, or painted furniture without prior testing.
- Avoid letting the polish pool on the surface, especially in crevices, as prolonged exposure to moisture can be damaging.
- Always ensure good ventilation when working with any cleaning or polishing agents.
- Store any leftover polish in an airtight container in a cool, dark place for up to two weeks.