Looking for an easy way to care for skin that is starting to show wrinkles, fine lines, or uneven spots? You are not alone. Many women in their 30s, 40s, and beyond want a gentle routine that uses ingredients they may already have at home. A simple DIY serum built around aloe vera is one popular option, and it is worth understanding both its appeal and its limits.
Why Aloe Vera Is a Popular Base for DIY Serums
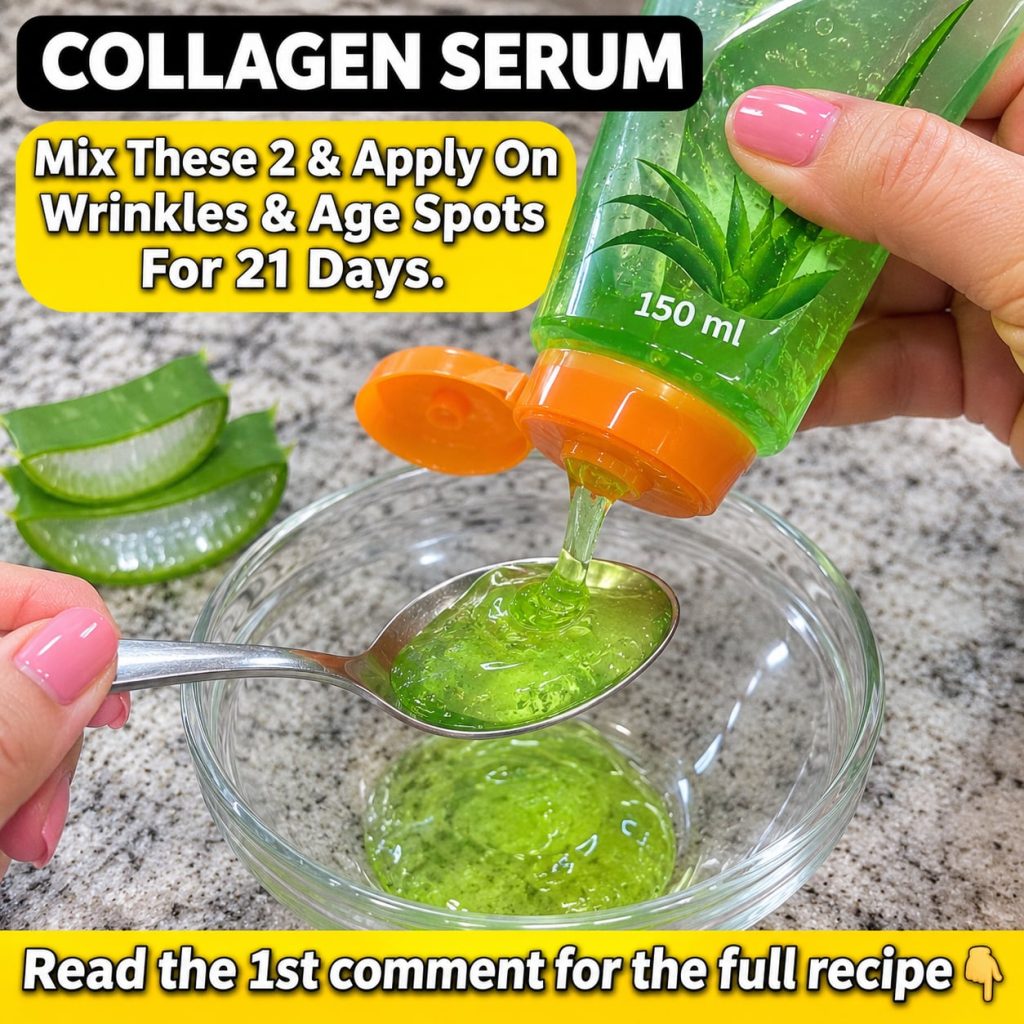
Aloe vera gel is light, soothing, and easy to find. It is known for its hydrating feel, which makes it a common choice for people with dry or tired-looking skin. Because it spreads smoothly and absorbs quickly, it works well as a base for a homemade serum that you can apply under your moisturizer.
What a Homemade Collagen-Style Serum Can and Cannot Do
Many DIY posts describe serums as a way to boost collagen. It helps to know that collagen molecules are too large to be rebuilt by a topical product in the way many people imagine. What a well-made serum can do is support the look of plumper, softer, and more hydrated skin. Over time, consistent hydration may make fine lines look less noticeable, and a healthier-looking surface can add to a brighter glow.
Age spots and deeper dark spots are a different story. They often need professional guidance, sun protection, and sometimes prescription treatments. A DIY serum can be a supportive part of a routine, but it should not replace advice from a dermatologist, especially if a spot changes in size, shape, or color.
A Simple Way to Make an Aloe Vera Serum at Home
The most important step is to use fresh, pure aloe vera gel. Choose a clean leaf or a gel without added fragrance, alcohol, or coloring. A basic method looks like this:
- Scoop a small amount of clear aloe vera gel into a clean glass bowl.
- Add a few drops of a gentle, skin-friendly oil or extract that you already trust and have tested before.
- Stir gently until the mixture is smooth and even.
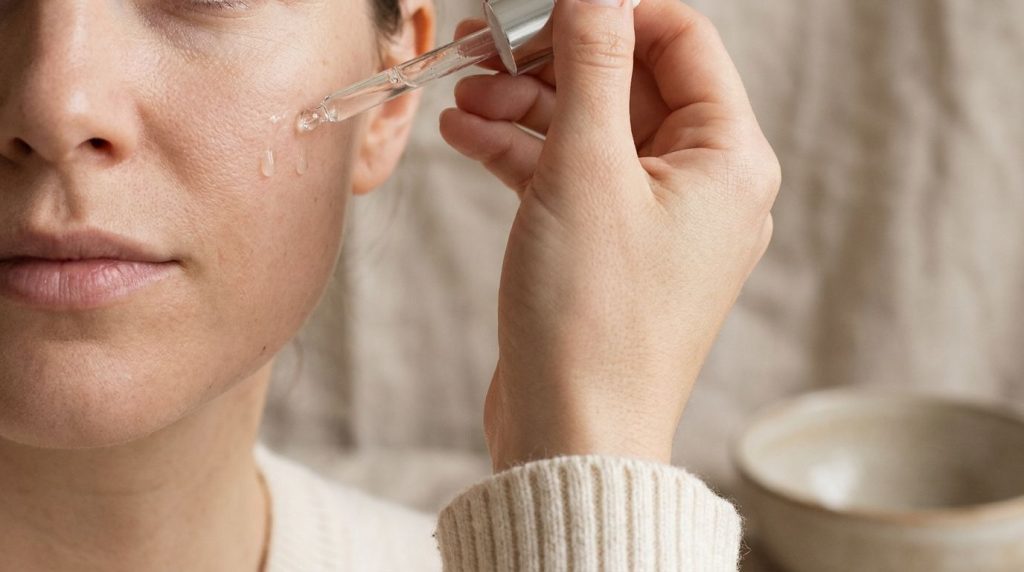
- Pour it into a clean, airtight dropper bottle and store it in the refrigerator.
- Use it within about one week for freshness, and discard it if you notice any odor or color change.
Always do a patch test on a small area of skin, such as the inner arm or behind the ear, and wait 24 hours before using it on your face. Stop using it right away if you notice redness, itching, or irritation.
What a Realistic Timeline Looks Like
Many posts promise visible changes in about 21 days. Results vary from person to person, depending on skin type, age, sun exposure, and overall routine. A more realistic goal is to notice better hydration, a softer texture, and a fresher look within several weeks of consistent use. Take a clear photo in the same light every week so you can judge progress fairly.
Tips to Get the Most From Your Routine
- Apply your serum to clean skin, morning or night.
- Follow with a moisturizer to lock in hydration.
- Wear sunscreen every day, since sun exposure is a major cause of dark spots and visible aging.
- Be patient and consistent rather than switching products too often.
- Keep your serum simple to make it easier to notice what your skin responds to.
Final Thoughts
A simple aloe vera serum can be a pleasant, budget-friendly addition to a natural skincare routine. It is most helpful when you keep expectations realistic, test before you use it, and combine it with sun protection and healthy habits. When in doubt, or if you are dealing with persistent spots or irritation, talk with a qualified skincare professional for personalized advice.