Homemade serums are having a moment, and it is easy to see why. They feel personal, they use ingredients you may already have at home, and they can be a relaxing part of a self-care routine. But before you reach for a pot or a jar, it helps to understand the basics of safe, simple DIY serum prep. This guide walks you through the essentials in a friendly, practical way.
Start With Clean Tools and a Clean Space
Good results begin with cleanliness. Wash your hands thoroughly, then wipe down your counter and gather your tools before you start. Use clean jars, clean spoons, and clean measuring cups. Sterilized or freshly washed glass containers are a good choice because they are easy to clean and do not hold onto odors.
Understand Heat Safety First
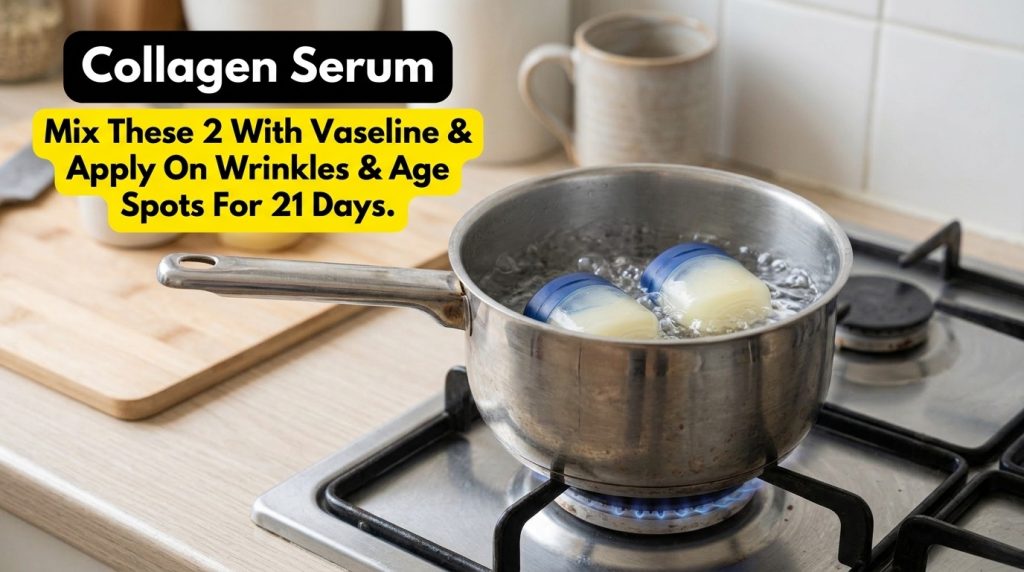
Many home recipes use gentle heat to melt or blend ingredients. Always keep a close eye on the stove, never leave a pot unattended, and keep towels, paper, and plastic away from the flame. Use a low to medium setting rather than a rolling boil, and handle hot containers with oven mitts. A calm, slow approach is safer and often gives you a smoother texture.
Choose Ingredients You Trust
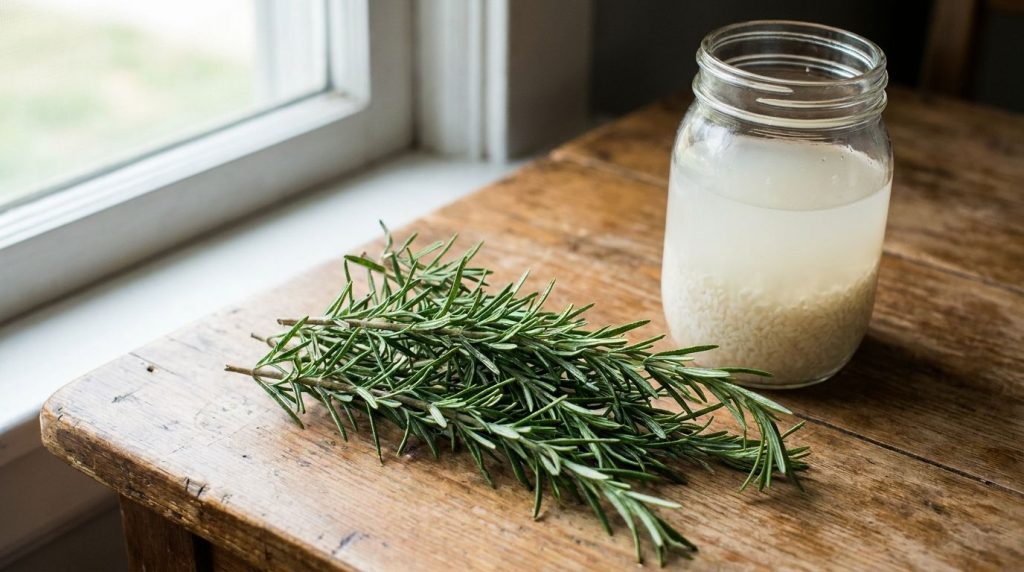
Simple is usually better. Look for fresh, food-grade or cosmetic-grade ingredients from reliable sources. Check that herbs and oils are fresh and stored properly, since old ingredients can smell off or lose quality. If you are new to a particular ingredient, read about it first and start with a small amount.
Patch Test Before You Apply
Even natural ingredients can irritate sensitive skin. Before using any new homemade serum on your face, apply a small amount to a discreet area, such as the inside of your wrist or behind your ear, and wait at least 24 hours. Stop using it right away if you notice redness, itching, burning, or swelling.
Label, Store, and Keep It Fresh
Write the name of the product and the date you made it on the container. Homemade products do not contain the same preservatives as store-bought items, so keep them in a cool, dry place, avoid sunlight, and use a clean utensil each time you scoop. When in doubt about freshness, it is best to make a new small batch.
Set Realistic Expectations
Homemade serums can be a pleasant part of your routine, but they are not a quick fix. Results vary from person to person, and no home remedy can promise dramatic changes in wrinkles, dark spots, or hair growth. Pair any DIY product with the basics that support healthy skin and hair, such as gentle cleansing, daily moisturizing, sunscreen, hydration, and a balanced diet.
Final Thoughts
DIY serum prep is really about patience, cleanliness, and care. Take your time, stay safe around heat, test before you apply, and keep your routine gentle and consistent. When you enjoy the process and listen to your skin, your homemade rituals can become a relaxing and rewarding part of your self-care time.