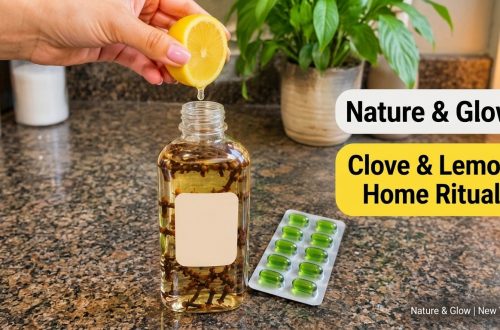
Many people are searching for a simple way to get a healthy, radiant complexion without a long shopping list. A DIY home glow oil built from everyday kitchen items, such as a lemon, whole cloves, and a basic carrier oil, is one popular idea. This guide explains what the blend can and cannot do, how to approach it safely, and how to decide whether it belongs in your routine.
What Is a DIY Home Glow Oil?
A home glow oil is a simple skincare blend made by combining a base oil with small amounts of flavorful or aromatic ingredients. The idea is appealing because it is inexpensive and easy to customize. Most versions rely on a neutral oil as the base, with optional additions for scent or a fresh feel.
Marketing for home remedies often promises dramatic results. A realistic expectation is more modest: an oil can help the skin feel softer and look more hydrated, especially when it is used to seal in moisture after washing. It does not change skin structure or replace treatments prescribed by a dermatologist.
Understanding the Ingredients
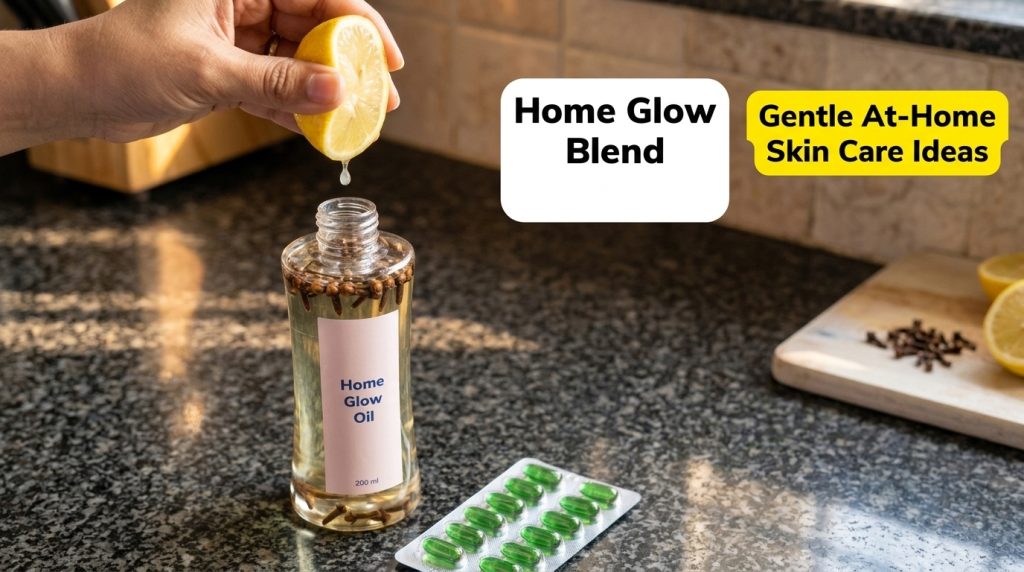
- Base oil: Plain oils, including mineral-based baby oil, can create a light occlusive layer that reduces water loss. Plant oils such as jojoba or almond oil are also common choices for people who prefer a non-mineral option.
- Lemon: Lemon adds a fresh scent, but its juice is acidic and can irritate sensitive skin. Lemon also makes skin more sensitive to sunlight, so applying it before going outdoors is a real concern.
- Whole cloves: Cloves are strongly aromatic and can cause irritation or redness, particularly on the face. Use them sparingly or skip them if your skin reacts easily to spices.
- Vitamin capsules: Some people add the contents of vitamin E capsules to their oils. Vitamin E is an antioxidant that is often used in skincare, but the benefit of adding it to a home blend is not well established.
How to Approach a Home Blend Safely
Before using any homemade mixture on your face, consider a few practical steps that protect your skin and help you judge the results.
- Patch test first. Apply a small amount to the inner forearm or behind the ear and wait at least 24 hours for any redness, itching, or swelling.
- Keep it simple. Using fewer ingredients makes it easier to identify what causes a reaction.
- Avoid lemon before sun exposure. Use citrus-based products in the evening, and always apply sunscreen during the day.
- Store it properly. Keep homemade blends in a clean, airtight container away from heat and light, and make small batches that you can use within a short time.
- Stop if irritation occurs. Burning, stinging, rash, or persistent redness means the blend is not suitable for your skin.
Where a Glow Oil Fits in Your Routine
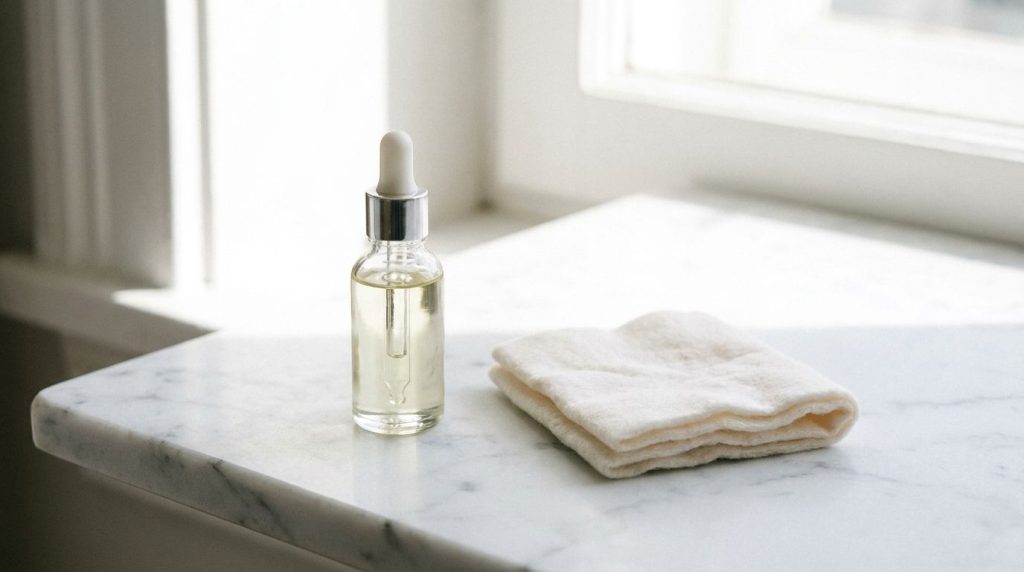
A homemade oil is usually best used as a final step at night, after cleansing and applying a light moisturizer. Use only a few drops, warm them between your palms, and press gently into the skin. Oils that feel heavy on oily or acne-prone skin may be better reserved for dry areas such as elbows, hands, or the lower face.
Consistency matters more than strength. Gentle cleansing, daily sunscreen, adequate water intake, and a balanced diet support healthy-looking skin far more than any single product.
Common Myths to Avoid
Dramatic before-and-after claims are common in home remedy content, but they rarely reflect the full picture. Results often come from lighting, makeup, hydration, and lifestyle changes rather than one ingredient. Be cautious about any post promising that a product will reverse aging in a few weeks.
The Bottom Line
A DIY home glow oil can be a pleasant, low-cost addition to a simple skincare routine when it is used carefully. Test it first, avoid lemon before sun exposure, and stop if your skin reacts. For persistent skin concerns, speak with a qualified dermatologist or healthcare professional.
Have you tried a homemade skincare blend? Share your experience in the comments and tell us which natural ingredient you rely on most.