There is a real satisfaction in seeing wooden cabinets look rich and even again. Over time, kitchen cabinets collect cooking residue, fingerprints, and a faint film that dulls the finish. A gentle cleaning and polishing routine can bring back the glow without harsh products or a full refinish.
This guide walks you through a simple, low-cost method for cleaning and polishing varnished wood cabinets. It is a good fit for everyday maintenance, and it can make a noticeable difference in a kitchen that feels tired.
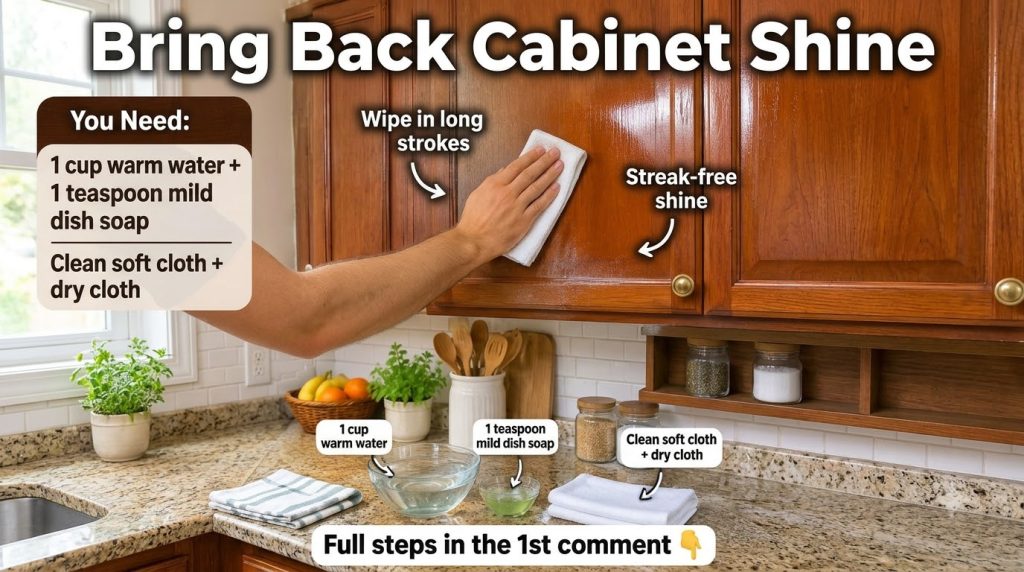
What You Will Need
- Two or three clean, soft microfiber or lint-free cotton cloths
- A small bowl of warm water
- A few drops of mild, unscented dish soap
- A soft-bristled brush for grooves or trim (optional)
- A dry cloth for final buffing
- A cabinet-safe wood polish or furniture polish, if your cabinets are sealed and you want extra shine
Why This Method Works
Most kitchen cabinets have a varnished or sealed finish. That finish protects the wood, but it also traps grease and grime on the surface. A mild soapy cloth lifts that buildup without stripping the sealant. A dry buffing step then removes any leftover moisture and leaves a smooth, even sheen.
Polish adds a bit of extra shine and a slightly richer look, but it is not a substitute for cleaning. Clean the surface first, and only polish once the wood is fully dry.
How to Clean and Polish Your Cabinets
- Clear the area around the cabinets so you can work comfortably and check the surfaces.
- Test your cleaning solution on an inconspicuous spot, such as the inside of a cabinet door or the back edge of a panel. Wait a few minutes and check for any change in color or finish.
- Dip a cloth into the warm soapy water and wring it out well. It should feel damp, not wet.
- Wipe the cabinet door in the direction of the wood grain. Work in small sections so the surface does not dry before you finish it.
- Use the soft brush to loosen grime in grooves, edges, or around the handles.
- Immediately wipe each section with a clean damp cloth to remove any soap residue.
- Dry the surface right away with a dry microfiber cloth.
- Once the wood is completely dry, apply a small amount of cabinet-safe polish to a fresh cloth. Wipe lightly and evenly.
- Buff the surface with a clean, dry cloth until the shine looks even and there are no sticky spots.
What to Expect
After one session, you should notice a cleaner, more even surface with better reflection and a warmer tone. Results depend on the age of the finish, how much buildup there is, and whether the cabinets have been polished before. Heavily worn or cracked finishes may look better after cleaning, but they will not look brand new. Plan to repeat this routine every few weeks, or whenever the doors start to look streaky.
Helpful Tips
- Work on one door at a time so you can control how much moisture is on the wood.
- Change your cloth often. A dirty cloth just moves grease around.
- Clean around the knobs and hardware carefully, and avoid letting water collect at the hinges or edges.
- Polish less rather than more. A thin, even layer looks better than a thick coat that feels tacky.
- Wipe away spills as soon as they happen, especially near the stove, to protect the finish over time.
Important Notes and Safety
- Avoid soaking the wood or using large amounts of water, since moisture can swell the wood and damage the finish.
- Do not use abrasive scrubbers, steel wool, or harsh chemical cleaners on varnished cabinets.
- Never mix cleaning products together. Use only one product at a time and rinse the surface between steps.
- Check your cabinet manufacturer’s care guidelines before using a new product, especially on painted, laminate, or specialty finishes.
- Work in a well-ventilated kitchen, and keep polish and cleaning supplies stored safely away from children and pets.
A little regular care keeps wood cabinets looking warm and welcoming. With a few simple supplies and a patient wipe, your kitchen can feel fresher and more inviting.