Most people toss walnut husks straight into the compost bin, but those green outer shells hold one of the easiest natural brown dyes you can make at home. A few handfuls of husks, some water, and a little patience can turn plain wool, cotton, or even pale wood into warm earthy tones that look far more expensive than they cost.
What Walnut Husk Dye Is
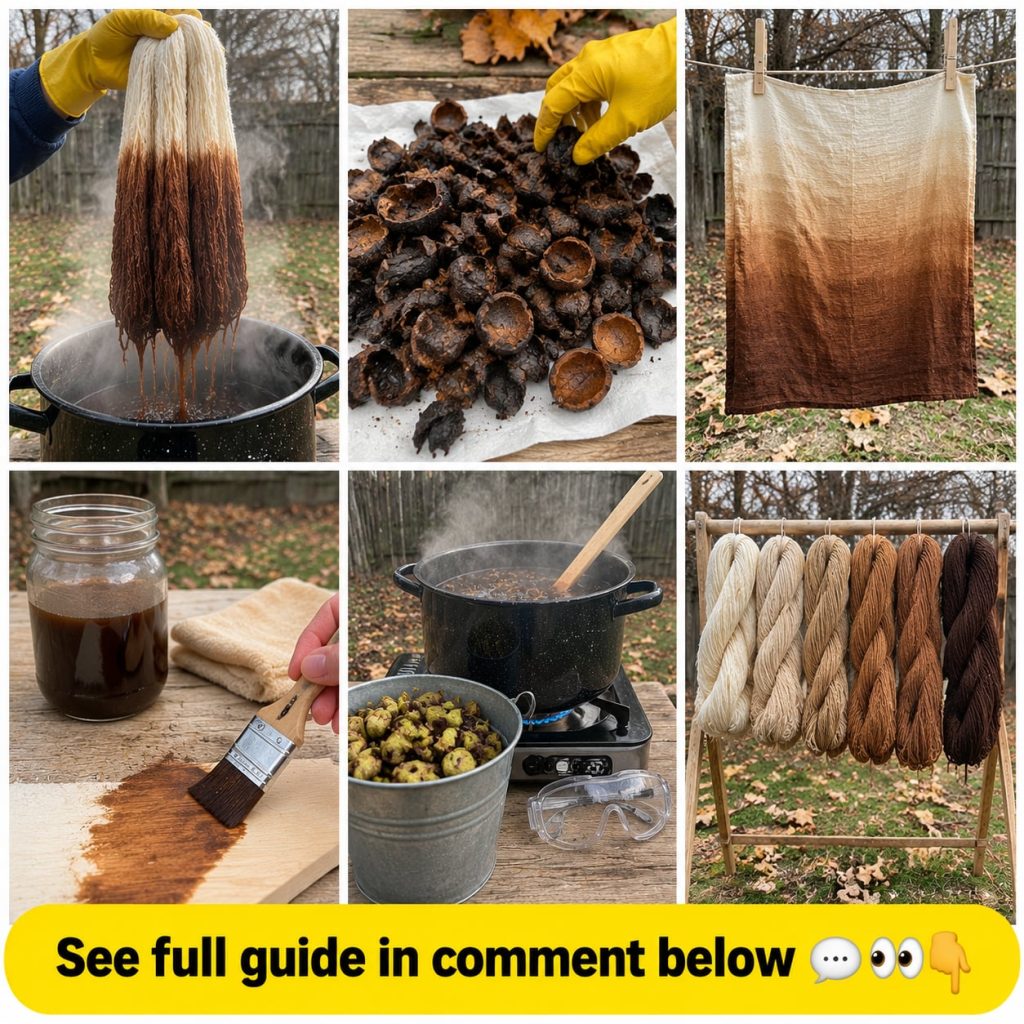
Walnut husk dye is a plant-based brown made by simmering the green outer hulls of black or English walnuts. The husks contain natural pigments that release a rich brown color when heated in water. Because the color comes from the plant itself, the result is a soft, earthy shade rather than a bright synthetic tone. It works well for wool yarn, linen, cotton, and unfinished wood projects.
Ingredients and Approximate Measurements
- Green walnut husks: about 1 to 2 cups, lightly packed, or roughly 500 grams for a medium batch
- Water: about 4 liters (1 gallon) for a pot that holds 1 kilogram of fiber
- Alum mordant (optional but recommended for wool): about 2 tablespoons per 100 grams of fiber
- Cream of tartar (optional with alum): about 1 tablespoon per 100 grams of fiber
- Pre-washed wool, cotton, or linen: 100 grams for a test skein
Formula and Recipe
For a simple test batch, use 200 grams of husks, 2 liters of water, and 100 grams of pre-washed wool. This ratio gives a medium brown that you can adjust later. Heavier husk loads usually produce deeper color, while shorter soaking times give lighter, honey-brown tones.
Step-by-Step Method
- Wear rubber gloves. Walnut husks stain skin and fabric quickly.
- Chop the husks into smaller pieces to expose more surface area.
- Place the husks in a non-reactive pot, such as stainless steel, and cover with water.
- Bring to a gentle simmer and cook for 45 to 60 minutes. Do not let it hard boil for long periods.
- Strain out the husks and let the liquid cool to warm.
- If using a mordant, soak the wool in alum water for 1 hour before dyeing.
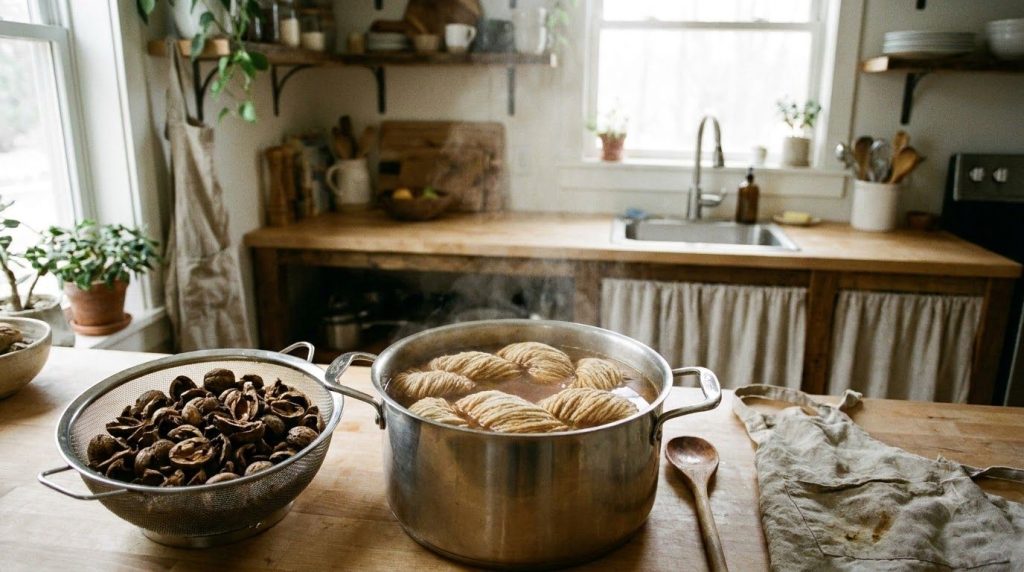
- Add the pre-soaked fiber to the dye bath and simmer gently for 45 minutes, stirring occasionally.
- Turn off the heat and let the fiber cool in the bath for at least 2 hours, or overnight for deeper color.
- Rinse until the water runs mostly clear, then dry away from direct sun.
How to Use the Dye
Walnut husk dye suits several crafts. For wool yarn, use a mordant to improve colorfastness. For cotton or linen, pre-soak in a tannin or alum solution to get more even results. For wood, brew a stronger, cooled dye and apply it with a soft cloth, then wipe off excess before it dries.
How Often to Use It
You can dye one batch of fiber per day without stress on the husks. Fresh husks are best used within 24 hours. If you plan multiple dye sessions, strain the liquid and divide it into smaller jars so you do not reheat the same bath repeatedly, which can dull the color.
How to Choose Husks
Look for husks that are still green, soft, and free of mold. Avoid husks that are already dried, blackened, or sprayed with garden chemicals. Collect them from trees you know are not treated with pesticides. Freshly fallen husks from late summer through early fall usually give the strongest color.
Storage
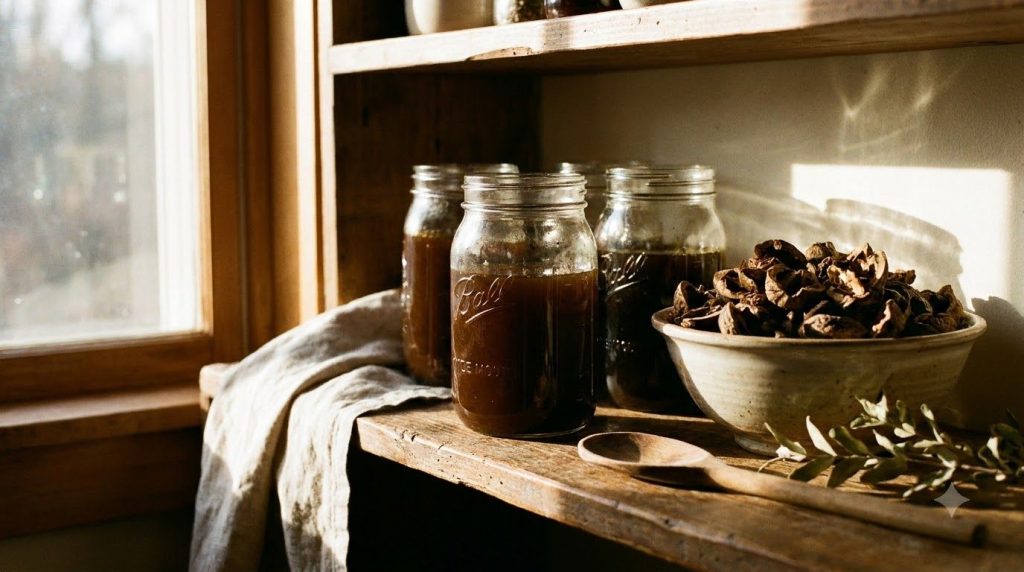
Fresh husks can be stored in a paper bag in a cool, dry place for up to one week. For longer storage, dry them completely on a screen away from direct sun and keep them in a sealed container. Strained dye liquid should be refrigerated and used within 3 days, or frozen for up to 2 months.
Practical Tips
- Use a larger pot than you think you need so the fiber can move freely.
- Test a small skein first to check the shade before dyeing a full project.
- Keep a notebook with husk weight, time, and water amount for repeatable results.
- Wood stains respond best to a second coat after the first one dries.
Common Mistakes
- Using damaged, moldy, or sprayed husks, which can give uneven or dull color.
- Boiling the dye too hard, which can make wool felt or shift the shade.
- Skipping the rinse, which leaves loose pigment that rubs off.
- Storing wet husks in sealed containers, which encourages mold.
- Dyeing in aluminum or reactive pots, which can change the final tone.
Cautions and Who Should Avoid It
Walnut husk dye stains skin, clothing, and surfaces, so work in a ventilated area and cover your workspace. Keep dye baths away from food preparation areas and do not reuse pots for cooking. People with known walnut or tree nut allergies should take extra care when handling husks and avoid direct skin contact. Children should be supervised during the process. If you have a skin condition or sensitivity, test a small patch of fabric first.
Quick Summary
| Topic | Best Choice |
|---|---|
| Best preparation | Simmered fresh green husks, strained |
| Best use case | Wool yarn, linen, cotton, and light wood staining |
| Fresh vs dried | Fresh gives stronger color; dried works but needs longer soaking |
| Storage | Fresh husks 1 week; strained dye 3 days refrigerated |
| When to use | Early to mid fall, when husks are green and soft |
| What to avoid | Moldy husks, reactive pots, hard boiling, and skipping rinses |
Frequently Asked Questions
Can I use fresh or dried husks?
Yes. Fresh husks give stronger, warmer brown tones. Dried husks still work but usually need longer soaking and a longer simmer.
Do I need a mordant?
It is not strictly required, but alum improves colorfastness on wool and helps the shade last through washing.
How long does the dye last?
Strained liquid lasts about 3 days in the refrigerator. Frozen dye can be kept for up to 2 months.
Can I freeze the dye bath?
Yes, freeze it in clean containers with a little space at the top. Thaw fully and warm gently before dyeing.
Can I reuse the husks?
A second simmer produces a lighter shade, which can be useful for pastel tones. Expect less color strength on the second round.
What part of the husk is best?
The outer green hull contains the most pigment. Discard any woody inner shell pieces, since they add little color.
When should I avoid this dye?
Avoid it if you have a tree nut allergy, if the husks are moldy, or if you plan to dye items that touch food.
Final Thoughts
Walnut husk dye is a practical way to turn fall scraps into useful colors for yarn, fabric, and wood. Start with a small test batch, keep your notes, and adjust the time and husk amount until you find your favorite brown.
You may also like: Read more about simple natural dye projects in our DIY section.
Related remedy: See the full guide to homemade wood stains and natural finishes.
Continue with: Learn how to make a gentle homemade fabric rinse for dyed textiles.