This homemade Ayurvedic style moisturizing balm is a simple, rich cream you can make at home to help dry skin feel softer and more comfortable. It is inspired by the traditional cream-based skincare that often appears in Ayurvedic beauty routines.
Quick Recipe
Prep time: about 15 minutes plus cooling and setting time
Best for: dry, rough, or tired-looking skin on the hands, elbows, and face
Use type: balm
Main ingredients:
- Shea butter
- Beeswax pellets
- Coconut oil
Ingredients
- 2 tablespoons shea butter
- 1 tablespoon beeswax pellets
- 3 tablespoons coconut oil or almond oil
- 1 teaspoon vitamin E oil, optional
- 2 to 3 drops sandalwood essential oil, optional and only if you have used essential oils before
How to Make It
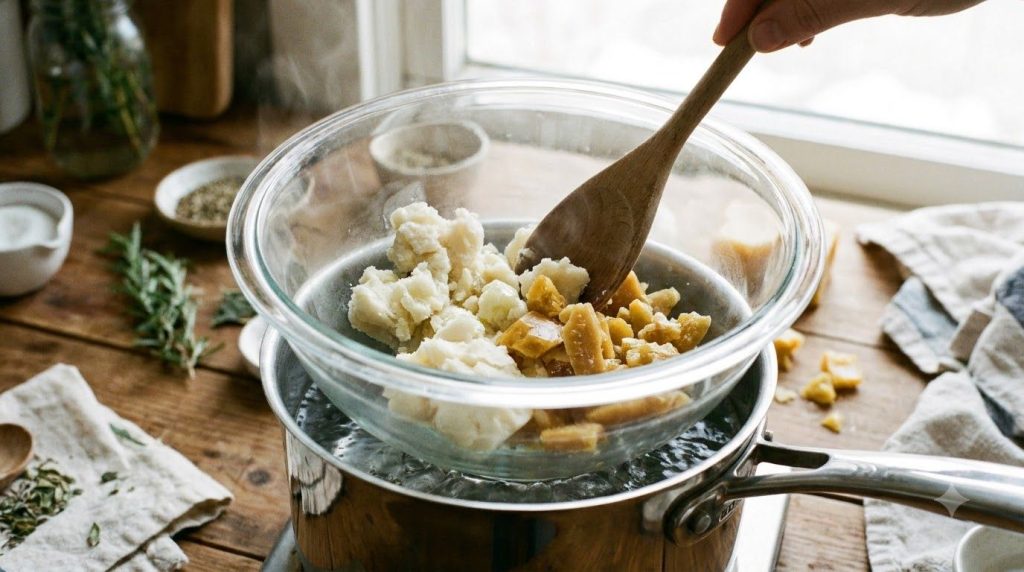
- Place the shea butter, beeswax pellets, and coconut oil in a small heatproof glass jar or bowl.
- Set the jar in a pan of barely simmering water and stir gently until everything melts into a smooth liquid.
- Remove from heat, stir in the vitamin E oil and essential oil if using, then pour into a clean, dry tin or small jar.
- Let the balm cool and firm at room temperature for about one hour before covering with a lid.
How to Use It
- Clean and pat dry the area you plan to treat.
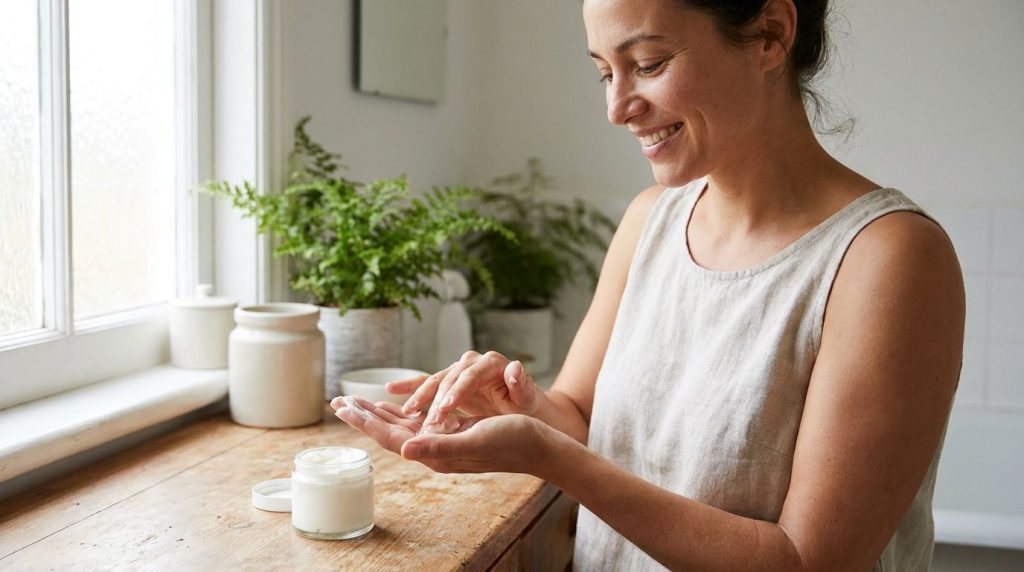
- Take a small amount, about the size of a pea, and warm it between your fingertips.
- Massage it gently into dry areas such as hands, elbows, or dry patches, or apply a thin layer to the face after cleansing.
- Use it at night for a richer layer, or in the morning under sunscreen if your skin feels dry.
How Often to Use It
Most people can use this balm once or twice a day on dry areas. If your skin feels greasy or clogs easily, switch to a lighter application a few times a week and use less product.
Why These Ingredients Are Used
Shea butter
Shea butter is a rich base that can help skin feel soft and less tight after washing.
Beeswax
Beeswax helps the balm hold its shape and creates a protective layer that can help lock in moisture.
Coconut or almond oil
These oils help the balm spread smoothly and leave skin feeling supple and comfortable.
What Results to Expect
This balm can help skin feel softer, more hydrated, and more comfortable over time. Many people notice a smoother feel on dry areas after regular use, though results vary with skin type, climate, and daily habits. It is a supportive moisturizer, not a treatment that changes skin age or removes lines.
Safety Notes
- Patch test first for topical remedies by applying a small amount to the inner arm and waiting 24 hours.
- Use gently and avoid rubbing harshly into the skin.
- Avoid irritated or broken skin for skin remedies.
- Stop using it if discomfort, redness, itching, or breakouts occur.
- Skip the essential oil if you are pregnant, have sensitive skin, or have a history of allergies to plant oils.
- Keep the balm in a cool, dry place and use clean hands or a clean spatula to avoid contamination.
FAQ
Can this balm replace my regular moisturizer?
Yes, many people use it as a richer nighttime moisturizer, but if your skin is oily or acne-prone, use it sparingly on dry areas only.
How long does the homemade balm last?
When stored in a clean, dry container away from heat and sunlight, it can usually last several weeks. Discard it if it smells rancid, changes color, or develops mold.
Can I use this on my face every day?
You can, if your skin tolerates it well. Start with a small amount a few nights a week and increase only if your skin feels comfortable.
Final Thoughts
This simple Ayurvedic style balm is an easy way to give dry skin a comforting, rich moisture boost at home. If you enjoy making your own skincare, save this recipe and try it in your next routine, and feel free to share your experience in the comments below.