Who doesn’t love a skincare project that feels a little like cooking? Homemade beauty gels are having a moment, and a DIY collagen gel is one of the most talked-about ideas for a fresh, youthful-looking complexion. In this guide, we’ll walk through what this gel is, how to make a simple version at home, and how to use it sensibly so your skin stays happy.
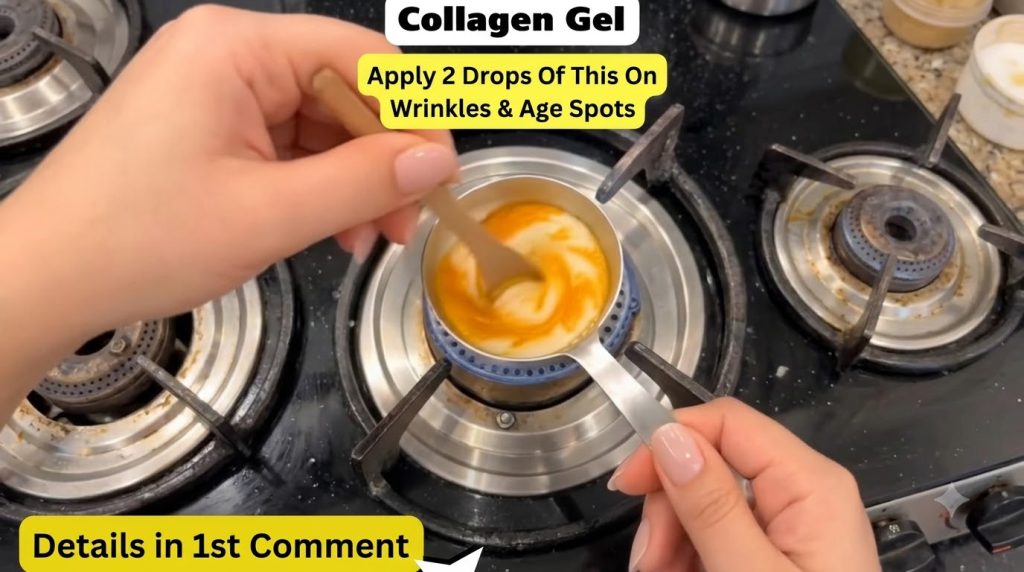
What Is a DIY Collagen Gel?
Collagen is a protein that gives skin its structure and bounce. As we get older, natural collagen production slows down, which is why many people look for ways to support a smooth, plump, and radiant look. A DIY collagen gel is a lightweight, homemade skincare product that combines collagen-friendly ingredients with soothing bases such as aloe vera gel. It’s designed to feel fresh on the skin and fit easily into a daily routine.
Simple Ingredients You Might Use
- Aloe vera gel, preferably pure and free from added fragrance
- A small amount of hydrolyzed collagen powder
- A few drops of vitamin E oil, if you already keep it at home
- A splash of rose water for a light, refreshing feel
Keep the batch small. Homemade products don’t contain preservatives, so making only what you’ll use within a week or so is the safest approach.
A Basic Method at Home
- Wash your hands and clean your tools and container thoroughly.
- Add the aloe vera gel to a clean bowl.
- Sprinkle in a small amount of collagen powder and stir gently until smooth.
- Add a few drops of vitamin E oil or rose water if you like, and mix again.
- Transfer the gel to a clean, airtight jar and store it in the refrigerator.
Avoid heating the mixture on a stove. Gentle mixing at room temperature keeps the texture pleasant and helps preserve the ingredients you’re using.
How to Use It in Your Routine
Apply a thin layer to clean, slightly damp skin after toner and before your moisturizer. Use it in the evening a few times a week at first, and watch how your skin responds. A little goes a long way, so there’s no need to pile it on.
Patch test first. Dab a small amount on your inner arm or jawline and wait 24 hours before applying it to your face.
Realistic Expectations
A homemade gel can support a hydrated, comfortable feel, and a moisturizing base can make skin look smoother in the short term. However, topical collagen has limits, and no homemade recipe can replace a dermatologist’s advice or proven treatments. If you have sensitive skin, active acne, or a medical skin condition, check with a professional before trying new products.
Tips for Best Results
- Pair your gel with a gentle cleanser and daily sunscreen, since sun protection is one of the best ways to protect youthful skin.
- Drink enough water and eat a balanced diet rich in fruits and vegetables.
- Stay consistent for several weeks rather than expecting overnight changes.
- Stop using the gel if you notice redness, itching, or irritation.
The Bottom Line
A DIY collagen gel can be a fun, affordable addition to your self-care routine. Keep it simple, make small batches, patch test every time, and treat it as one part of a healthy daily habit rather than a miracle fix. Your skin will thank you for the gentle care.