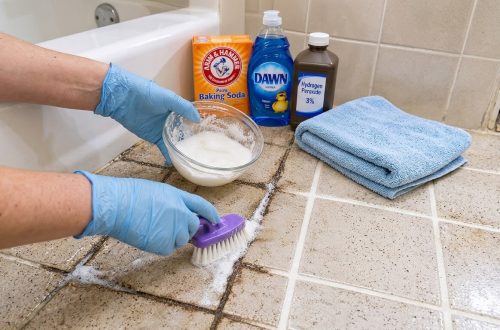
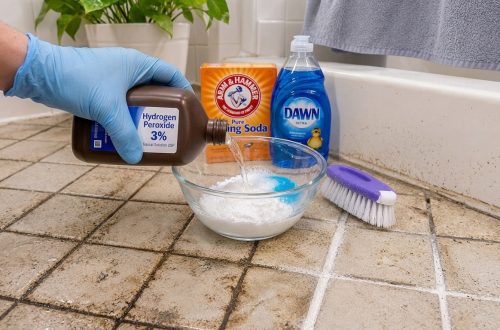
Dingy grout is one of those bathroom problems that looks worse every week. Scrubbing the lines by hand can wear you out without fully lifting the grime, especially in shower corners and around the tub. This simple three-ingredient paste uses baking soda, a squirt of dish soap and 3% hydrogen peroxide to loosen stains so they wipe away with much less effort.
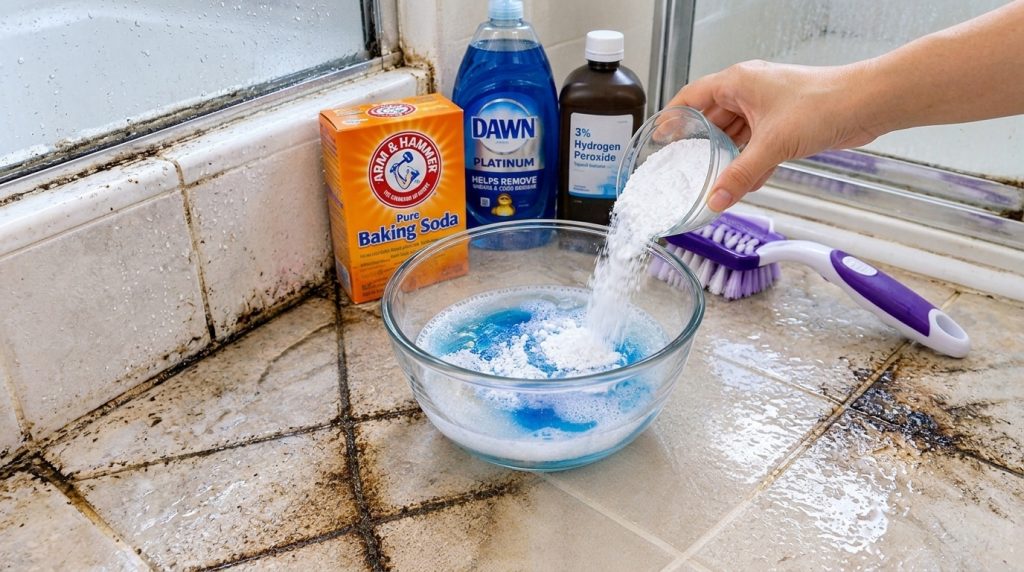
What You’ll Need
Cleaning Ingredients
- Baking soda, about 1/2 cup
- Blue dish soap (Dawn Platinum or a similar grease-cutting liquid), about 1 to 2 teaspoons
- 3% hydrogen peroxide, about 1/4 cup, added slowly as needed
Tools
- A small glass or plastic bowl
- A measuring cup and spoon
- An old toothbrush or a stiff scrub brush
- A spray bottle with plain water for rinsing
- A clean microfiber cloth or sponge
- Gloves
Why This DIY Can Be Useful
Baking soda is a mild abrasive, so it helps lift surface dirt and soap scum without being as harsh as many commercial products. Dish soap cuts through oily residue from hands, cooking splatters and bath products, which are common causes of grout discoloration. Hydrogen peroxide is a gentle oxidizer that can help lighten some stains over time. Together, they form a paste that clings to vertical and overhead grout lines better than a plain powder does.
How to Make It
- Put about 1/2 cup of baking soda into your bowl.
- Add 1 teaspoon of dish soap and stir until the mixture looks like wet sand.
- Pour in the hydrogen peroxide a little at a time, stirring after each addition, until the mixture becomes a spreadable paste similar to thick toothpaste. Stop adding peroxide once it reaches this texture.
- Let the mixture sit for a minute so the ingredients begin to combine. If it fizzes a little, that is normal.
How to Use It
- Wet the grout lines lightly with plain water from your spray bottle. This helps the paste spread and keeps it from drying too fast.
- Apply the paste directly onto the stained grout with a toothbrush or small scrub brush. Work it into the lines rather than just spreading it over the tile.
- Let it sit for 10 to 15 minutes. Do not let it dry completely, so mist with water if needed.
- Scrub the grout in small circular motions. Focus on the darkest areas and any spots near the floor or shower base.
- Wipe away the residue with a damp microfiber cloth, then rinse the area with clean water.
- Dry the tile with a towel to check your results and see whether a second application is needed.
What to Expect
This paste works best on light to moderate surface stains and everyday soap or grime buildup. It usually brightens grout noticeably after one application, but deep or old stains may need two or three rounds. Discoloration that has soaked deep into porous grout may not fully disappear, and results will vary depending on the grout type, its age and how often it has been sealed.
Helpful Tips
- Clean the grout in a small section first so you can see how it responds before tackling the whole bathroom.
- Use a toothbrush for narrow lines and a larger brush for wider floor grout.
- Make a fresh batch each time you clean. The paste loses its fizz and effectiveness as it sits.
- After the grout dries completely, consider resealing it to help it resist staining in the future.
Important Notes and Safety
- Never mix hydrogen peroxide with vinegar or bleach. Each combination can release harmful fumes or create unsafe reactions.
- Test the paste on a hidden spot first, especially on natural stone, colored grout or unsealed surfaces, since peroxide can lighten some materials.
- Wear gloves and keep the room ventilated, especially if the bathroom has little airflow.
- Rinse the surface well after cleaning so no residue is left behind to dull the tile.
- Store unused hydrogen peroxide in its original dark bottle away from direct sunlight, and keep all cleaning ingredients out of reach of children and pets.