Easy Apple Cinnamon Oat Bars
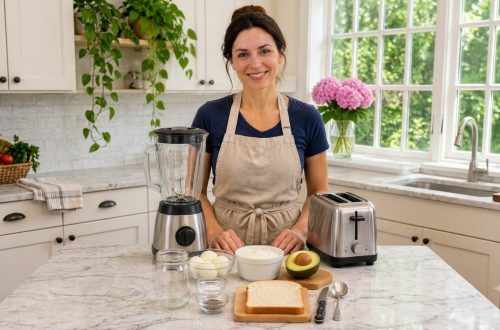
Apple cinnamon oat bars are soft, lightly sweet, and full of cozy autumn flavor. They make a satisfying grab-and-go breakfast or an afternoon snack with a cup of coffee or tea. Everything comes together in one bowl using pantry staples, so they are a good choice for a busy weekday.
Why You’ll Love These Oat Bars
- Simple ingredients that most home bakers already have
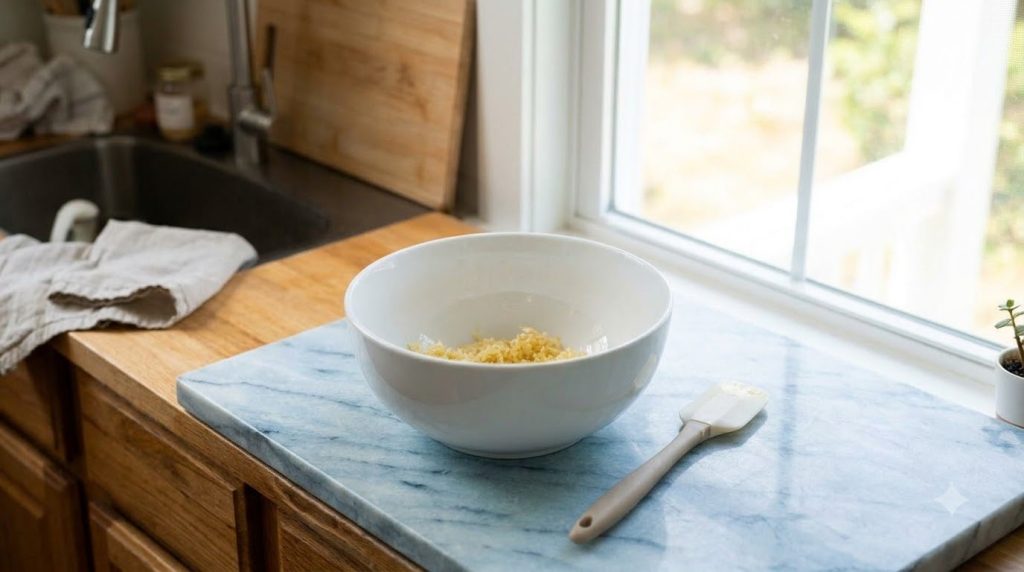
- One bowl and one 8-inch square pan, with easy cleanup
- A soft, chewy texture with tender bites of apple
- Easy to cut, pack, and share
Ingredients
- 2 cups (180 g) old-fashioned rolled oats
- 1 cup (125 g) all-purpose flour
- 1/2 cup (100 g) packed light brown sugar
- 1 tsp ground cinnamon
- 1/2 tsp baking powder
- 1/4 tsp salt
- 1/2 cup (113 g) unsalted butter, melted
- 1 large egg
- 1 tsp vanilla extract
- 1/3 cup (80 ml) milk
- 2 medium apples (about 2 cups or 300 g), peeled and diced small
Ingredient Notes
Old-fashioned rolled oats give the bars their chewy structure. Quick oats can be used, but the texture will be softer and less distinct.
Apples add natural sweetness and moisture. Firm, tart varieties such as Granny Smith or Honeycrisp hold their shape well, while softer apples break down more during baking.
Melted butter keeps the bars tender. Room-temperature milk blends more easily into the batter than cold milk.
Equipment You’ll Need
- Large mixing bowl
- Medium bowl for the wet ingredients
- 8-inch square baking pan
- Parchment paper or nonstick spray
- Cutting board and sharp knife
- Wire rack for cooling
How to Make Apple Cinnamon Oat Bars
-
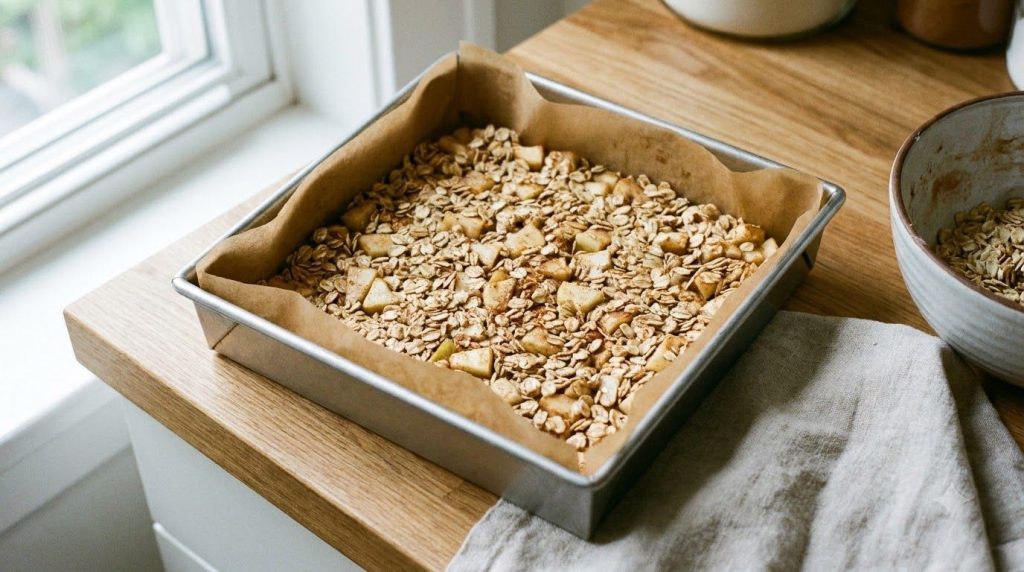
Preheat the oven to about 350°F (175°C). Line an 8-inch square pan with parchment paper, leaving a little overhang on two sides so the bars are easy to lift out later.
-
In a large bowl, whisk together the oats, flour, brown sugar, cinnamon, baking powder, and salt. Break up any lumps of brown sugar with your fingers so the mixture looks evenly blended.
-
Peel the apples, then dice them into small pieces about 1/4 inch (6 mm). Smaller pieces bake more evenly and make the bars easier to slice.
-
In a medium bowl, whisk the melted butter, egg, vanilla, and milk until smooth and fully combined. The mixture should look glossy with no streaks of egg.
-
Pour the wet mixture into the dry ingredients and stir with a spatula until just combined. The dough will be thick and sticky, with no dry pockets of flour remaining.
-
Fold in the diced apples. Spread the mixture evenly into the prepared pan and press it down gently with the back of a spatula or your hands.
-
Bake for about 25 to 30 minutes (estimate). The top should look golden at the edges, and the center should feel set when lightly pressed. A toothpick inserted in the center should come out with a few moist crumbs, not wet batter.
-
Let the bars cool in the pan on a wire rack for at least 30 minutes. Lift them out using the parchment overhang, then cut into 9 or 16 squares. Cutting too soon can cause them to crumble.
Pro Tips for the Best Results
- Dice the apples small and evenly so every bite has apple without the bars falling apart.
- Press the mixture firmly into the pan. Loose packing leads to crumbly bars.
- Check the bars a few minutes before the estimated time, since oven heat varies.
- Use a light-colored metal pan for even browning. Dark pans may brown the edges faster.
- Let the bars cool fully before slicing for clean edges.
Common Mistakes to Avoid
Bars that crumble: This usually happens when the mixture is not pressed firmly or the bars are cut while still warm. Let them cool completely first.
Dry or dense bars: Too much flour or overbaking can cause this. Measure flour by spooning it into the cup and leveling it off, and remove the bars when the center is just set.
Soggy centers: Very juicy apples or underbaking can leave the center wet. Use firm apples and bake until the center is set.
Variations and Substitutions
- Add 1/2 cup (60 g) chopped walnuts or pecans for crunch.
- Swap half the brown sugar for maple syrup for a deeper flavor, reducing the milk slightly if the batter looks loose.
- Use gluten-free rolled oats and a gluten-free all-purpose flour blend if needed, and check that your oats are labeled gluten-free.
- Add a pinch of nutmeg or a little orange zest to the dry ingredients for extra warmth.
Serving Suggestions
Serve the bars warm or at room temperature. A cup of coffee, tea, or cold milk pairs well with them. For a more filling breakfast, add a spoonful of plain Greek yogurt on the side.
Storage and Reheating
Store cooled bars in an airtight container at room temperature for up to 2 days, or in the refrigerator for up to 5 days (general estimate). Layer parchment between the bars to keep them from sticking together.
To freeze, wrap each bar individually and place them in a freezer bag for up to 2 to 3 months (estimate). Thaw at room temperature or microwave for 15 to 20 seconds.
Frequently Asked Questions
Can I make these oat bars ahead of time?
Yes. They keep well for several days, and the flavor often improves after resting overnight.
Can I freeze apple cinnamon oat bars?
Yes. Wrap them individually and freeze. Thaw them at room temperature or warm them briefly in the microwave.
Why did my oat bars turn out dry?
Too much flour or baking too long are the most common causes. Measure carefully and pull the bars from the oven once the center is set.
Can I use a different type of apple?
Yes. Firm, tart apples work best. Softer apples will break down more and make the bars moister.
Can I skip the egg?
Replacing the egg is possible but will change the texture. Consider a tested egg substitute for baking, and expect the bars to be more crumbly.
Do I need to use a mixer?
No. A bowl, a whisk, and a spatula are enough for this recipe.
Recipe Card
Recipe Name: Easy Apple Cinnamon Oat Bars
Short Description: Soft, chewy oat bars with diced apple and warm cinnamon.
Prep Time: About 15 minutes
Cook Time: About 25 to 30 minutes (estimate)
Total Time: About 1 hour, including cooling
Servings: 9 to 16 bars
Course: Breakfast, Snack, Dessert
Cuisine: American
Cooking Method: Baking
Notes: Oven times vary, so check for a set center and golden edges. Use firm apples for the best texture.
Storage: Room temperature up to 2 days, refrigerated up to 5 days, or frozen up to 2 to 3 months.
Nutrition information is an estimate and may vary depending on the ingredients and brands used.
Have you tried this recipe? Share in the comments which variation you liked best!