Dark streaks in the shower corner, grout that has turned brown or black, and a tub bottom that never quite looks clean are some of the most frustrating bathroom problems. They often come from mold, mildew, and soap scum building up in damp areas that don’t dry out fast enough. The good news is that a focused, step-by-step clean can make a visible difference in one session.
This guide walks you through a practical approach for tackling mold and grime in a shower corner, from gathering supplies to checking your results.
What You’ll Need
Cleaning products:
- A bathroom mold and mildew cleaner, or a foamy bathroom cleaner labeled for grout and tile
- Warm water
Tools:
- Spray bottle or trigger sprayer for applying cleaner
- Stiff nylon grout brush or an old toothbrush
- Non-scratch scrub pad
- Microfiber cloths or old towels
- Rubber gloves and safety glasses
- Good ventilation, such as an open window or bathroom fan
Why This Approach Works
Mold and grime sit in porous grout and in the thin film of residue left on tile. A cleaner with a thicker, foamy texture stays on vertical surfaces longer, giving it more time to loosen stains before you scrub. Combined with light scrubbing, this lets you remove buildup without taking on the entire bathroom at once.
How to Make It Ready to Use
- Check the label of your cleaner. Some products are ready to use, while others need to be diluted. Follow the label exactly.
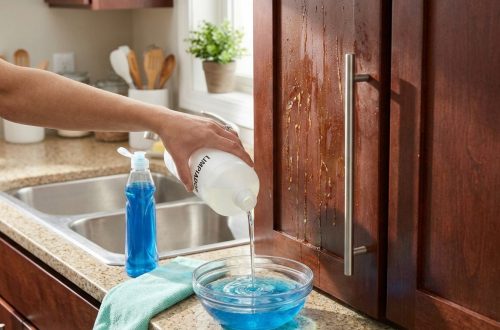
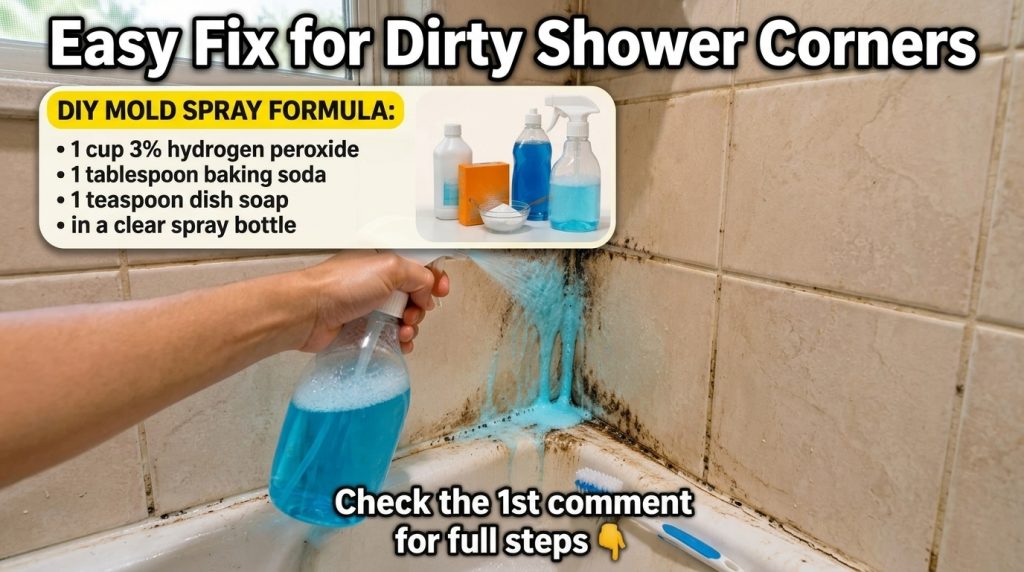
- If you prefer a homemade option for light grime, mix warm water with a small amount of mild dish soap in a spray bottle. Use this only for surface dirt, not heavy mold.
- Never mix bleach with vinegar, ammonia, or any other cleaner. Combining them can release toxic fumes.
- Label the spray bottle clearly so you always know what is inside.
How to Use It
- Open a window or turn on the exhaust fan, and put on gloves and eye protection.
- Dampen the tile and grout with warm water first. This helps the cleaner spread and keeps it from drying too quickly.
- Spray the cleaner generously on the shower corner, the grout lines, and the tub edge where the stains appear.
- Let it sit for the time listed on the product label, usually 5 to 10 minutes. Do not let it dry completely on the surface.
- Scrub the grout lines with a stiff brush using small, circular motions. Use a non-scratch pad on the tile.
- Rinse thoroughly with clean warm water, wiping away loosened residue with a microfiber cloth.
- Dry the area with a clean towel to reduce moisture that feeds new mold.
What to Expect
After one round of cleaning, you should see lighter grout and fewer dark streaks on the tile. Surface grime usually lifts easily, while deeper mold in grout may need a second treatment. Heavily stained or discolored grout may not return to its original color, so set realistic expectations and plan to repeat the process over a few weeks if needed.
Helpful Tips
- Clean the shower corner once a week to prevent heavy buildup.
- Run the fan or crack a window during and after showers to speed drying.
- Wipe down the tub and tile with a squeegee or towel after each use.
- Test any cleaner on a small hidden area first, especially on natural stone or colored grout.
Important Notes and Safety
- Never combine cleaners. Keep bleach separate from acids and ammonia products.
- Avoid harsh scrubbing on glossy tub surfaces, which can dull the finish.
- Rinse the area well so no cleaner residue is left on the tub, as it can leave a slippery film.
- Store cleaning products out of reach of children and pets, and keep them in their original labeled containers.
Stubborn grime takes patience, but a consistent routine keeps your shower corner looking fresh and makes each deep clean easier than the last.