This simple daily DIY face cream uses a light, white creamy base that is easy to mix at home and fits neatly into a morning and evening routine. It is designed to help skin feel soft, hydrated, and smoother-looking over time.
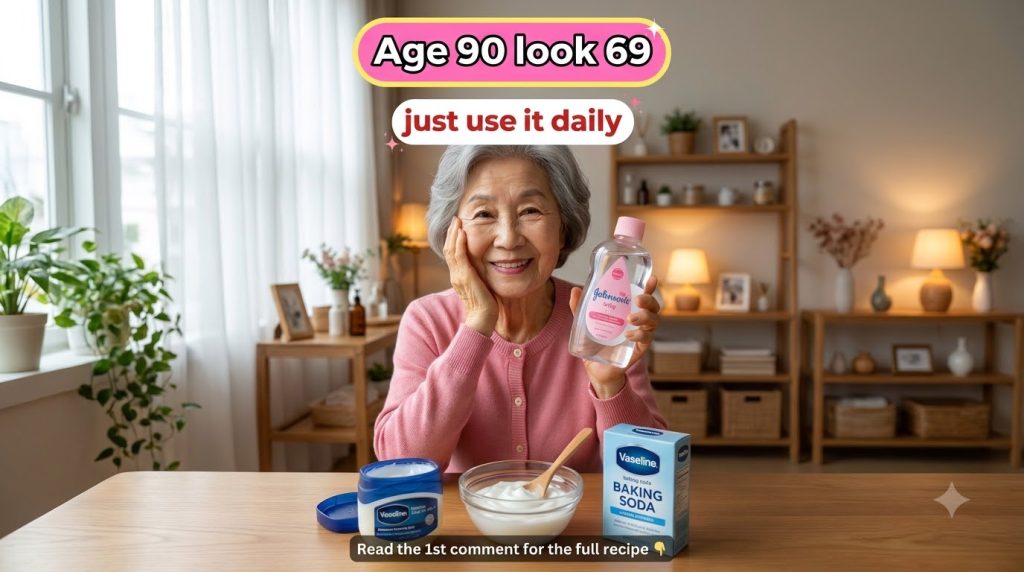
Quick Recipe
Prep time: about 15 minutes
Best for: dry, dull-looking skin and a soft, hydrated daily moisturizer
Use type: cream
Main ingredients:
- Plain unscented shea butter
- Light plant oil such as jojoba or sweet almond oil
- Aloe vera gel
Ingredients
- 3 tablespoons plain unscented shea butter
- 2 tablespoons jojoba or sweet almond oil
- 1 tablespoon pure aloe vera gel
- 1/2 teaspoon vitamin E oil, optional
How to Make It
- Place the shea butter in a heatproof glass bowl set over a pan of barely simmering water. Stir gently until it has just melted.
- Remove the bowl from the heat and whisk in the oil. Let the mixture cool for a few minutes until it is warm but not hot.
- Add the aloe vera gel and vitamin E oil. Whisk steadily until the cream becomes smooth, soft, and fluffy-looking.
- Spoon the cream into a clean, dry jar with a tight lid. Let it set at room temperature, then store it in a cool place away from direct sunlight.
How to Use It
- Cleanse your face with a gentle cleanser and pat it dry so the skin is still slightly damp.
- Scoop a pea-sized amount onto your fingertips and warm it between your palms.
- Press and smooth it over your face and neck with gentle upward strokes. Use it morning and evening, and follow with sunscreen during the day.
How Often to Use It
Many people find that a thin layer once or twice a day fits well into a simple routine. Start with once daily for the first week so your skin can adjust, then increase if it feels comfortable. Consistency matters more than using a large amount.
Why These Ingredients Are Used
Shea Butter
Shea butter is a rich, plant-based butter often used in home beauty routines to help skin feel soft and cushioned.
Jojoba or Almond Oil
Light plant oils can help the skin hold moisture and leave a smooth, comfortable finish without feeling heavy.
Aloe Vera Gel
Aloe vera gel adds a cooling, refreshing layer of hydration that many people enjoy in daily moisturizers.
What Results to Expect
This cream is best viewed as a gentle daily moisturizer. With regular use, skin may feel softer, more hydrated, and more comfortable, and it can help the appearance of dryness and dullness. It does not reverse aging or produce instant changes, so give it several weeks of steady use before judging how it works for you.
Safety Notes
- Patch test first for topical remedies by applying a small amount to your inner arm or behind the ear for 24 hours.
- Use gently and avoid the eye area.
- Avoid irritated or broken skin for skin remedies.
- Stop using it if redness, itching, or discomfort occurs.
- Nut-based oils should be avoided if you have a nut allergy, so choose jojoba oil in that case.
- Homemade products do not contain preservatives, so make small batches and store them in the refrigerator in warm weather.
FAQ
Can I use this cream every day?
Yes, many people use it morning and evening. If your skin becomes irritated, reduce how often you apply it and check your ingredients.
How long does the homemade cream last?
Store it in a clean jar in a cool place and use it within about one to two months. Discard it if it smells sour or changes color.
Is this suitable for sensitive skin?
Sensitive skin should always start with a patch test. If you have a skin condition or allergies, check with a healthcare professional before trying a new homemade product.
Final Thoughts
A simple daily cream can become a comforting part of your routine when you keep it consistent and gentle. If you enjoy easy home beauty ideas like this, explore more practical recipes on our website and save this guide for your next batch.