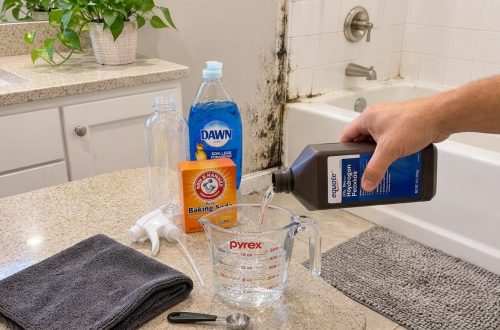
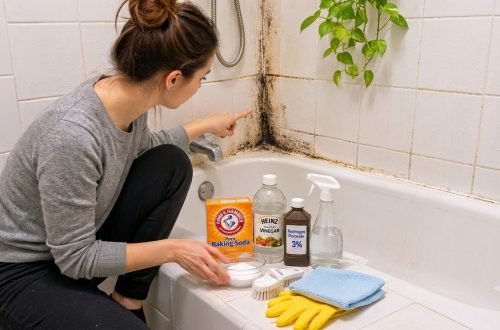
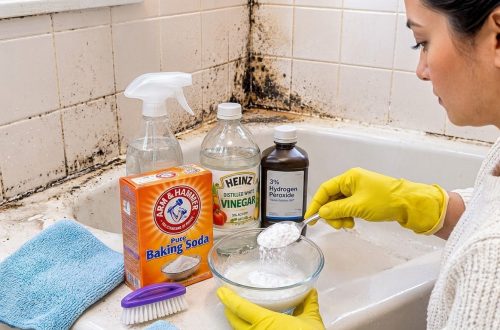
Dingy grout lines and dark spots in the corners of a bathroom can make even a clean tub look neglected. Before you reach for harsh bleach products, a simple homemade routine using vinegar, baking soda, and hydrogen peroxide can help loosen grime and surface mold on tile and grout without much effort.
This approach works best for light to moderate buildup on glazed tile, tub surrounds, and sealed grout. It won’t replace a proper fix for deep or recurring mold, but it’s a practical first step for everyday bathroom cleaning.
What You’ll Need
Cleaning Ingredients
- Distilled white vinegar, about 1 cup
- Baking soda, about 2 tablespoons
- 3% hydrogen peroxide, about 1 cup (kept in its own bottle)
- Warm water, about 1 cup, for rinsing and diluting if needed
Tools
- Spray bottle
- Stiff scrub brush or old toothbrush
- Rubber or nitrile gloves
- Clean microfiber cloths
- Small bowl or cup for mixing the paste
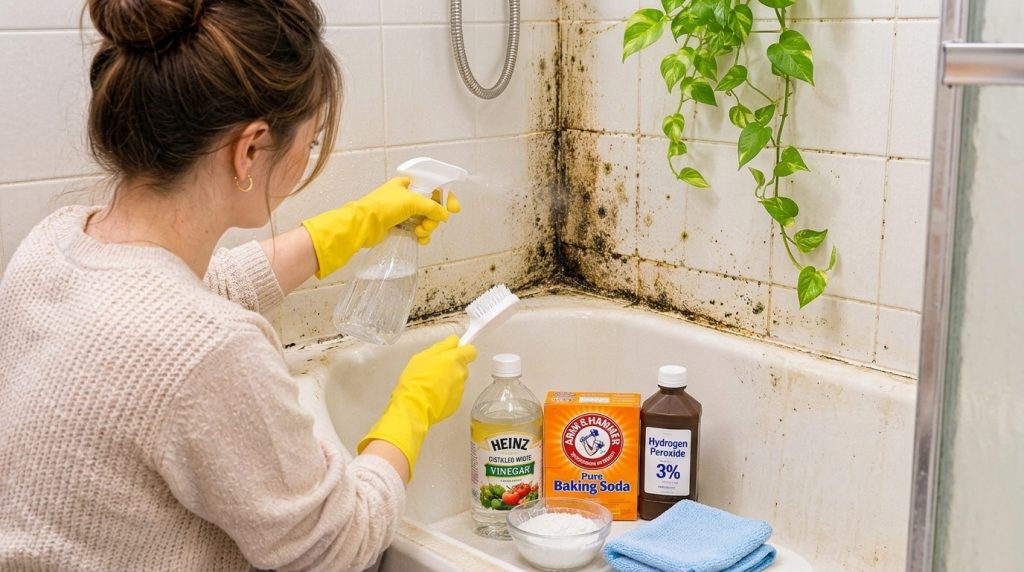
Why This DIY Can Be Useful
Vinegar is mildly acidic, which helps break down soap scum, mineral deposits, and the grime that holds mold to tile. Baking soda adds gentle scrubbing power and helps lift residue from grout without scratching most glazed surfaces. Hydrogen peroxide is useful for lightening stains and working on dark spots, especially when used on its own after cleaning.
The key is using each ingredient in its own step. Mixing vinegar and hydrogen peroxide together can form peracetic acid, which is a harsh irritant, so keep them separate.
How to Make It
- Put on gloves and open a window or turn on the bathroom exhaust fan before you start.
- Mix the baking soda with a small splash of water in a bowl until it forms a thick paste.
- Pour the vinegar into a spray bottle. Use it straight, or dilute it with an equal part of water if the surface is delicate.
- Keep the hydrogen peroxide in its original bottle or a clearly labeled spray bottle. Do not pour it into the vinegar bottle.
How to Use It
- Wet the tile or grout area with plain warm water first to remove loose dust.
- Spread the baking soda paste over the grout lines or dark corner and let it sit for about 10 minutes.
- Lightly spray the vinegar over the paste. It will fizz, which helps loosen buildup. Let it sit for another 10 to 15 minutes.
- Scrub gently with the brush in small circles, then rinse thoroughly with warm water and wipe dry with a cloth.
- Once the surface is completely rinsed, spray the hydrogen peroxide directly on the stained or dark areas. Let it sit for 10 to 15 minutes, then rinse again and dry.
What to Expect
Light surface grime and soap residue should look noticeably cleaner after one session. Grout that has darkened from dirt often improves, but some discoloration may remain, especially in older or porous grout. Mold in damp corners can return quickly if moisture is not controlled, so run the exhaust fan during and after showers and wipe down wet surfaces when you can.
Helpful Tips
- Work on one small section at a time so the cleaning solutions don’t dry before you rinse.
- Test a small hidden area first to see how your grout and tile react.
- Use a separate cloth for mold work and wash it after use.
- Keep the bathroom ventilated while cleaning, since vinegar and peroxide can both have a strong smell.
Important Notes and Safety
- Never mix vinegar, hydrogen peroxide, or baking soda with bleach or ammonia-based cleaners. Mixing these can release toxic gases.
- Avoid using vinegar on natural stone such as marble, travertine, or limestone, since its acidity can etch the surface.
- Patch test any sealed or colored grout before cleaning a large area.
- Store the hydrogen peroxide in its original dark bottle, away from heat and direct sunlight, and keep all cleaners out of reach of children and pets.
- If mold covers a large area, keeps returning, or is linked to a leak or poor ventilation, consider consulting a professional for an inspection.