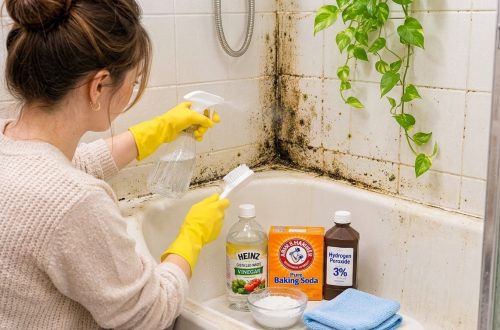
Black mold on bathroom tile and grout is frustrating because it tends to come back in damp spaces. A simple baking soda paste can help lift surface grime and loosen light mold stains in tight corners and grout lines, which makes scrubbing much less of a chore. It works best on surface-level buildup, so keep your expectations realistic.
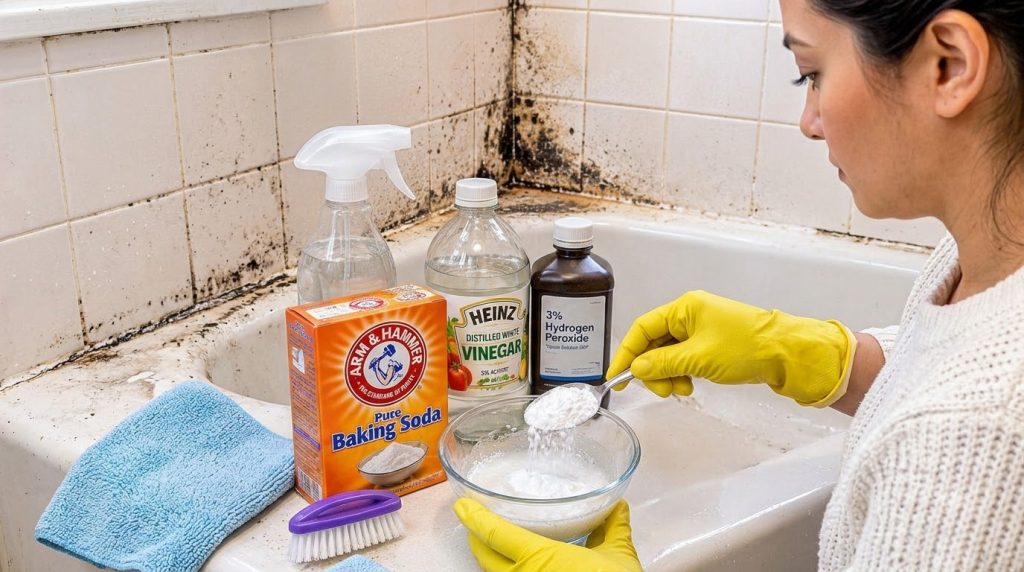
What You’ll Need
Cleaning Ingredients
- Baking soda, about 1/2 cup to start
- 3% hydrogen peroxide, a few tablespoons to start
- Distilled white vinegar, for an optional separate step
Tools
- Old toothbrush or a stiff scrub brush
- Glass or plastic bowl and a spoon
- Spray bottle
- Microfiber or old cloth
- Rubber gloves
Why This DIY Can Be Useful
Baking soda is a mild abrasive, so it helps loosen grime without the heavy scratching of harsh scrubbing powders. Hydrogen peroxide is a common household product that can help lift stains on some surfaces when it has time to sit. Vinegar is useful for general soap scum and hard water film, but it works best as a separate step rather than a mixed ingredient.
How to Make It
- Put about 1/2 cup of baking soda into a glass or plastic bowl.
- Add 3% hydrogen peroxide a tablespoon at a time, stirring after each addition.
- Keep mixing until the paste looks like thick frosting. It should hold its shape on a spoon without dripping. Add a little more baking soda if it is too runny, or a few drops more peroxide if it is too dry.
- Use the paste right away. Peroxide loses strength once it is mixed, so do not store leftovers for later use.
How to Use It
- Ventilate the bathroom by opening a window or running the exhaust fan.
- Put on rubber gloves. Dampen the moldy tile or grout lightly with water so the paste spreads easily.
- Apply a thin layer of paste over the stained area, focusing on corners and grout lines.
- Let it sit for about 10 to 15 minutes. Do not let it dry completely.
- Scrub gently with an old toothbrush or stiff brush in small circles.
- Rinse the area thoroughly with clean water and wipe it dry with a cloth.
If you want an extra step on tile, lightly mist the area with plain distilled white vinegar, wait a few minutes, then rinse well with water and dry. Use vinegar on its own, not in the same bowl as the peroxide paste.
What to Expect
Light surface mold and dingy grout often look noticeably cleaner after one good scrub, though deep staining may need several rounds. Black mold can leave shadows in grout even after it is removed, especially on older or porous grout. Expect some improvement, not a perfectly new finish. If mold keeps returning, the real issue is usually moisture, so improving airflow and drying the shower after use will matter more than any cleaner.
Helpful Tips
- Work on a small test spot first to see how your grout reacts.
- Clean a few tiles at a time so the paste does not dry out.
- Replace the cloth or rinse it often so you are not spreading mold spores around.
- Dry the tile and grout after each use to slow regrowth.
Important Notes and Safety
- Never mix hydrogen peroxide and vinegar in the same container or spray bottle. Keep them separate and rinse well with water between steps.
- Never combine these products with bleach or ammonia-based cleaners. Those mixtures can release dangerous fumes.
- Patch test on colored grout, painted surfaces and natural stone first. Vinegar can dull marble, limestone and other natural stone, and peroxide can lighten some colored grout.
- Wear gloves and keep the room ventilated during cleaning.
- Store peroxide in its original dark bottle, away from heat and direct sunlight, and keep all cleaners out of reach of children and pets.
- If mold covers a large area, has a strong musty smell, or appears near ceilings or ventilation, consider contacting a professional.