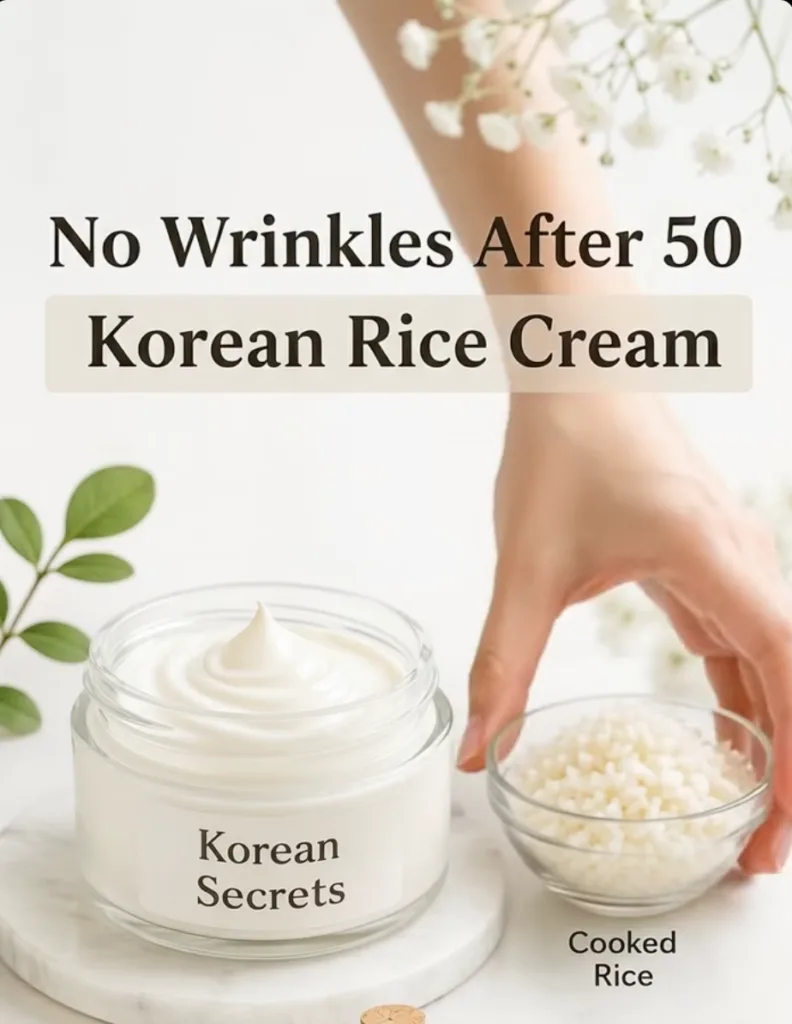
Rice-based skincare has become extremely popular thanks to its simple ingredients and creamy texture. If you want to try the viral rice + aloe vera + coconut oil + vitamin E combination at home, the most important thing is to make it in a small, fresh batch and use it carefully.
This homemade recipe can help skin feel soft, moisturized, and smooth, but it shouldn’t be expected to erase wrinkles or make mature skin literally look decades younger.
🌾 Ingredients
For one small batch, you’ll need:
- 2 tablespoons cooked white rice, completely cooled
- 1 tablespoon plain aloe vera gel
- ½ teaspoon coconut oil
- 1 vitamin E capsule
- 1–2 teaspoons clean water, only if needed for blending
Choose plain rice with no salt, butter, seasoning, or oil added.
🥣 Step 1: Cook and Cool the Rice
Cook plain white rice until it becomes very soft.
Take about two tablespoons and allow it to cool completely. Softer rice blends more easily and creates a smoother consistency.
Never apply hot or warm rice directly to your face.
🌀 Step 2: Blend the Rice
Place the cooled rice in a small blender.
Add approximately 1 teaspoon of clean water and blend until the rice becomes creamy.
If necessary, add another small splash of water—but avoid making the mixture too runny.
For an extra-smooth texture, push the rice paste through a fine strainer.
🌿 Step 3: Add Aloe Vera
Add 1 tablespoon of aloe vera gel to the rice paste.
Mix thoroughly until the cream becomes smooth and uniform.
Aloe vera gives the mixture a lighter texture and can provide a soothing, moisturizing feel.
🥥 Step 4: Add Coconut Oil
Add approximately ½ teaspoon coconut oil.
Mix again until incorporated.
You don’t need much. Too much coconut oil can make the formula very greasy, and coconut oil may clog pores for some acne-prone people.
If coconut oil doesn’t agree with your skin, you can simply leave it out.
💚 Step 5: Add Vitamin E
Pierce one vitamin E capsule and squeeze its contents into the mixture.
Stir everything together until you have a smooth cream.
Vitamin E adds an emollient feel, but remember: vitamin E is not a preservative, so it does not make a rice-based homemade cream safe to store for long periods.
✨ The Finished Texture
Your finished rice cream should look:
Creamy + smooth + easily spreadable, rather than watery or grainy.
If it’s too thick, add just a few drops of water or aloe gel. If it’s too thin, don’t keep adding ingredients—use the batch as a short-contact mask instead.
🧴 How to Apply the Rice Cream
Start by washing your face with a gentle cleanser and patting your skin dry.
Take a small amount of the freshly prepared mixture and spread a thin, even layer over your face.
Avoid:
- Eyes and eyelids
- Lips
- Broken skin
- Irritated areas
Gently massage it over the skin using your fingertips for around 30–60 seconds. Don’t scrub aggressively; rice particles can irritate the skin if the mixture isn’t completely smooth.
Leave it on for approximately 10–15 minutes.
Then rinse thoroughly with lukewarm water and gently pat your face dry.
Finish with your usual moisturizer.
If you’re doing the routine during the day, apply a broad-spectrum sunscreen afterward.
📅 How Often Should You Use It?
Start conservatively with:
1–2 times per week.
There’s no need to use a homemade rice mixture every day to get a moisturized feel.
If your skin becomes red, itchy, uncomfortable, or develops bumps, stop using it.
⚠️ Very Important: Don’t Store It Like Regular Face Cream
Because this recipe contains cooked rice, aloe, and water, microorganisms can grow in it. A homemade mixture like this does not contain a properly formulated cosmetic preservative system.
For that reason, the safest approach is to:
Make only enough for one application and discard the leftovers.
Don’t prepare a large jar and keep using it for weeks, even if it’s refrigerated or contains vitamin E.
🌸 Patch Test First
Before applying it to your entire face, place a small amount on an inconspicuous area of skin and monitor for irritation.
Patch testing is especially useful if you’ve never used aloe vera, vitamin E, or coconut oil on your face before.
💡 Optional Version for Oily or Acne-Prone Skin
If your skin tends to clog easily, simplify the recipe:
2 tbsp cooked rice + 1 tbsp aloe vera gel
Skip the coconut oil and vitamin E.
This produces a much lighter rice mask without adding heavy oils.
💛 What Can You Realistically Expect?
After rinsing, the combination of moisture and emollient ingredients may make your skin temporarily look or feel:
✨ Softer
✨ Smoother
✨ More hydrated
✨ Fresh and dewy
But claims such as “No wrinkles after 50” shouldn’t be taken literally. A homemade rice cream hasn’t been shown to permanently erase wrinkles.
For long-term skin aging concerns, consistent sun protection, moisturizer, and evidence-based skincare ingredients matter much more than any single DIY mask.
🌾 Quick Recipe Recap
2 tbsp cooked rice
- 1 tbsp aloe vera gel
- ½ tsp coconut oil
- 1 vitamin E capsule
Blend → Mix → Apply for 10–15 minutes → Rinse → Moisturize.