Unlock the Secrets of Seed Germination: A Gardener’s Essential Guide
There’s a special kind of magic in watching a tiny seed transform into a vibrant plant. For many gardeners, the journey begins long before a sprout peeks through the soil. Seed germination is the miraculous process where life awakens within a dormant seed, and mastering it is a cornerstone of successful gardening. Whether you dream of a bountiful vegetable patch, a colorful flower bed, or a lush indoor jungle, understanding how to coax seeds to life is an invaluable skill.
At Garden – L. Quyên, we believe that gardening should be a joyous and accessible experience for everyone. That’s why we’ve put together this essential guide to help you unlock the secrets of seed germination, ensuring your seeds get the best start possible. Say goodbye to guesswork and hello to thriving seedlings!
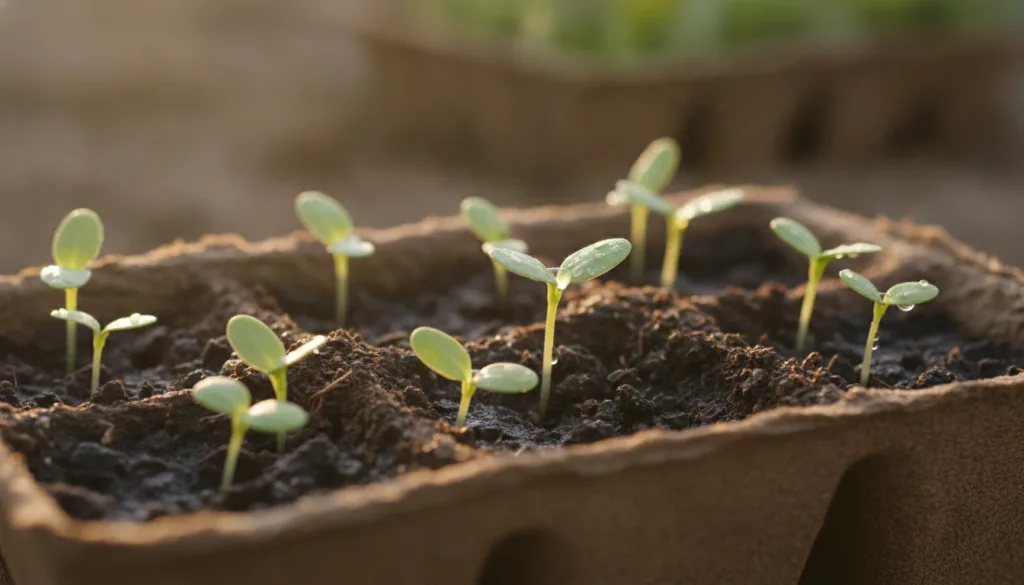
Why Germination Matters: The Foundation of a Healthy Garden
Starting plants from seed offers numerous benefits:
- Variety: Access to a much wider range of plant varieties than what’s available as nursery starts.
- Cost-Effective: Significantly cheaper than buying individual plants, especially for large gardens.
- Control: You control the entire growing process from day one, from organic practices to pest prevention.
- Satisfaction: There’s immense satisfaction in nurturing a plant from a tiny seed to maturity.
Key Factors for Successful Seed Germination
Seeds are little powerhouses, but they need specific conditions to wake up. Providing the right environment is crucial:
1. Temperature
Each seed has an optimal temperature range for germination. Most vegetable and flower seeds prefer warmth, typically between 65-75°F (18-24°C). Using a heat mat can be incredibly helpful, especially for seeds that need consistently warm soil.
2. Moisture
Seeds need consistent moisture to soften their outer coat and activate the embryo within. The soil should be damp, like a wrung-out sponge, but never waterlogged, which can lead to rot.
3. Light (or Lack Thereof)
Some seeds need light to germinate (e.g., lettuce, some flowers), while others need darkness (e.g., tomatoes, peppers). Always check your seed packet for specific instructions. If light is needed, simply press seeds onto the surface of the soil; if darkness, cover them with a thin layer of soil.
4. Seed Quality
Fresh, viable seeds are key. Older seeds may have lower germination rates. Always check the ‘packed for’ date on your seed packets.
5. Growing Medium
Use a sterile, fine-textured seed-starting mix. This provides good drainage, holds moisture, and is free from disease pathogens that can harm delicate seedlings.
Step-by-Step Guide to Germinating Seeds
Ready to get your hands dirty? Follow these simple steps for successful seed starting:
Step 1: Choose Your Seeds
Select varieties suitable for your climate and growing season. Always read the seed packet for information on planting depth, spacing, and specific germination requirements.
Step 2: Prepare Your Seed Starting Mix
Moisten your seed-starting mix thoroughly before filling your trays or pots. This ensures even moisture distribution.
Step 3: Plant the Seeds
- Depth: A general rule of thumb is to plant seeds at a depth equal to two to three times their diameter. Tiny seeds might just need to be pressed onto the surface.
- Spacing: Sow seeds thinly to avoid overcrowding, which can lead to leggy seedlings and disease.
Step 4: Water Carefully
After planting, gently water your seeds. A misting bottle or a bottom-watering method (placing trays in a shallow pan of water) works best to avoid disturbing the seeds.
Step 5: Provide the Right Environment
- Temperature: Place trays in a warm spot, ideally with a heat mat.
- Humidity: Cover trays with a clear plastic dome or plastic wrap to create a mini-greenhouse effect, maintaining humidity. Once seeds germinate, remove the cover to allow for air circulation.
Step 6: Thin Seedlings (If Needed)
Once seedlings develop their first true leaves (the second set of leaves after the initial cotyledons), thin them to the recommended spacing. Use small snips to cut off weaker seedlings at the soil line, rather than pulling them, which can disturb the roots of neighboring plants.
Step 7: Hardening Off
Before transplanting outdoors, seedlings need to gradually acclimate to outdoor conditions. This process, called ‘hardening off,’ involves exposing them to increasing periods of sun, wind, and cooler temperatures over 7-10 days. Start with an hour or two in a sheltered spot and gradually increase exposure.
Step 8: Transplanting
Once hardened off and all danger of frost has passed, transplant your seedlings into your garden beds or larger containers. Dig a hole large enough for the root ball, place the seedling, and gently backfill with soil. Water immediately.
Common Germination Problems and Solutions
- No Germination: Check seed viability, ensure correct temperature, moisture, and light conditions.
- Leggy Seedlings: This usually means they aren’t getting enough light. Move them closer to a light source or invest in grow lights.
- Damping-Off: A fungal disease that causes seedlings to collapse at the soil line. Prevent by using sterile seed mix, ensuring good air circulation, and avoiding overwatering.
Embrace the Journey!
Starting plants from seed is a rewarding journey that connects you deeply with the cycles of nature. Don’t be discouraged by a few failures – every gardener experiences them! With patience, observation, and this guide, you’ll be well on your way to a thriving garden, grown right from the start.
Happy planting, fellow gardeners!