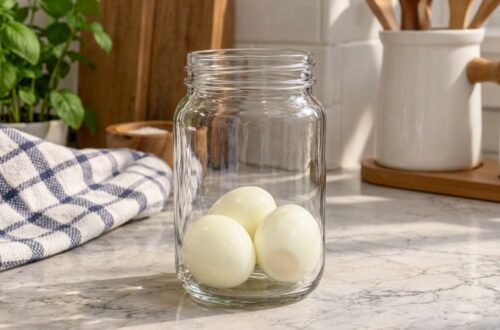
Dreaming of fresh, homemade cheese? It’s easier than you think to whip up your own delicious varieties right in your kitchen! Say goodbye to store-bought and hello to wholesome, from-scratch goodness with these fantastic homemade cheese recipes. From stretchy mozzarella to creamy mascarpone, we’ll guide you through making six different cheeses that will elevate your meals and impress your guests.
Making cheese at home is a rewarding experience that puts you in control of the ingredients, ensuring quality and freshness. Whether you’re a seasoned chef or a beginner in the kitchen, these recipes are designed to be accessible and enjoyable. Let’s dive into the wonderful world of homemade cheese!
Quick Overview
- Main topic: Homemade Cheese Recipes
- Best for: Home cooks, dairy lovers, those seeking fresh, natural ingredients
- Number of recipes: 6
- Prep style: Mix, heat, curdle, drain, shape
- Reader benefit: Enjoy fresh, preservative-free cheeses; learn a new culinary skill
Recipe 1: Homemade Mozzarella Cheese

Mozzarella is a classic, known for its stretchiness and mild, milky flavor. Perfect for pizzas, salads, or simply enjoyed fresh with a drizzle of olive oil.
Servings: 8-10 ounces (approx.)
Prep time: 1 hour
Cook / chill / rest time: 30 minutes active / 30 minutes rest
Ingredients:
- 1 Gallon Whole Milk
- 1 1/2 tsp Citric Acid (dissolved in 1/4 cup cool water)
- 1/2 tsp Liquid Rennet (diluted in 1/4 cup cool water)
- 1-2 tsp Cheese Salt
Instructions:
- In a large pot, combine whole milk with the dissolved citric acid. Heat gently over medium-low heat, stirring constantly, until the milk reaches 90°F (32°C).
- Remove the pot from heat. Stir in the diluted liquid rennet with an up-and-down motion for 30 seconds. Cover the pot and let it sit undisturbed for 5-10 minutes, or until a firm curd forms, resembling custard.
- Gently cut the curds into 1-inch cubes using a long knife. Return the pot to medium-low heat and slowly heat the curds to 105°F (40°C), stirring very gently occasionally to prevent sticking. Maintain this temperature for 20-30 minutes.
- Pour the curds into a colander lined with cheesecloth to drain the whey. Let it drain for 10-15 minutes, gently pressing to remove excess whey.
- Transfer the drained curds to a microwave-safe bowl. Microwave for 30 seconds. Using gloved hands (or two spoons), fold the curds onto themselves, pressing out more whey. Repeat microwaving and folding 2-3 times until the cheese reaches 135°F (57°C) and becomes pliable and stretchy. Alternatively, immerse curds in 170°F (77°C) water for stretching.
- Add cheese salt and knead the cheese, stretching and folding until it’s smooth, shiny, and elastic. Shape into desired balls.
Storage / Serving / Usage Note: Serve immediately, or store in lightly salted water in the refrigerator for up to 5 days. Best enjoyed fresh.
Recipe 2: Homemade Feta Cheese

Feta is a brined curd cheese with a salty, tangy flavor and a crumbly texture. It’s a staple in Greek salads, pastries, and as a topping for many dishes.
Servings: 1 pound (approx.)
Prep time: 45 minutes
Cook / chill / rest time: 1 hour active / 12-24 hours draining / 1 week brining
Ingredients:
- 1 Gallon Whole Milk (non-homogenized preferred)
- 1/4 tsp Mesophilic Starter Culture
- 1/4 tsp Liquid Rennet (diluted in 1/4 cup cool water)
- 2 tbsp Cheese Salt (for brining)
- Water (for brine)
Instructions:
- Warm milk to 86°F (30°C). Sprinkle mesophilic starter culture over the surface and let rehydrate for 5 minutes, then stir gently.
- Add diluted rennet, stir gently for 1 minute. Cover and let sit at room temperature for 1 hour, or until a clean break is achieved.
- Cut the curds into 1/2-inch cubes. Let rest for 10 minutes.
- Slowly increase temperature to 90°F (32°C) over 20 minutes, stirring occasionally. Maintain for 20 minutes.
- Drain curds into a cheesecloth-lined mold or colander. Press lightly for 12-24 hours, flipping occasionally.
- Cut the cheese into desired blocks. Prepare a brine solution with 1 cup cheese salt per gallon of water. Submerge cheese in brine and refrigerate for at least 1 week, or up to 1 month.
Storage / Serving / Usage Note: Store feta in its brine in the refrigerator. Use in salads, baked dishes, or as a flavorful topping.
Recipe 3: Homemade Paneer
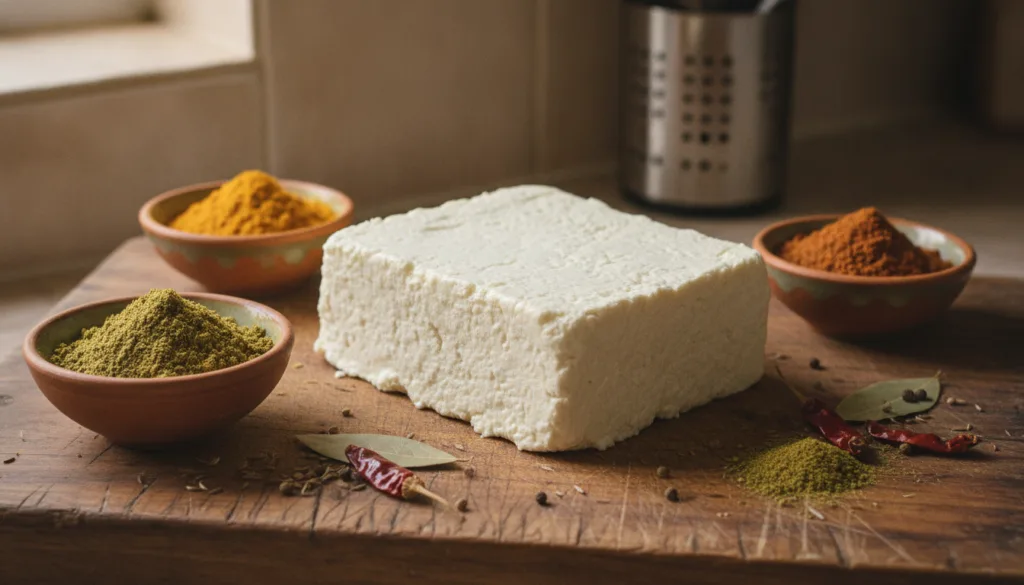
Paneer is a fresh, non-melting cheese common in Indian and South Asian cuisine. It’s easy to make with just two ingredients and perfect for curries, stir-fries, and grilling.
Servings: 8-10 ounces (approx.)
Prep time: 20 minutes
Cook / chill / rest time: 30 minutes active / 2-3 hours pressing
Ingredients:
- 1 Gallon Whole Milk
- 1/4 cup Lemon Juice or White Vinegar (more if needed)
Instructions:
- Bring whole milk to a rolling boil in a heavy-bottomed pot, stirring occasionally to prevent scorching.
- Once boiling, reduce heat to low and slowly add the lemon juice or vinegar, stirring gently. The milk will begin to curdle, separating into curds and yellowish-green whey.
- If the milk doesn’t curdle completely, add a little more lemon juice or vinegar, a teaspoon at a time, until clear whey separates.
- Remove from heat. Let it sit for 5 minutes to allow curds to fully separate.
- Line a colander with a clean cheesecloth and place it over a large bowl. Pour the curdled milk into the cheesecloth to drain the whey.
- Gather the corners of the cheesecloth, gently rinse the curds under cold water to remove any lingering lemon flavor. Squeeze out excess water.
- Twist the cheesecloth to form a compact ball, then place it on a flat surface. Place a heavy object (like a cast-iron pan or several cans) on top to press out remaining water for 2-3 hours, or until firm.
Storage / Serving / Usage Note: Cut into cubes and use in curries, fry for snacks, or grill. Store in an airtight container in the refrigerator for up to 3-4 days.
Recipe 4: Homemade Ricotta Cheese
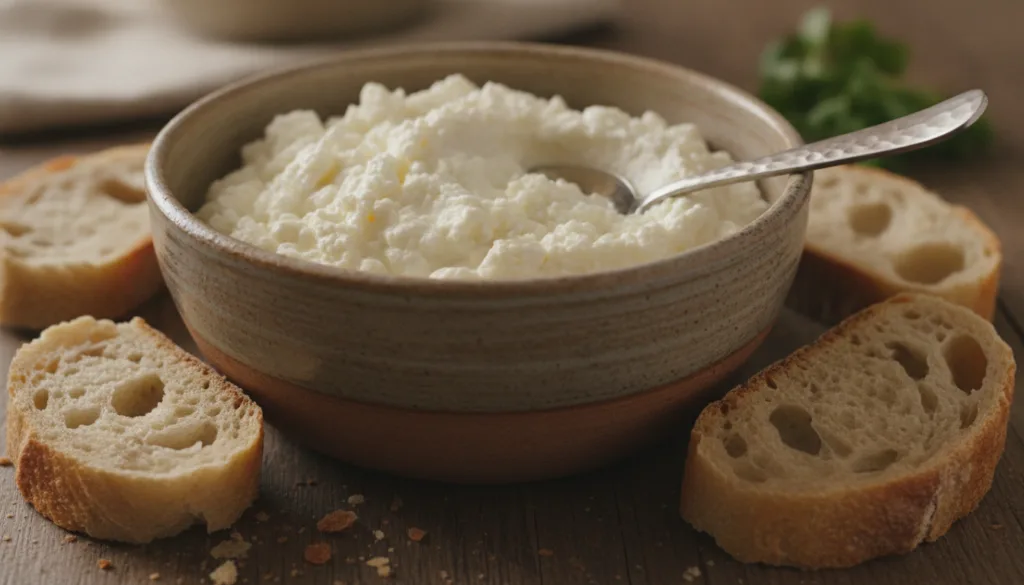
Ricotta, meaning ‘recooked’, is a fresh, soft Italian cheese with a slightly sweet flavor and creamy texture. It’s traditionally made from the whey leftover from other cheeses, but this recipe uses milk and cream for a richer version.
Servings: 1.5-2 cups (approx.)
Prep time: 10 minutes
Cook / chill / rest time: 20 minutes active / 30 minutes draining
Ingredients:
- 1 Gallon Whole Milk
- 1 cup Heavy Cream
- 1/4 cup Lemon Juice or White Vinegar
- 1 tsp Salt
Instructions:
- In a large, heavy-bottomed pot, combine whole milk, heavy cream, and salt. Heat over medium heat, stirring occasionally, until it reaches 200°F (93°C). Do not boil.
- Remove from heat and stir in the lemon juice or vinegar. Stir gently for about 30 seconds. Let it sit undisturbed for 10-15 minutes. Curds will form and separate from the yellowish whey.
- Line a colander with a few layers of cheesecloth and place it over a large bowl. Gently ladle the curds into the cheesecloth, allowing the whey to drain.
- Let the ricotta drain for 30 minutes to an hour, depending on your desired consistency. For a creamier ricotta, drain less; for a firmer ricotta, drain longer.
Storage / Serving / Usage Note: Enjoy warm or chilled. Use in lasagna, spread on toast, or as a dessert with fruit and honey. Store in an airtight container in the refrigerator for up to 5 days.
Recipe 5: Homemade Cream Cheese
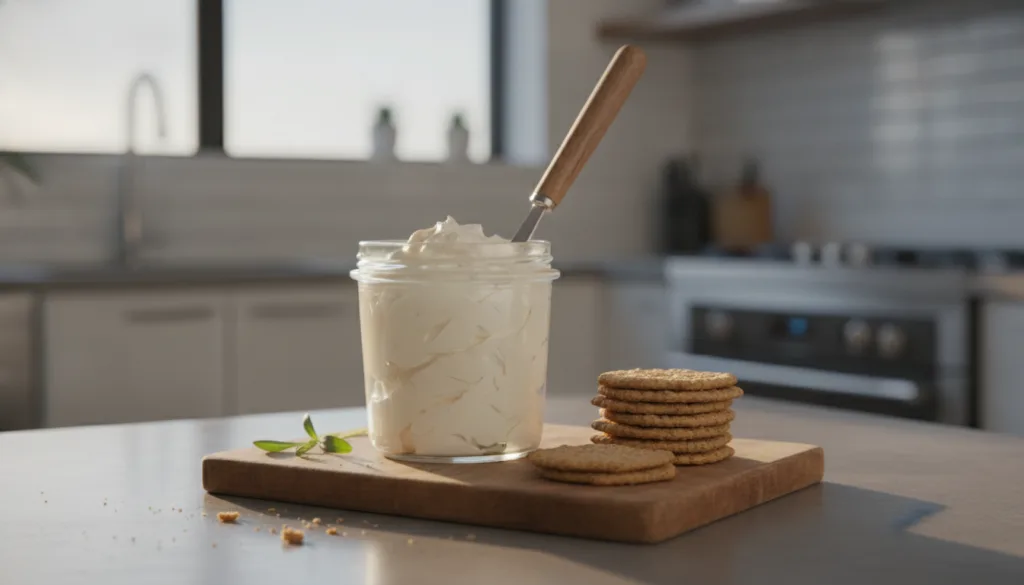
Homemade cream cheese is a revelation: incredibly fresh, rich, and wonderfully spreadable. It’s perfect for bagels, dips, and cheesecakes.
Servings: 1.5-2 cups (approx.)
Prep time: 20 minutes
Cook / chill / rest time: 1 hour active / 12-24 hours culturing/draining
Ingredients:
- 1/2 Gallon Whole Milk
- 1 cup Heavy Cream
- 1/8 tsp Mesophilic Starter Culture
- 2 drops Liquid Rennet (diluted in 1 tbsp cool water)
- 1/2 tsp Salt (optional, to taste)
Instructions:
- In a clean pot, gently warm milk and heavy cream to 72°F (22°C). Remove from heat.
- Sprinkle the starter culture over the milk mixture, let rehydrate for 5 minutes, then stir gently. Add the diluted rennet and stir briefly.
- Cover the pot and let it culture at room temperature (around 70-75°F / 21-24°C) for 12-18 hours, or until a thick, yogurt-like consistency is achieved.
- Line a colander with 2-3 layers of fine cheesecloth and place over a bowl. Gently pour the cultured milk mixture into the cheesecloth.
- Tie the corners of the cheesecloth and hang it, or let it drain in the colander, for 6-12 hours in the refrigerator, or until the cream cheese reaches your desired thickness.
- Once drained, transfer the cream cheese to a bowl. Add salt (if using) and whip until smooth and creamy.
Storage / Serving / Usage Note: Spread on bagels, use in frostings, or as a base for dips. Store in an airtight container in the refrigerator for up to 1 week.
Recipe 6: Homemade Mascarpone Cheese

Mascarpone is an Italian cream cheese known for its exceptionally rich, buttery, and slightly sweet flavor. It’s the star of tiramisu and a delightful addition to both sweet and savory dishes.
Servings: 1.5-2 cups (approx.)
Prep time: 10 minutes
Cook / chill / rest time: 20 minutes active / 12-24 hours chilling/draining
Ingredients:
- 1 Quart Heavy Cream (at least 36% fat)
- 1/4 tsp Tartaric Acid or 1 tbsp Lemon Juice
Instructions:
- In a double boiler or a heatproof bowl set over a pot of simmering water, gently heat the heavy cream to 180°F (82°C), stirring constantly. Do not boil.
- Remove from heat and stir in the tartaric acid or lemon juice. Continue stirring gently for 3-5 minutes, until the cream visibly thickens to a yogurt-like consistency.
- Remove the bowl from the heat and let it cool completely to room temperature.
- Line a colander with 2-3 layers of fine cheesecloth and place over a bowl. Gently pour the thickened cream into the cheesecloth.
- Cover the colander loosely with plastic wrap and refrigerate for 12-24 hours, allowing the excess whey to drain. The longer it drains, the thicker the mascarpone will become.
- Once drained to your desired consistency, transfer the mascarpone to an airtight container.
Storage / Serving / Usage Note: Essential for tiramisu, or serve with fresh fruit, in savory pasta sauces, or as a rich dessert topping. Store in the refrigerator for up to 4-5 days.
Simple Tips for Best Results
- Use Quality Milk: The better the milk, the better your cheese. Whole, fresh, and ideally non-homogenized milk can make a significant difference in curd formation and flavor.
- Cleanliness is Key: Sanitize all your equipment (pots, spoons, cheesecloth, thermometers) before you start. This prevents unwanted bacteria from affecting your cheese.
- Accurate Temperatures: A reliable thermometer is your best friend. Precise temperatures are crucial for enzyme activity and proper curd formation.
- Gentle Handling: When stirring or moving curds, be gentle. Rough handling can break down the curds and result in a lower yield or a less desirable texture.
- Proper Drainage: Don’t rush the draining process. Adequate drainage is essential for achieving the correct texture and consistency for each cheese type.
- Experiment with Flavors: Once you’ve mastered the basic recipes, feel free to experiment with herbs, spices, or chilies to customize your homemade cheeses.
FAQ
What equipment do I need to start making cheese at home?
You’ll need basic kitchen equipment like large pots, a thermometer, colanders, cheesecloth, and stirring spoons. For some cheeses, a cheese press or molds might be useful, but you can often improvise.
Is homemade cheese safe to eat?
Yes, homemade cheese is safe to eat when proper hygiene, temperature control, and fresh ingredients are used. Follow recipes carefully to ensure safety and quality.
Can I use skim milk for homemade cheese?
While some cheeses can be made with lower-fat milk, whole milk is generally recommended for most homemade cheese recipes as the fat content contributes to flavor, texture, and yield.
Final Thoughts
Embarking on the journey of making homemade cheese is a delightful and rewarding experience. These 6 homemade cheese recipes offer a fantastic starting point for exploring the rich world of artisanal dairy from the comfort of your own kitchen. You’ll not only enjoy fresher, more flavorful cheese but also gain a deeper appreciation for the craft. So gather your ingredients, follow these simple steps, and get ready to savor the incredible taste of your very own creations!