Hey, beauty besties! Are you dreaming of that radiant, youthful glow that seems to defy time? What if we told you the secret might be hiding in your pantry? We’re talking about a simple, homemade natural facial oil that can transform your skin without breaking the bank or relying on complicated routines.
At Beauty Tips Daily, we’re all about empowering you with easy, effective, and natural ways to nurture your skin. Today, we’re diving into the wonderful world of DIY facial oils – a true game-changer for achieving that coveted youthful complexion.
Why Choose a DIY Natural Facial Oil?
In a market flooded with expensive serums and creams, going natural and homemade offers a refreshing alternative. Here’s why a DIY facial oil could be your skin’s new best friend:
- Pure & Potent Ingredients: You control what goes onto your skin, ensuring only the highest quality, natural ingredients are used. No questionable fillers or harsh chemicals!
- Cost-Effective: Creating your own oil is significantly more affordable than buying high-end anti-aging products.
- Customizable: Tailor your oil to your specific skin needs. Whether you have dry, oily, or sensitive skin, you can choose ingredients that work best for you.
- Deep Nourishment: Natural oils are rich in vitamins, antioxidants, and fatty acids that deeply hydrate and protect your skin, promoting elasticity and a healthy glow.
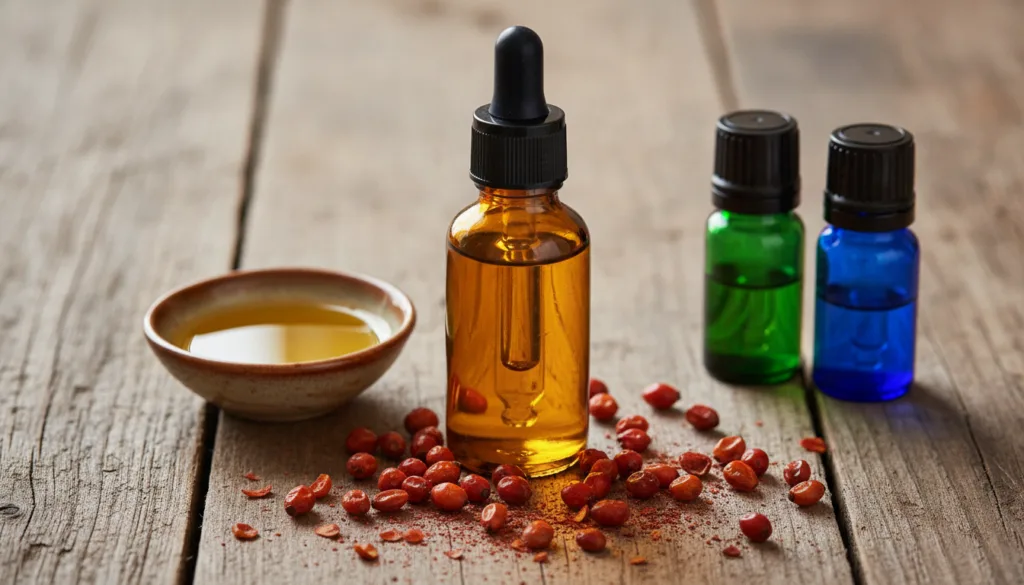
Your Simple Recipe for a Youth-Boosting Facial Oil
This recipe combines carrier oils known for their anti-aging properties with gentle essential oils that support skin health. Remember to always use high-quality, organic ingredients.
What You’ll Need:
- 2 tablespoons Jojoba Oil: Mimics skin’s natural sebum, balances oil production, and is rich in Vitamin E.
- 1 tablespoon Rosehip Seed Oil: Known for its regenerative properties, helps reduce fine lines, dark spots, and improves skin tone.
- 5 drops Frankincense Essential Oil: A powerhouse for anti-aging, helps tone and tighten skin, and reduces the appearance of wrinkles.
- 3 drops Lavender Essential Oil: Soothes skin, reduces redness, and promotes a calming experience.
- Optional: 2 drops Geranium Essential Oil: Balances sebum production and promotes clear, healthy skin.
- Small, dark glass dropper bottle (to protect the oils from light).
Instructions:
- Clean Your Bottle: Ensure your dropper bottle is clean and dry to prevent contamination.
- Combine Carrier Oils: Pour the jojoba oil and rosehip seed oil into your dark glass dropper bottle.
- Add Essential Oils: Carefully add the frankincense, lavender, and optional geranium essential oils.
- Mix Gently: Cap the bottle and gently roll it between your palms to thoroughly mix all the ingredients. Do not shake vigorously.
- Store: Keep your DIY facial oil in a cool, dark place away from direct sunlight to preserve its potency.
Beauty Bestie Tip: Always perform a patch test on a small area of your skin (like your inner arm) before applying any new product to your face, especially with essential oils, to check for sensitivities.
How to Incorporate Your Facial Oil into Your Routine
Using your homemade facial oil is incredibly simple and can elevate your existing skincare routine:
- Cleanse & Tone: Start with a clean face. After cleansing and applying your toner, your skin is ready to absorb the oil.
- Apply: Dispense 3-5 drops of the oil onto your fingertips. Gently warm the oil by rubbing your hands together.
- Massage: Lightly press the oil onto your face and neck, then gently massage in upward, circular motions until absorbed.
- When to Use: This oil is fantastic for nighttime use, allowing it to work its magic while you sleep. You can also use a lighter application in the morning before your moisturizer and SPF.
Tips for Best Results
- Consistency is Key: Use your facial oil regularly to see noticeable improvements in your skin’s texture and appearance.
- Less is More: A few drops are usually enough. Too much oil can feel heavy on the skin.
- Listen to Your Skin: Adjust the amount or frequency based on how your skin responds.
- Freshness: Aim to use your homemade oil within 3-6 months, as natural ingredients can lose potency over time.
Embracing a homemade facial oil is a beautiful step towards a more natural and mindful skincare journey. You’re not just nourishing your skin; you’re indulging in a moment of self-care, crafted with love by you!
Have you tried making your own facial oils before? What are your favorite ingredients for youthful skin? Share your tips and experiences in the comments below – we’d love to hear from our amazing community!