Unlock Your Full Potential: Mastering the Perfect Push-Up
The push-up is a fundamental exercise, a cornerstone of any effective strength training routine. It’s incredibly versatile, requiring no equipment, and builds impressive upper body and core strength. However, many people perform push-ups with incorrect form, which not only diminishes their effectiveness but also significantly increases the risk of injury. Are your push-ups not feeling quite right? Often, a small form adjustment makes a huge difference!
At Remedies Wellness, we believe in building real strength through sustainable, safe practices. Let’s dive deep into mastering the perfect push-up form to maximize your gains and keep your shoulders healthy.
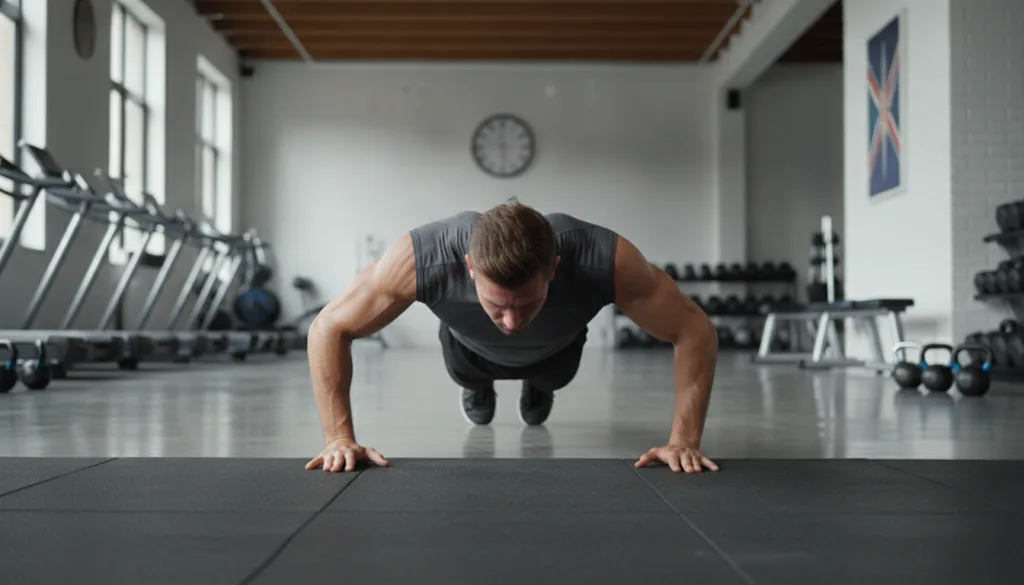
Why Proper Push-Up Form Matters
- Injury Prevention: Incorrect form, especially flared elbows, puts immense strain on your shoulder joints, rotator cuffs, and wrists, leading to potential injuries.
- Maximized Muscle Activation: Proper technique ensures that you effectively engage your chest (pectorals), shoulders (deltoids), and triceps, along with your core for stabilization, leading to better strength gains.
- Build Real Strength: When your form is on point, every repetition contributes meaningfully to your overall strength, rather than just going through the motions.
- Enhanced Core Stability: A good push-up is a dynamic plank. Maintaining a rigid body from head to heels significantly strengthens your core.
The Anatomy of a Perfect Push-Up: A Step-by-Step Guide
Let’s break down the push-up into manageable steps to ensure you’re executing each repetition flawlessly.
1. Starting Position
- Hand Placement: Place your hands slightly wider than shoulder-width apart, with your fingers pointing forward or slightly outward. Your wrists should be directly under your shoulders when you’re in the plank position.
- Body Alignment: Get into a high plank position. Your body should form a straight line from your head to your heels. Imagine a rigid plank of wood.
- Core Engagement: Brace your core as if preparing for a punch. Squeeze your glutes. This prevents your hips from sagging or arching your back.
- Gaze: Look slightly ahead of your hands, keeping your neck in a neutral position aligned with your spine.
2. The Lowering Phase (Eccentric)
- Elbow Position: This is crucial! As you lower your body, focus on keeping your elbows slightly tucked towards your sides, forming roughly a 45-degree angle with your torso, not flaring straight out to the sides.
- Controlled Descent: Slowly lower your chest towards the floor by bending your elbows. Aim to get your chest within an inch or two of the ground.
- Maintain Form: Keep that straight line from head to heels. Do not let your hips drop first or your butt rise into the air.
3. The Pushing Phase (Concentric)
- Power Up: Explosively push through the palms of your hands to return to the starting plank position.
- Full Extension: Fully extend your arms at the top, but avoid locking your elbows completely.
- Keep Core Engaged: Maintain core and glute engagement throughout the entire movement.
4. Breathing
Inhale as you lower your body, and exhale as you push back up. Consistent breathing helps maintain rhythm and power.
Common Push-Up Mistakes and How to Fix Them
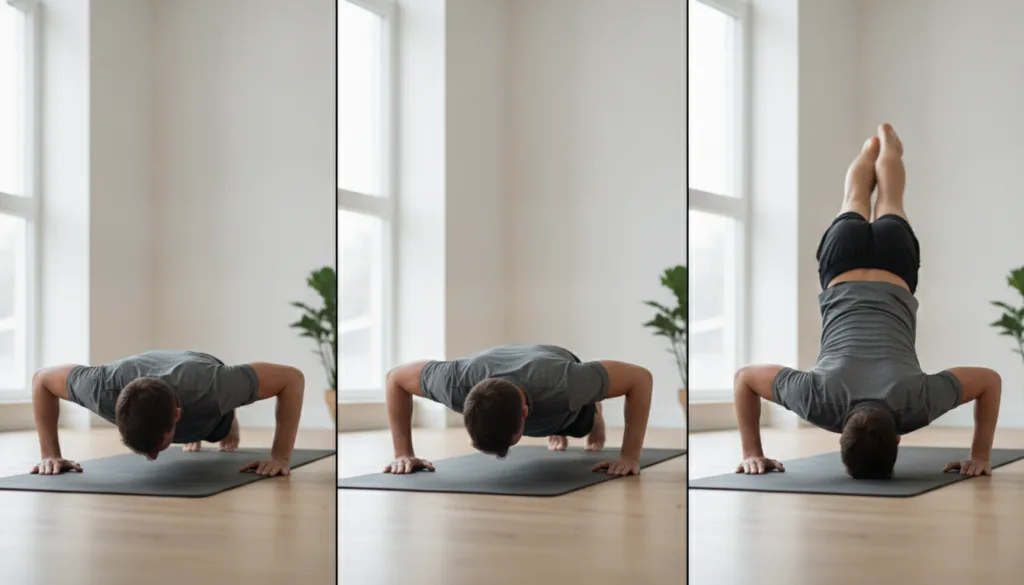
1. Flared Elbows
The Mistake: Elbows point directly out to the sides, forming a ‘T’ shape with your body. This puts extreme stress on your shoulders.
The Fix: Tuck your elbows in. Imagine you’re screwing your hands into the floor, rotating your biceps forward. Your elbows should point towards your feet, not the walls.
2. Sagging Hips or Arched Back
The Mistake: Your hips drop towards the floor, or your lower back arches excessively.
The Fix: Engage your core fiercely! Squeeze your glutes and tighten your abs as if you’re pulling your belly button towards your spine. Think of yourself as a rigid plank.
3. Butt in the Air
The Mistake: Your hips are too high, forming an inverted ‘V’ shape.
The Fix: Lower your hips to align with your shoulders and heels. This often means strengthening your core and glutes. Ensure you’re not using momentum but controlled movement.
4. Half Reps
The Mistake: Not lowering your chest close enough to the floor, or not fully extending your arms at the top.
The Fix: Focus on a full range of motion. If you can’t complete a full push-up with good form, use a modification (see below) until you build enough strength.
Progressions and Regressions: Build Your Push-Up Strength
Everyone starts somewhere! Don’t be discouraged if you can’t do a perfect full push-up yet. There are excellent modifications to help you build strength safely.
For Beginners (Regressions)
- Wall Push-Ups: Stand facing a wall, place your hands on it, and push away. The closer you are to the wall, the easier it is.
- Incline Push-Ups: Perform push-ups with your hands elevated on a sturdy surface like a bench, table, or sturdy chair. The higher the incline, the easier the exercise.
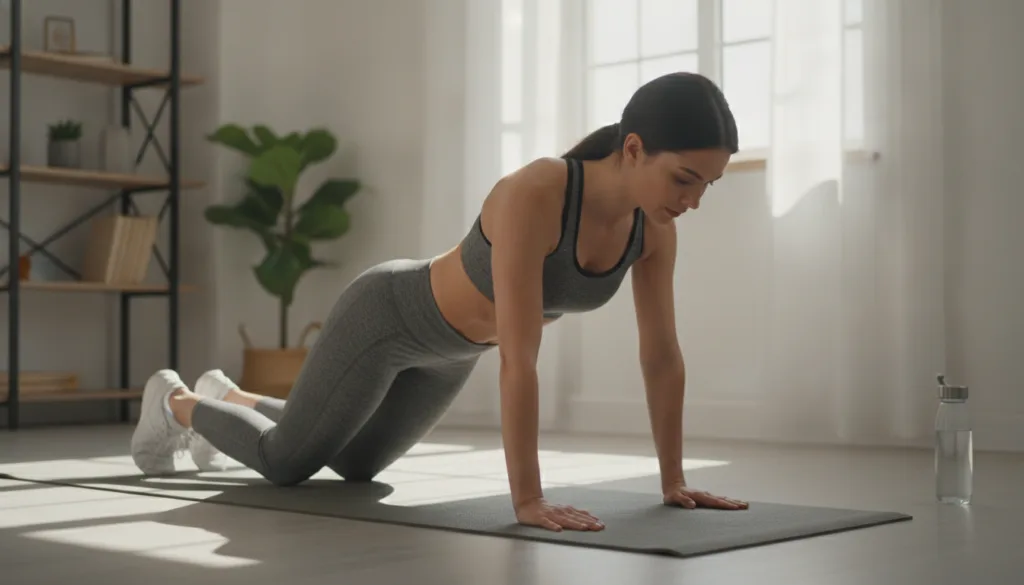
- Knee Push-Ups: Lower to your knees, keeping a straight line from your head to your knees. Ensure your core is still engaged and you’re not just bending at the hips.
For Advanced (Progressions)
- Decline Push-Ups: Elevate your feet on a bench or box. This increases the load on your upper chest and shoulders.
- Single-Arm Push-Ups: A challenging progression that requires significant core and upper body strength.
- Plyometric Push-Ups: Explosive push-ups where your hands leave the ground, enhancing power.
Incorporating Push-Ups into Your Routine
Aim to include push-ups in your routine 2-3 times per week, allowing for rest days in between. Focus on quality over quantity. Start with 3 sets of as many repetitions as you can complete with perfect form (AMRAP) for your chosen progression/regression. As you get stronger, gradually increase the number of reps or move to a more challenging variation.
Your Journey to Stronger Push-Ups Starts Now!
Perfecting your push-up form is a journey, not a destination. It builds real strength, prevents injury, and empowers you to progress to more advanced exercises. Remember, consistency and attention to detail are key. Keep your core tight, your elbows slightly tucked, and focus on that straight body line. You’ll be amazed at the difference it makes!
Stay motivated, stay strong, and keep pushing towards your fitness goals with Remedies Wellness!