Ever wondered how simple it is to whip up fresh, delicate spring roll wrappers right in your own kitchen? Get ready for perfectly fresh rolls every time! There’s something truly special about enjoying a meal made from scratch, and spring rolls are no exception. While store-bought wrappers are convenient, making your own at home is surprisingly easy and incredibly rewarding. You’ll not only impress your friends and family but also enjoy a fresher, more tender wrap that perfectly cradles your favorite fillings.
At Nocnoc, we believe that understanding your food, from ingredients to preparation, is key to a healthier and happier lifestyle. Making your own spring roll wrappers is a fantastic way to embrace this philosophy, giving you full control over what goes into your meal.
Why Go Homemade?
Beyond the delicious taste, crafting your own spring roll wrappers gives you complete control over the ingredients. This means no hidden additives, just pure, simple goodness. It’s a smart food swap that can make a difference in how you feel, allowing you to avoid ingredients you might prefer to limit. Plus, the process itself can be a wonderfully mindful cooking experience, connecting you more deeply with your food and turning meal prep into a fun activity.
The Simple Ingredients You’ll Need
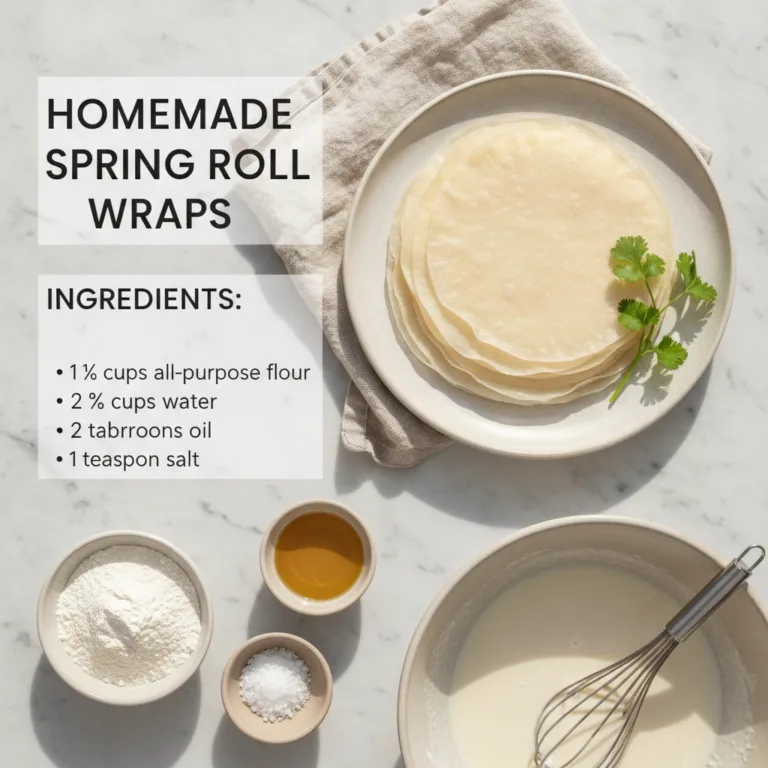
You might be surprised to learn that perfect spring roll wrappers require just a handful of pantry staples. These humble ingredients transform into delicate, pliable wraps ready for your culinary creations.
- All-purpose flour: The backbone of your wraps, providing structure.
- Water: To bring everything together into a smooth batter.
- Oil: Adds flexibility and a slight richness.
- Salt: Enhances the subtle flavor.
Let’s Get Cooking! Your Step-by-Step Guide
Step 1: Mix the Batter
In a large bowl, combine the all-purpose flour and salt. Gradually add the water, whisking continuously until you achieve a smooth, lump-free batter. Once smooth, stir in the oil. The consistency should be similar to thin pancake batter – easily pourable but not watery.
Step 2: Rest the Batter
Cover the bowl with a clean kitchen towel or plastic wrap and let the batter rest at room temperature for at least 30 minutes, or even an hour. This resting period is crucial as it allows the gluten in the flour to relax, resulting in more pliable and less prone-to-tear wrappers.
Step 3: Heat Your Pan
Place a non-stick frying pan (about 8-10 inches in diameter) over medium-low heat. The key is consistent, gentle heat. You don’t want the pan to be too hot, or your wrappers will cook too quickly and become brittle.
Step 4: Cook the Wrappers
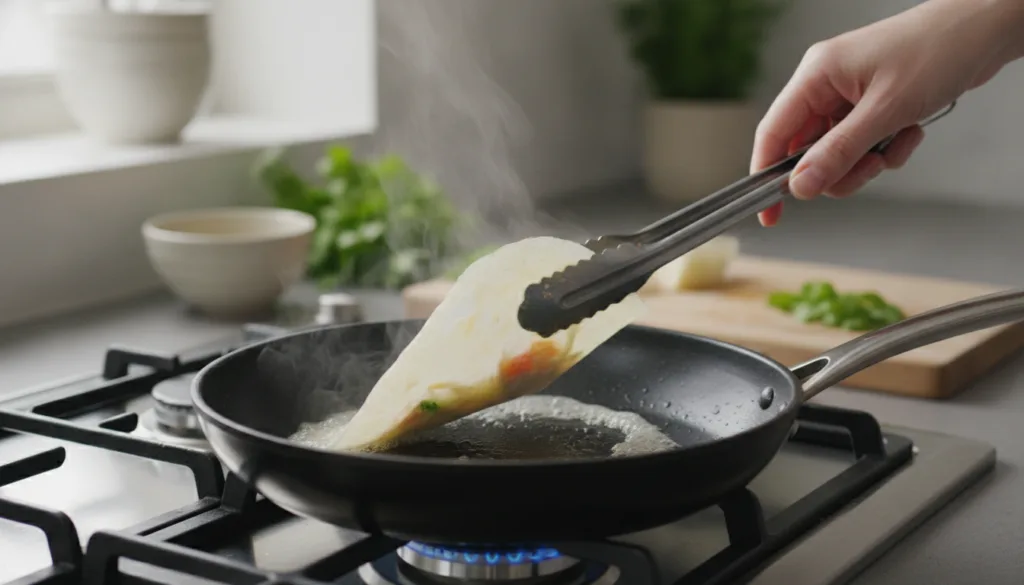
Lightly brush the pan with a tiny bit of oil (if needed for your pan). Pour about 2-3 tablespoons of batter into the center of the pan, immediately tilting and swirling the pan to spread the batter thinly and evenly across the entire surface. Cook for 1-2 minutes, or until the edges start to curl up and the center looks dry and opaque. You don’t want any browning; they should remain pale and flexible.
Step 5: Cool and Stack
Carefully peel the cooked wrapper from the pan and transfer it to a wire rack to cool completely. Once cool, you can stack them, placing a piece of parchment paper between each wrapper to prevent sticking. Repeat with the remaining batter.
Tips for Spring Roll Wrapper Success
- Batter Consistency: If your batter seems too thick, add a tablespoon of water at a time until it’s just right. If it’s too thin, a spoonful of flour can help.
- Pan Temperature: Adjust the heat as needed. If wrappers are browning, reduce heat. If they’re taking too long to set, increase it slightly.
- Don’t Overcook: Overcooked wrappers will be brittle and crack easily. Aim for a soft, pliable texture.
- Storage: Unused wrappers can be stored in an airtight container in the refrigerator for up to 3 days, or frozen for longer. Thaw them gently before use.
Filling Ideas & Enjoying Your Wraps
Now that you have your beautiful homemade wrappers, the real fun begins! Fill them with a vibrant array of fresh vegetables like shredded carrots, cucumber, bell peppers, and crisp lettuce. Add lean proteins such as cooked shrimp, grilled chicken, or marinated tofu. Don’t forget fresh herbs like mint and cilantro, and perhaps some vermicelli noodles for extra texture. Serve them with a tasty peanut dipping sauce or a light Vietnamese nuoc cham for an incredible, healthy meal.
Embrace the Joy of Homemade!
Making your own spring roll wrappers is a simple habit to try that truly elevates your home cooking. It’s a fun project that yields delicious results, making your next spring roll feast even more special. This culinary adventure supports your journey toward food as wellness, offering a fresh, wholesome base for countless meal prep ideas. Give it a go, and let us know how your homemade wraps turn out!