Unlock Free Food: Regrow Kitchen Scraps!
Imagine having an endless supply of fresh produce, right from your kitchen! What if we told you that many of the vegetables you throw away after cooking could actually be given a second life? Welcome to the wonderful world of regrowing kitchen scraps – a simple, sustainable, and incredibly rewarding way to enjoy fresh food and reduce waste.
Here at Garden – L. Quyên, we’re all about making gardening accessible and fun for everyone. Regrowing kitchen scraps is the ultimate beginner-friendly project, perfect for anyone who wants to dip their toes into gardening without needing a huge garden space or a big budget. It’s truly like unlocking a secret garden within your home!
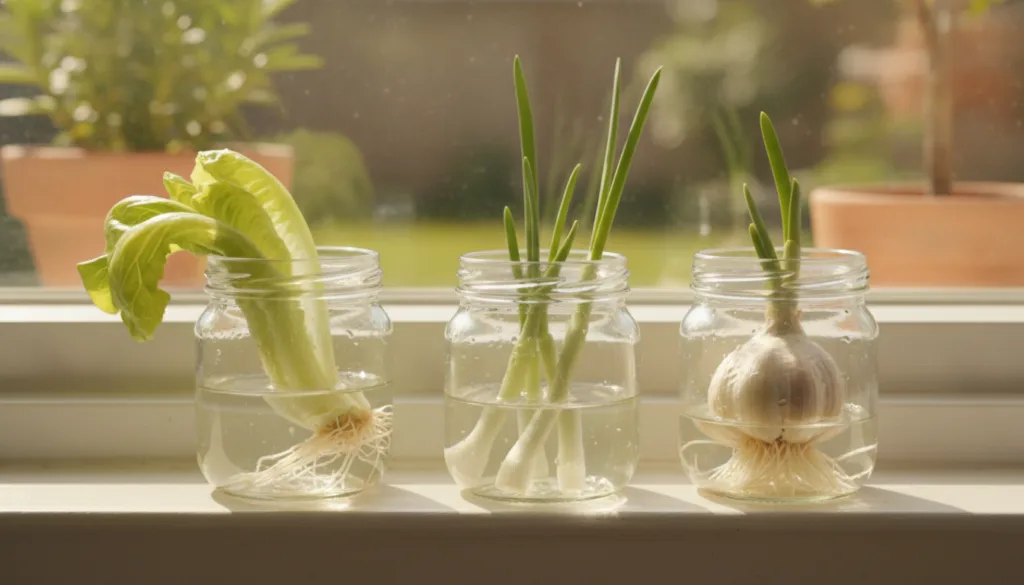
Why Regrow Your Kitchen Scraps?
This ingenious method offers a heap of benefits that go beyond just getting a few extra greens:
- Reduce Food Waste: A significant amount of household waste comes from food scraps. By regrowing them, you’re actively diverting organic material from landfills.
- Save Money: Who doesn’t love free food? You’ll reduce your grocery bill by harvesting fresh produce from what you already have.
- Sustainable Living: It’s an eco-friendly practice that promotes self-sufficiency and a deeper connection to where your food comes from.
- Fun & Educational: It’s a fantastic project for adults and children alike, teaching patience, basic plant biology, and the magic of growth.
- Fresh & Healthy: Enjoy homegrown produce that’s free from pesticides (if you start with organic scraps) and picked at peak freshness.
- Indoor Gardening: Many scraps can be regrown indoors, making it perfect for those with limited outdoor space or in colder climates.
Getting Started: What You’ll Need
The beauty of regrowing scraps is its simplicity. You likely already have most of what you need:
- Kitchen Scraps: The star of the show!
- Containers: Small glass jars, old plastic containers, shallow dishes, or small pots.
- Water: Tap water is usually fine.
- Sunny Spot: A windowsill is ideal for most projects.
- Potting Soil (Optional): For when your plant is ready to be transplanted.
Easy Scraps to Regrow at Home
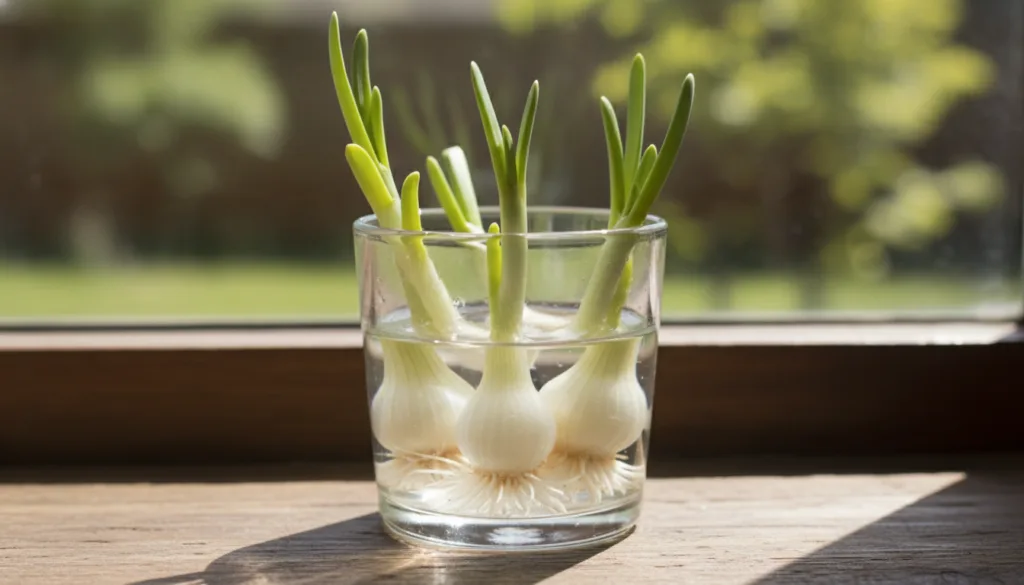
1. Green Onions (Scallions)
This is arguably the easiest and most popular scrap to regrow. You’ll be amazed at how quickly they shoot up!
- How To: Cut off the white ends of the green onions, leaving about an inch of the white part and the roots intact. Place them root-side down in a small glass of water.
- Care: Place the glass on a sunny windowsill. Change the water every day or two to prevent mold.
- Harvest: In about a week, you’ll see new green shoots. Snip off what you need, and they’ll keep regrowing!
2. Romaine Lettuce & Celery
Another fantastic duo for water propagation.
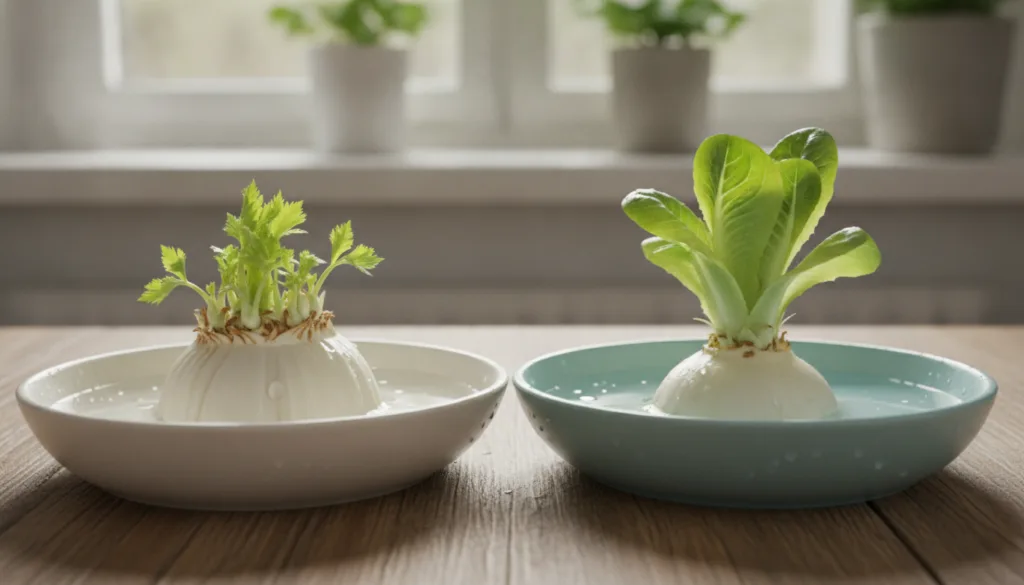
- How To: Cut about 2 inches from the bottom base of a head of romaine lettuce or a celery stalk. Place the base cut-side up in a shallow dish or bowl with about an inch of water.
- Care: Keep the water level consistent and change it daily. Place in a sunny spot.
- Harvest: After a few days, you’ll see small roots and new leaves emerging from the center. Once strong roots have formed (around 1-2 weeks), you can transplant the base into a pot with soil to encourage larger growth, or continue to grow in water for smaller harvests.
3. Garlic
Perfect for fresh garlic greens, which taste like a milder version of garlic.
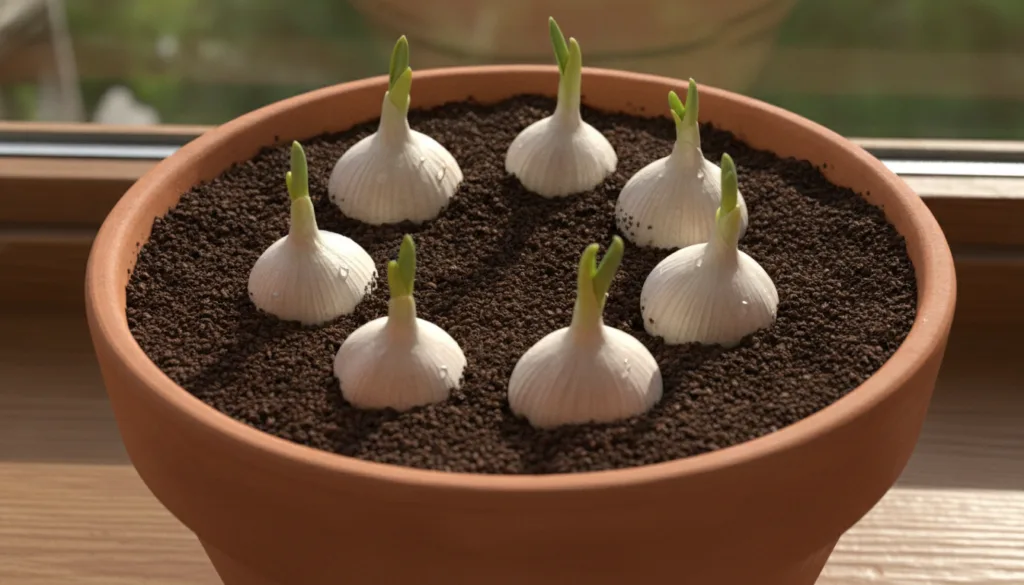
- How To: If you have a garlic clove that’s starting to sprout green shoots, simply place it root-side down in a small container with a little water, just enough to cover the bottom. Alternatively, plant it directly into a small pot with potting soil.
- Care: Keep in a sunny spot. If in water, change regularly. If in soil, keep moist.
- Harvest: Once the green shoots are several inches tall, snip them off as needed. The original clove won’t produce a new bulb, but it will give you tasty greens!
4. Ginger
Regrowing ginger is a longer process, but incredibly rewarding.
- How To: Find a piece of ginger root with visible