Dreaming of skin that feels smoother, looks more radiant, and has that coveted youthful glow, all without breaking the bank? ✨ We hear you! In the world of beauty, it often feels like you need to spend a fortune to see real results. But what if we told you that some everyday heroes from your pantry and medicine cabinet could come together to create a nourishing ‘Botox Oil’ right in your own kitchen?
No, we’re not talking about needles or medical procedures. Instead, we’re diving into a natural, DIY approach that harnesses the power of simple staples like baby oil, cloves, and vitamin E. This isn’t a miracle cure, but a beautiful way to pamper your skin, support its natural rejuvenation, and potentially minimize the appearance of fine lines over time. It’s an easy, accessible, and affordable step you can add to your nightly self-care routine.

What Exactly is This DIY ‘Botox Oil’?
Let’s be clear: this DIY ‘Botox Oil’ is not actual Botox. Botox is a medical procedure involving injections that temporarily relax facial muscles to reduce wrinkles. Our ‘Botox Oil’ is a homemade, natural concoction designed to deeply moisturize, nourish, and support your skin’s elasticity and overall health, aiming to give you a smoother, plumper, and more youthful appearance naturally. Think of it as a nightly skin booster!
The Power Trio: Key Ingredients and Their Benefits
The magic of this DIY blend comes from its humble yet powerful ingredients:
1. Baby Oil: The Ultimate Moisturizer
- Deep Hydration: Baby oil (typically mineral oil) is renowned for its ability to create a protective barrier on the skin, locking in moisture and preventing water loss. This keeps your skin feeling soft, supple, and well-hydrated.
- Smooth Texture: By maintaining optimal hydration, baby oil can help to plump up the skin, making fine lines and a rough texture appear less noticeable.
2. Cloves: Nature’s Antioxidant Powerhouse
- Rich in Antioxidants: Cloves are packed with antioxidants, which help to combat free radicals – unstable molecules that can damage skin cells and accelerate aging.
- Potential Anti-Inflammatory Properties: Historically, cloves have been used for their soothing properties, which can contribute to healthier-looking skin.
- Stimulating Effect: Some believe cloves can help stimulate blood circulation, bringing a healthy glow to the skin.
3. Vitamin E Oil: The Skin Repairer
- Potent Antioxidant: Like cloves, Vitamin E is a powerful antioxidant, crucial for protecting skin from environmental damage.
- Skin Healing and Repair: It’s well-known for its role in skin regeneration and repair, helping to improve the appearance of scars and imperfections.
- Boosts Elasticity: Vitamin E supports skin elasticity, which is key to maintaining a firm and youthful complexion.
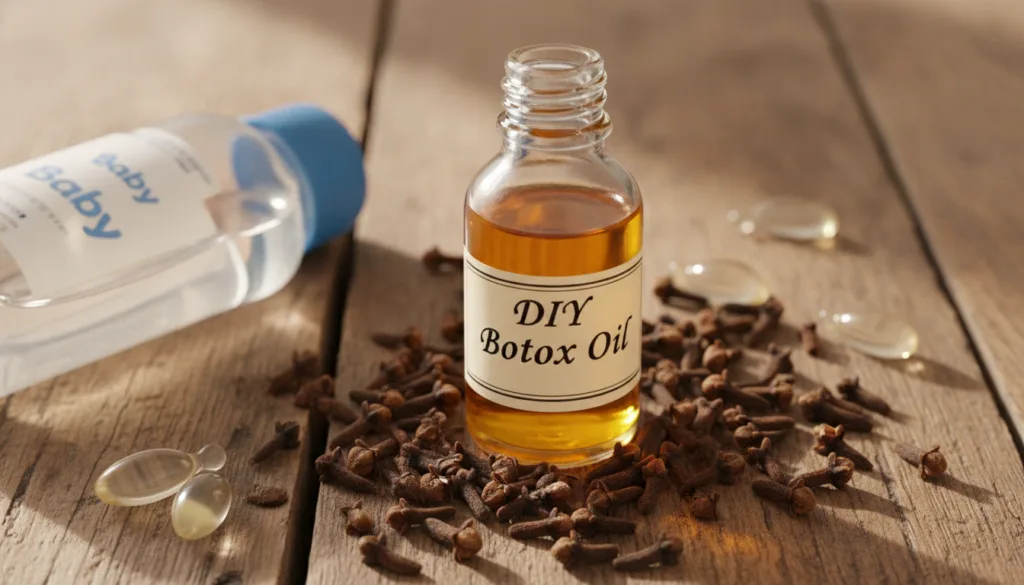
Your DIY ‘Botox Oil’ Recipe: Simple Steps to Smoother Skin
Ready to whip up your own age-defying elixir? Here’s how:
What You’ll Need:
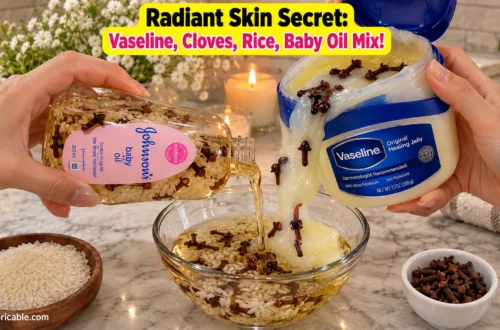
- 1/4 cup baby oil
- 1 tablespoon whole cloves (or 1/2 tablespoon ground cloves)
- 2-3 Vitamin E capsules (about 400 IU each)
- A clean, airtight glass bottle or jar (preferably with a dropper)
- A small saucepan
- A fine-mesh sieve or cheesecloth
Instructions:
- Infuse the Baby Oil: In a small saucepan, gently heat the baby oil over very low heat. Add the whole cloves to the oil.
- Steep: Let the cloves steep in the warm oil for about 10-15 minutes. Do not let the oil boil. This gentle heating helps extract the beneficial compounds from the cloves.
- Cool and Strain: Remove the saucepan from the heat and let the oil cool completely. Once cool, strain the oil through a fine-mesh sieve or cheesecloth into your clean glass bottle to remove the cloves.
- Add Vitamin E: Pierce the Vitamin E capsules and squeeze their contents into the clove-infused baby oil.
- Mix Well: Close the bottle and shake gently to combine all ingredients thoroughly.
- Store: Store your DIY ‘Botox Oil’ in a cool, dark place. It should last for several weeks.
How to Incorporate into Your Routine
Using your DIY ‘Botox Oil’ is simple and can easily fit into your evening self-care ritual:
- Cleanse: Start with a clean face. Gently cleanse your skin to remove makeup and impurities.
- Tone (Optional): If you use a toner, apply it before the oil.
- Apply the Oil: Take 2-3 drops of your ‘Botox Oil’ onto your fingertips.
- Massage Gently: Warm the oil slightly between your fingers and then gently massage it into your face and neck using upward strokes. Pay extra attention to areas where you notice fine lines or dryness.
- Bedtime Ritual: Apply this oil as the last step in your evening routine, allowing it to work its magic overnight.

Why Choose This DIY Approach?
- Affordable Beauty: Say goodbye to expensive serums and creams. This DIY oil uses readily available, budget-friendly ingredients.
- Natural & Simple: You know exactly what’s going into your skin – no complex chemicals or unpronounceable ingredients.
- Self-Care Ritual: The act of creating and applying your own beauty product can be incredibly therapeutic and empowering.
- Nourishment: It provides deep hydration and antioxidant protection, supporting overall skin health.
Important Considerations Before You Start
- Patch Test: Always, always perform a patch test on a small area of your skin (like behind your ear or inner forearm) before applying any new DIY product to your entire face. Wait 24 hours to ensure no irritation occurs.
- Manage Expectations: This is a natural, nourishing oil, not a medical treatment. While it can significantly improve skin hydration and appearance, it won’t provide the same immediate or dramatic results as cosmetic procedures. Consistency is key!
- Quality of Ingredients: Opt for high-quality, pure ingredients whenever possible.
Ready to Glow?
Embrace the power of natural ingredients and transform your nightly routine into a luxurious self-care ritual. This DIY ‘Botox Oil’ offers a friendly, accessible way to nurture your skin, aiming for that smoother, more youthful glow you’ve been dreaming of. Give it a try and discover the beauty of homemade skincare!
Would you try this intriguing DIY blend? Share your thoughts and experiences below – we’d love to hear from you!