Are you dreaming of softer, more radiant skin without breaking the bank? We’ve all been there! The world of beauty can sometimes feel overwhelming with countless products and complicated routines. But what if we told you there’s a popular DIY beauty hack that people are trying, often called “DIY Collagen Gel,” that uses ingredients you might already have at home?
Today, we’re diving into this simple yet effective approach to achieving a healthy glow. While this isn’t a true collagen product, this viral hack aims to give you some of the benefits associated with a deeply moisturized and nourished complexion, focusing on readily available ingredients: Vaseline and Vitamin E.
What is This “DIY Collagen Gel” All About?
The term “DIY Collagen Gel” has become popular in beauty communities to describe a homemade mixture designed to deeply hydrate and smooth the skin. It’s important to clarify that this gel doesn’t contain actual collagen, which is a complex protein that requires specific processes to derive and apply. Instead, this hack leverages the powerful moisturizing and protective properties of petroleum jelly (like Vaseline) combined with the nourishing benefits of Vitamin E.
Think of it as a super-charged moisturizing treatment that creates an occlusive barrier on your skin, helping to lock in moisture and support a smoother, more supple appearance.
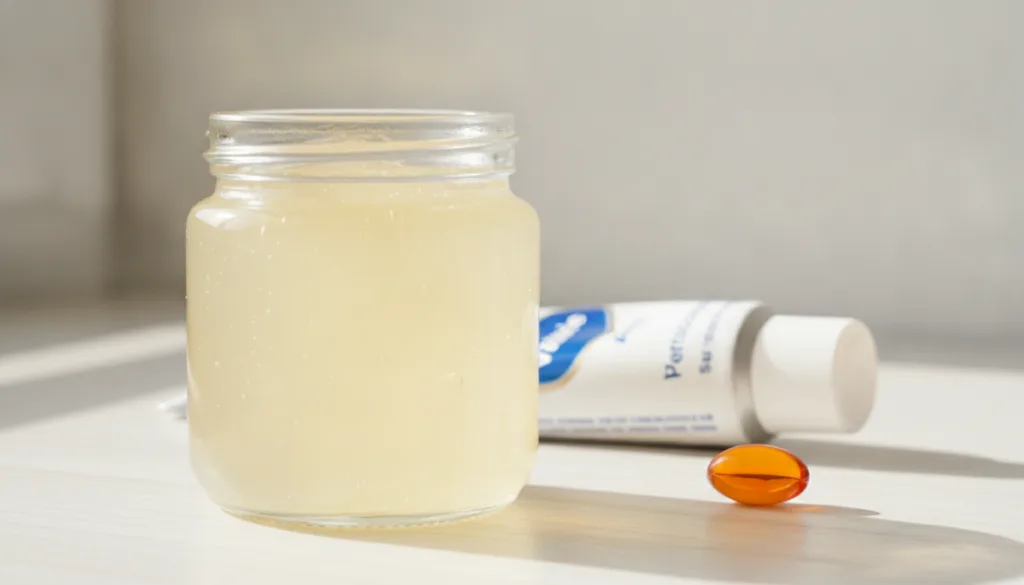
The Power Duo: Vaseline & Vitamin E
Vaseline (Petroleum Jelly): The Moisture Lock
Vaseline is a household staple for a reason! It’s an occlusive agent, meaning it forms a protective barrier on your skin’s surface. This barrier effectively prevents transepidermal water loss, keeping your skin hydrated and plump. When your skin is well-hydrated, fine lines can appear softer, and your complexion looks more dewy and fresh. It’s a fantastic, affordable way to seal in moisture.
Vitamin E: The Skin Nurturer
Vitamin E is a well-loved ingredient in skincare for its antioxidant properties. It helps to protect the skin from environmental stressors and free radical damage. When applied topically, Vitamin E can contribute to skin nourishment, helping to maintain its natural barrier and promoting a healthy-looking complexion. It often leaves the skin feeling softer and more supple.
How to Make Your “Glowing Skin” Gel: A Simple Recipe
Ready to try this popular beauty hack? Here’s how you can create your own version of “DIY Collagen Gel” at home:
What You’ll Need:
- 2 tablespoons of Vaseline (petroleum jelly)
- 1-2 Vitamin E capsules (or 1/2 teaspoon of pure Vitamin E oil)
- A small, clean, airtight container (like a small jar or tin)
- A small heat-safe bowl or double boiler (optional, for melting)
- A spoon for mixing
Step-by-Step Instructions:
- Melt the Vaseline: Place the 2 tablespoons of Vaseline into your small heat-safe bowl. You can gently melt it using a double boiler method (placing the bowl over a pot of simmering water) or in a microwave for very short bursts (5-10 seconds at a time) until it’s just softened and easier to mix. Be careful not to overheat it.
- Add Vitamin E: If using capsules, snip off the tip of 1-2 Vitamin E capsules and squeeze the oil directly into the softened Vaseline. If using pure Vitamin E oil, add about 1/2 teaspoon.
- Mix Thoroughly: Stir the mixture well with a clean spoon until the Vaseline and Vitamin E are completely combined and smooth.
- Transfer and Cool: Pour the mixture into your clean, airtight container. Allow it to cool completely at room temperature until it solidifies back into a gel-like consistency. This might take an hour or two.
- Store: Once solidified, cap your container. Store it in a cool, dry place away from direct sunlight. It should last for several weeks, similar to how long plain Vaseline would last.
How to Use Your DIY Gel for Best Results
This DIY gel is best used as part of your evening skincare routine to allow the ingredients to work their magic overnight:
- Cleanse Your Face: Start with a clean face. Gently wash away makeup and impurities.
- Apply Other Serums/Moisturizers (Optional): If you use other serums or lighter moisturizers, apply them first and allow them to absorb.
- Apply the Gel: Take a small amount of your DIY gel with a clean fingertip. Warm it slightly between your fingers and gently pat or massage a thin layer over your face and neck. Be mindful not to apply too much, as a little goes a long way.
- Focus on Dry Areas: Pay extra attention to areas that tend to be drier or show more signs of dehydration.
- Overnight Treatment: Leave the gel on overnight. You’ll likely wake up to skin that feels incredibly soft, hydrated, and looks more radiant!
Important Tips Before You Try
- Patch Test First: Always perform a patch test on a small, inconspicuous area of your skin (like behind your ear or on your inner arm) 24 hours before applying it to your entire face. This helps ensure you don’t have an adverse reaction.
- Non-Comedogenic Note: While Vaseline itself is generally considered non-comedogenic (meaning it doesn’t typically clog pores for most people), everyone’s skin is different. If you have very acne-prone skin, observe how your skin reacts.
- Keep It Clean: Always use clean hands and clean tools when preparing and applying your DIY gel to prevent bacterial contamination.
- Set Realistic Expectations: Remember, this is a hydrating and nourishing skin treatment, not a magic bullet for reversing aging or providing true collagen. Its main goal is to promote a healthy, hydrated glow!
Embrace Your Natural Glow!
Trying this popular DIY “collagen” gel is a wonderful way to pamper your skin with simple, accessible ingredients. It’s a testament to how sometimes the most straightforward beauty routines can lead to noticeable results. Give it a try, and you might just discover your new favorite night-time secret for soft, radiant, and healthy-looking skin! We’d love to hear about your experience!