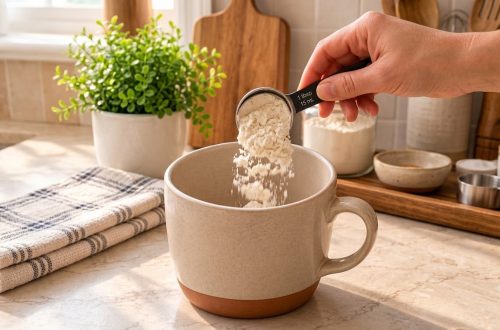
Who else dreams of that fresh, soft Subway-style bread right from your own oven? There’s nothing quite like the aroma of freshly baked bread filling your kitchen, and even better when that bread is destined for your favorite custom sandwich. Making homemade sandwich bread is not only incredibly rewarding but also surprisingly easier than you think.
Forget store-bought rolls that lack that unique texture and flavor. With this guide, you’ll learn to craft your own delicious, soft, and perfect-for-sandwiching bread right at home. Imagine sinking your teeth into a warm, homemade sub with all your favorite fillings, made with bread you baked yourself. It’s an empowering culinary experience that elevates any meal. Get ready to master homemade sandwich bread!
Quick Overview
- Main topic: Homemade Sandwich Bread
- Best for: Home bakers, sandwich lovers, meal prep enthusiasts
- Number of recipes: 6
- Prep style: Yeasted dough, baking
- Reader benefit: Fresh, customizable, and delicious sandwich rolls
Recipe 1: Classic Homemade Subway Sandwich Bread
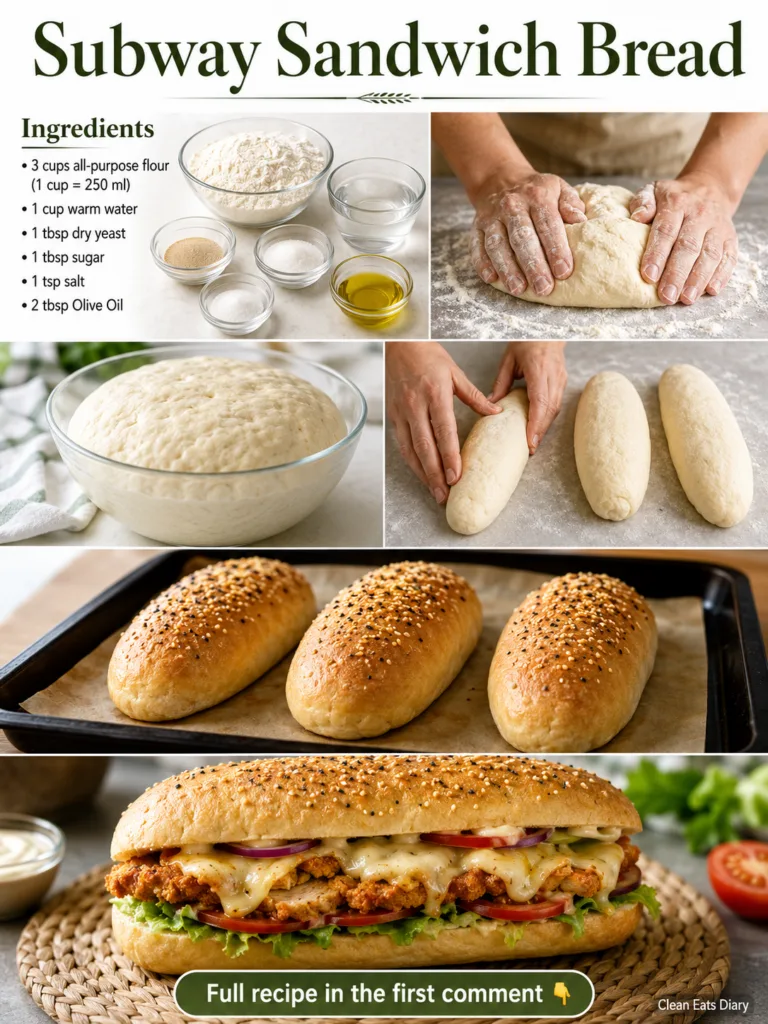
Recreate that iconic soft, slightly chewy texture of your favorite sub shop bread right at home. This classic recipe is your foundation for endless sandwich possibilities.
Servings: 4-6 sandwich rolls
Prep time: 25 minutes + 1.5-2 hours rise time
Cook / chill / rest time: 15-20 minutes
Ingredients:
- 1 1/4 cups (300ml) Warm Water (105-115°F / 40-46°C)
- 1 Tbsp (15g) Granulated Sugar
- 2 1/4 tsp (7g) Active Dry Yeast
- 3 1/2 cups (420g) All-Purpose Flour, plus more for dusting
- 1 tsp (6g) Salt
- 2 Tbsp (30ml) Olive Oil, plus more for oiling bowl
Instructions:
- In a large mixing bowl, combine the warm water, granulated sugar, and active dry yeast. Stir gently and let the mixture sit for 5-10 minutes, or until it becomes foamy, indicating the yeast is active.
- Add the all-purpose flour, salt, and 2 tablespoons of olive oil to the yeast mixture. Mix with a spoon or your hands until a shaggy, cohesive dough forms.
- Turn the dough out onto a lightly floured surface. Knead the dough for 8-10 minutes until it is smooth, elastic, and no longer sticky.
- Lightly oil a clean large bowl. Place the kneaded dough in the bowl, turning it once to coat the entire surface with oil. Cover the bowl with plastic wrap or a clean kitchen towel and let it rise in a warm place for 1 to 1.5 hours, or until the dough has doubled significantly in size.
- Once risen, gently punch down the dough to release the air. Divide the dough into 4-6 equal portions, depending on your desired roll size. Shape each portion into an oblong sandwich roll.
- Place the shaped rolls on a parchment-lined baking sheet, leaving some space between them. Cover the baking sheet loosely with plastic wrap or a towel and let the rolls rise again for another 30-45 minutes, or until visibly puffy.
- Preheat your oven to 375°F (190°C).
- Bake the rolls for 15-20 minutes, or until they are golden brown on top and sound hollow when tapped on the bottom.
Storage / Serving / Usage Note:
Let the bread cool completely on a wire rack before slicing and filling. Store leftover bread in an airtight container at room temperature for up to 2-3 days, or freeze for longer storage.
Recipe 2: Soft Whole Wheat Sub Rolls
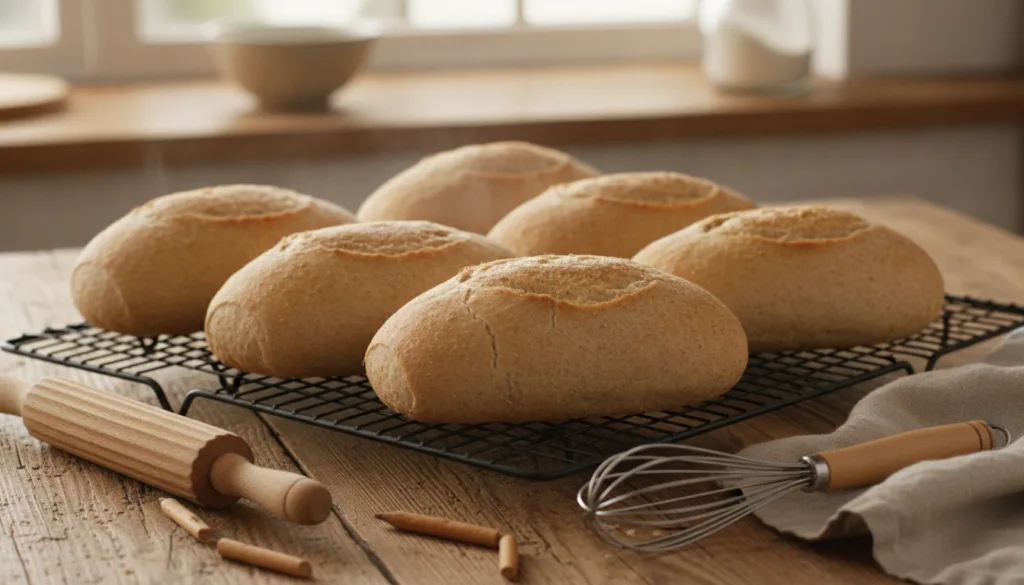
For a healthier alternative, these whole wheat sub rolls offer a delightful chewiness and nutty flavor, perfect for hearty sandwiches.
Servings: 4-6 sandwich rolls
Prep time: 25 minutes + 1.5-2 hours rise time
Cook / chill / rest time: 18-22 minutes
Ingredients:
- 1 cup (240ml) Warm Water (105-115°F / 40-46°C)
- 1 Tbsp (15g) Honey or Maple Syrup
- 2 1/4 tsp (7g) Active Dry Yeast
- 2 cups (240g) Whole Wheat Flour
- 1 1/2 cups (180g) All-Purpose Flour
- 1 tsp (6g) Salt
- 2 Tbsp (30ml) Olive Oil
Instructions:
- In a large bowl, combine warm water, honey/maple syrup, and yeast. Let sit for 5-10 minutes until foamy.
- Add both flours, salt, and olive oil. Mix until a shaggy dough forms.
- Knead on a lightly floured surface for 10-12 minutes until smooth and elastic.
- Place in an oiled bowl, cover, and let rise in a warm place for 1.5-2 hours, or until doubled.
- Gently punch down dough, divide into 4-6 portions, and shape into sub rolls.
- Place on a parchment-lined baking sheet, cover, and let rise for another 45-60 minutes.
- Bake at 375°F (190°C) for 18-22 minutes, or until golden brown.
Storage / Serving / Usage Note:
These rolls are fantastic for turkey or veggie sandwiches. Store in an airtight container for up to 3 days, or freeze for later.
Recipe 3: Garlic Parmesan Sub Rolls
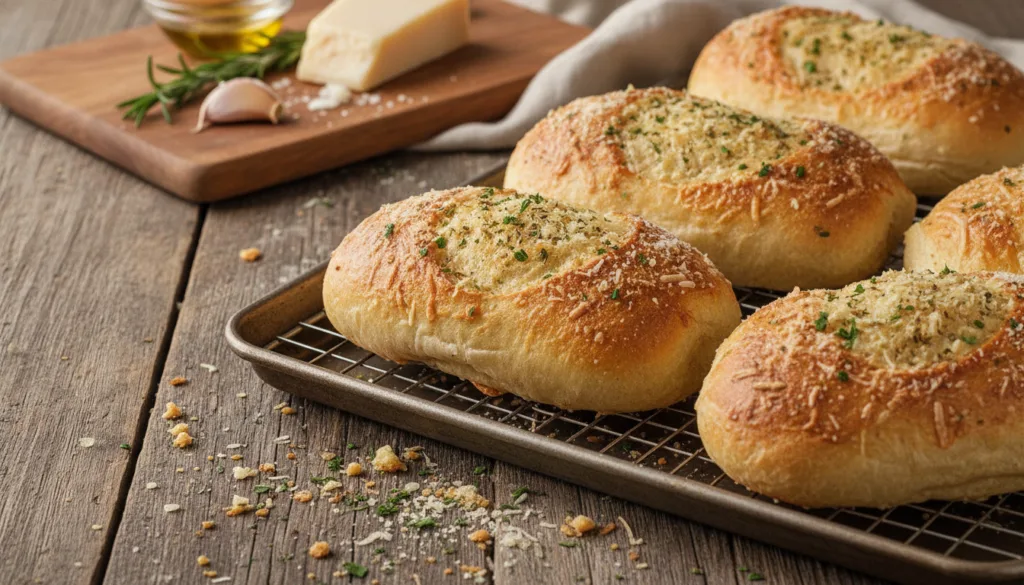
Elevate your sandwich game with these incredibly flavorful rolls, bursting with the aromatic notes of garlic and savory Parmesan cheese.
Servings: 4-6 sandwich rolls
Prep time: 30 minutes + 1.5-2 hours rise time
Cook / chill / rest time: 16-20 minutes
Ingredients:
- 1 1/4 cups (300ml) Warm Water
- 1 Tbsp (15g) Granulated Sugar
- 2 1/4 tsp (7g) Active Dry Yeast
- 3 1/2 cups (420g) All-Purpose Flour
- 1 tsp (6g) Salt
- 2 Tbsp (30ml) Olive Oil
- 2-3 cloves Garlic, minced
- 1/4 cup (25g) Grated Parmesan Cheese
- 1 Tbsp Dried Parsley (optional, for garnish)
Instructions:
- Combine warm water, sugar, and yeast in a large bowl. Let sit for 5-10 minutes until foamy.
- Add flour, salt, olive oil, minced garlic, and Parmesan cheese to the yeast mixture. Mix until a shaggy dough forms.
- Knead on a lightly floured surface for 8-10 minutes until smooth and elastic.
- Place in an oiled bowl, cover, and let rise in a warm place for 1-1.5 hours, or until doubled.
- Gently punch down dough, divide into 4-6 portions, and shape into sub rolls.
- Place on a parchment-lined baking sheet, cover, and let rise for another 30-45 minutes.
- Bake at 375°F (190°C) for 16-20 minutes, or until golden brown. Brush with a little olive oil and sprinkle with dried parsley (if using) immediately after baking for extra flavor and shine.
Storage / Serving / Usage Note:
These rolls are perfect for meatball subs or chicken Parmesan sandwiches. Best enjoyed fresh, but can be stored in an airtight container for up to 2 days.
Recipe 4: Italian Herb Sandwich Rolls
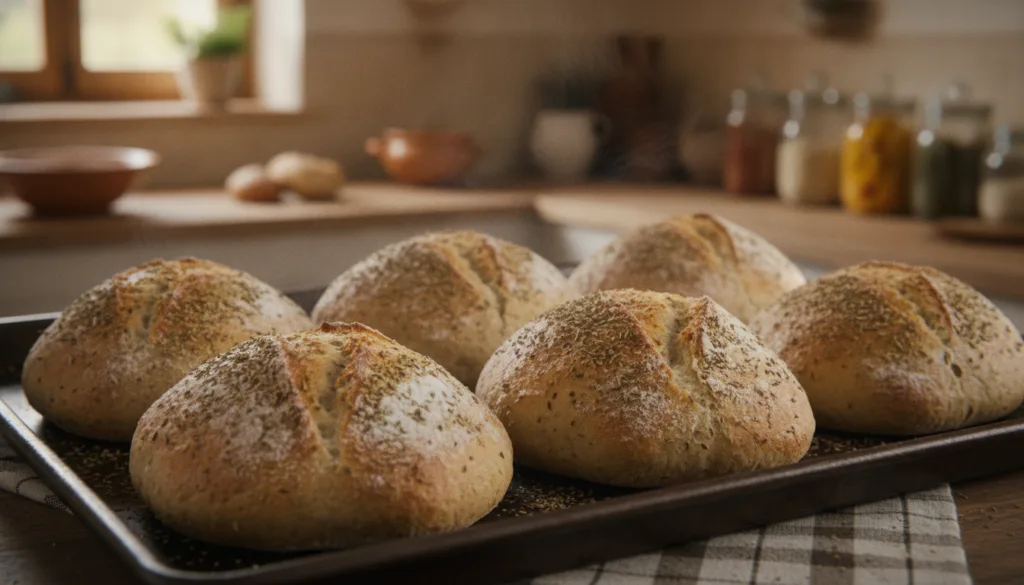
Infused with classic Italian herbs, these rolls are the ideal base for any deli-style sandwich, adding a fragrant and savory depth.
Servings: 4-6 sandwich rolls
Prep time: 25 minutes + 1.5-2 hours rise time
Cook / chill / rest time: 15-20 minutes
Ingredients:
- 1 1/4 cups (300ml) Warm Water
- 1 Tbsp (15g) Granulated Sugar
- 2 1/4 tsp (7g) Active Dry Yeast
- 3 1/2 cups (420g) All-Purpose Flour
- 1 tsp (6g) Salt
- 2 Tbsp (30ml) Olive Oil
- 1 1/2 Tbsp Italian Seasoning blend
- 1/2 tsp Garlic Powder
Instructions:
- In a large bowl, combine warm water, sugar, and yeast. Let sit for 5-10 minutes until foamy.
- Add flour, salt, olive oil, Italian seasoning, and garlic powder to the yeast mixture. Mix until a shaggy dough forms.
- Knead on a lightly floured surface for 8-10 minutes until smooth and elastic.
- Place in an oiled bowl, cover, and let rise in a warm place for 1-1.5 hours, or until doubled.
- Gently punch down dough, divide into 4-6 portions, and shape into sub rolls.
- Place on a parchment-lined baking sheet, cover, and let rise for another 30-45 minutes.
- Bake at 375°F (190°C) for 15-20 minutes, or until golden brown.
Storage / Serving / Usage Note:
Perfect for cold cuts or antipasto sandwiches. Store in an airtight container for up to 3 days.
Recipe 5: Rosemary Sea Salt Focaccia-Style Sandwich Bread
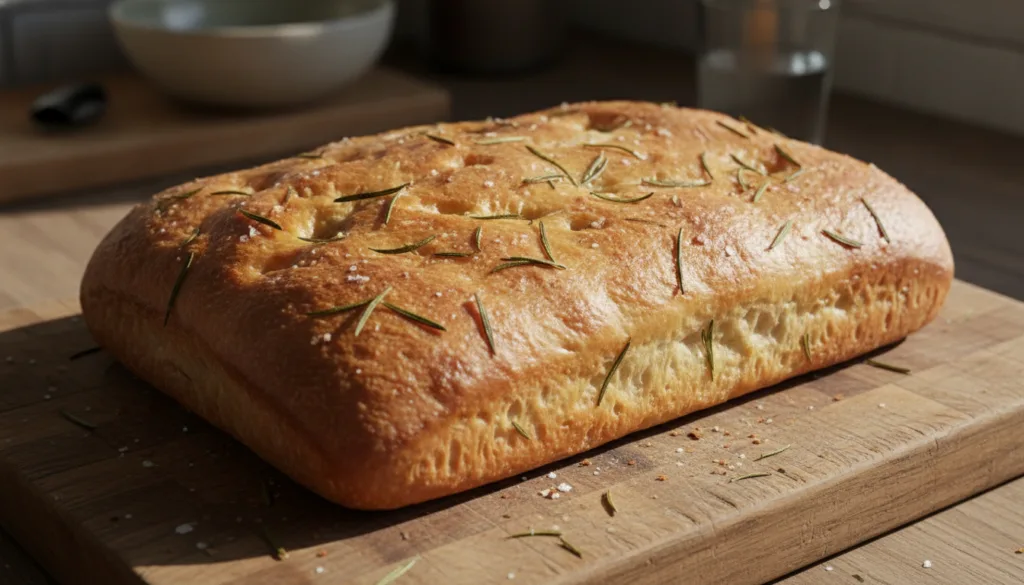
This focaccia-style bread offers a wonderfully soft, airy crumb and a rustic appeal, making it an excellent base for gourmet sandwiches.
Servings: 1 large rectangular loaf (can be sliced for 6-8 sandwiches)
Prep time: 20 minutes + 2 hours rise time
Cook / chill / rest time: 20-25 minutes
Ingredients:
- 1 1/2 cups (360ml) Warm Water
- 1 tsp (5g) Granulated Sugar
- 2 1/4 tsp (7g) Active Dry Yeast
- 3 1/2 cups (420g) All-Purpose Flour
- 1 tsp (6g) Salt
- 1/4 cup (60ml) Olive Oil, plus more for drizzling
- 2 Tbsp Fresh Rosemary, chopped
- 1/2 tsp Coarse Sea Salt
Instructions:
- In a large bowl, combine warm water, sugar, and yeast. Let sit for 5-10 minutes until foamy.
- Add flour, salt, and 1/4 cup olive oil. Mix until a sticky, shaggy dough forms (no kneading required).
- Cover the bowl and let rise in a warm place for 1.5-2 hours, or until doubled.
- Preheat oven to 400°F (200°C). Drizzle a 9×13 inch baking pan with olive oil.
- Gently pour the risen dough into the prepared pan. Drizzle with a little more olive oil and use your fingertips to create dimples across the surface.
- Sprinkle with chopped fresh rosemary and coarse sea salt.
- Bake for 20-25 minutes, or until golden brown and cooked through.
Storage / Serving / Usage Note:
Slice horizontally for unique sandwich bread or serve as an accompaniment. Stores well at room temperature in an airtight container for 2-3 days.
Recipe 6: Quick No-Knead Sandwich Loaf
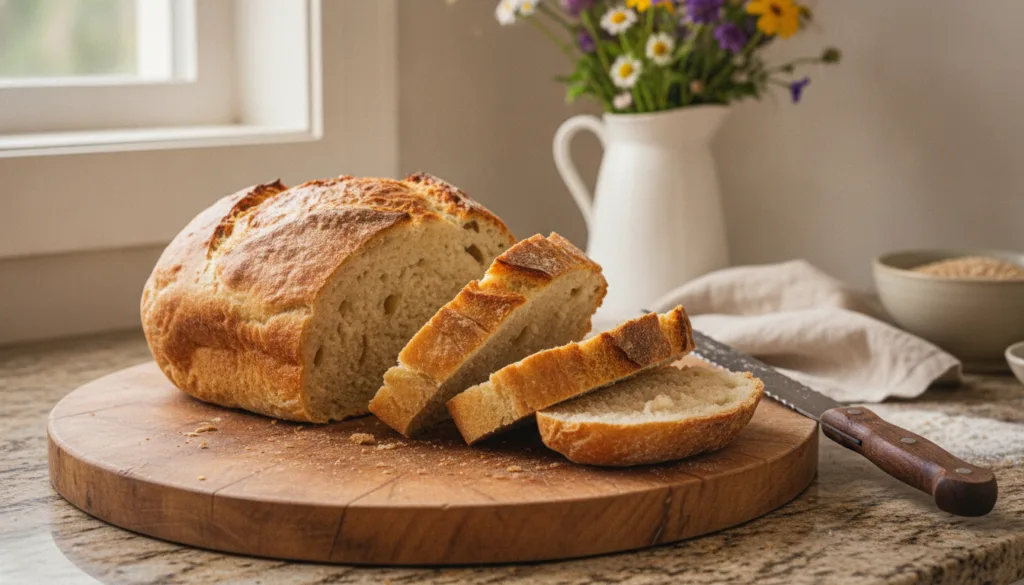
This incredibly simple no-knead recipe delivers a delicious, crusty loaf perfect for slicing into substantial sandwich bread with minimal effort.
Servings: 1 large loaf (approx. 12 slices)
Prep time: 10 minutes + 12-18 hours rise time
Cook / chill / rest time: 40-50 minutes
Ingredients:
- 3 cups (360g) All-Purpose Flour
- 1/2 tsp Active Dry Yeast
- 1 1/4 tsp Salt
- 1 1/2 cups (360ml) Cool Water
Instructions:
- In a large bowl, combine the flour, yeast, and salt. Add the cool water and stir with a wooden spoon or spatula until a shaggy, wet dough forms. Do not knead.
- Cover the bowl tightly with plastic wrap and let it sit at room temperature for 12-18 hours, or until the surface is dotted with bubbles.
- Once risen, lightly flour a work surface. Scrape the dough out onto the floured surface and gently fold it over itself a few times to form a rough ball.
- Place a piece of parchment paper in a Dutch oven or heavy pot (approx. 6-7 quarts). Carefully transfer the dough, seam-side up, onto the parchment paper in the pot. Cover the pot.
- Let the dough rest in the pot for 30 minutes while the oven preheats.
- Preheat your oven to 450°F (230°C) with the covered Dutch oven inside for at least 30 minutes.
- Carefully remove the hot Dutch oven from the oven. Remove the lid and bake the bread for 30 minutes with the lid on.
- Remove the lid and bake for an additional 10-20 minutes, or until the crust is deeply golden brown and the internal temperature reaches 200-210°F (93-99°C).
Storage / Serving / Usage Note:
Let the loaf cool completely before slicing. This bread is excellent for larger, heartier sandwiches. Store in a bread bag or airtight container at room temperature for 3-4 days.
Simple Tips for Best Results
- Check Your Yeast: Always ensure your yeast is active by letting it foam in warm, sugary water before adding other ingredients.
- Don’t Rush Rising: Patience is key with yeast dough. Let it rise in a warm, draft-free place until doubled.
- Measure Accurately: Especially with flour, precise measurements (preferably by weight) lead to consistent results.
- Don’t Overbake: Overbaking can lead to dry bread. Look for a golden-brown crust and an internal temperature of around 200°F (93°C).
- Cool Completely: Always allow your bread to cool on a wire rack before slicing. Slicing too early can result in a gummy texture.
- Experiment with Toppings: Before the final bake, try brushing with egg wash and sprinkling with sesame seeds, poppy seeds, or dried herbs for extra flavor and texture.
FAQ
What kind of flour is best for homemade sandwich bread?
All-purpose flour is great for soft, classic sandwich bread. For a chewier texture, you can use bread flour, or for a heartier loaf, incorporate whole wheat flour.
How do I know if my yeast is still good?
To check, combine your yeast with warm water (105-115°F / 40-46°C) and a pinch of sugar. If it becomes foamy and bubbly within 5-10 minutes, it’s active and ready to use.
Can I make these sandwich rolls ahead of time?
Yes, you can prepare the dough, let it rise, shape the rolls, and then freeze them before the second rise. Thaw overnight in the fridge and proceed with the second rise and baking. Baked rolls also freeze well once cooled.
What’s the best way to store homemade bread?
Store cooled bread in an airtight container or a bread box at room temperature for 2-3 days. For longer storage, slice and freeze for up to 2-3 months.
Final Thoughts
Mastering homemade sandwich bread opens up a world of delicious possibilities, transforming your everyday meals into something truly special. From the classic soft sub roll to wholesome whole wheat variations and aromatic herb-infused breads, you now have the tools to create bakery-quality rolls right in your own kitchen. There’s an unmatched satisfaction in serving a sandwich made with bread you’ve lovingly crafted yourself. So go ahead, get baking, and enjoy the incredible flavors and textures of your very own homemade sandwich bread!