Unlock Youthful Skin: DIY Collagen Cream – Everyday Beauty Secrets
Imagine a smoother, more radiant complexion without the hefty price tag! What if we told you the secret to youthful-looking skin might be hiding in your kitchen cabinet? Here at Beauty – Thảo, Ngọc, we’re so excited to share a simple DIY “collagen cream” recipe you can whip up using everyday items like baby oil and petroleum jelly.
This age-defying blend isn’t just easy to make; it’s a true game-changer for your skincare routine, helping your skin look plump, hydrated, and more youthful. Ready to embrace natural beauty and feel amazing in your own skin?
Why Go DIY for Your Skincare?
In a world full of expensive anti-aging creams, it’s easy to feel overwhelmed and discouraged. Many of us struggle with finding effective solutions for wrinkles, fine lines, and dull skin without breaking the bank. That’s where DIY beauty comes in!
- Affordability: High-quality skincare often comes with a hefty price tag. Homemade options allow you to achieve similar results for a fraction of the cost, using ingredients you likely already have.
- Control Over Ingredients: When you make your own products, you know exactly what’s going into them. No harsh chemicals, unnecessary fillers, or artificial fragrances – just pure, simple goodness.
- Natural Focus: Our community loves natural beauty, and this recipe is perfectly aligned with that. Harness the power of simple ingredients to nourish your skin.
The Power Duo: Baby Oil & Petroleum Jelly
While this cream doesn’t contain collagen itself, the magic lies in how these humble ingredients work together to support your skin’s natural barrier and intensely hydrate, giving it a plump, smooth, and more youthful appearance. Think of it as creating an optimal environment for your skin to thrive and look its best!
Petroleum Jelly: Your Skin’s Moisture Guardian
Often underestimated, petroleum jelly is a skincare powerhouse. It creates an occlusive barrier on the skin, effectively sealing in moisture and preventing water loss. This intense hydration helps to:
- Smooth the appearance of fine lines and wrinkles.
- Protect the skin from environmental stressors.
- Aid in skin repair and recovery.
Baby Oil: Gentle Hydration & Smoothness
Baby oil, typically mineral oil, is incredibly gentle and provides a lightweight layer of moisture. It helps to:
- Soften and smooth the skin.
- Improve skin texture, making it feel supple.
- Enhance the skin’s natural glow without feeling heavy.
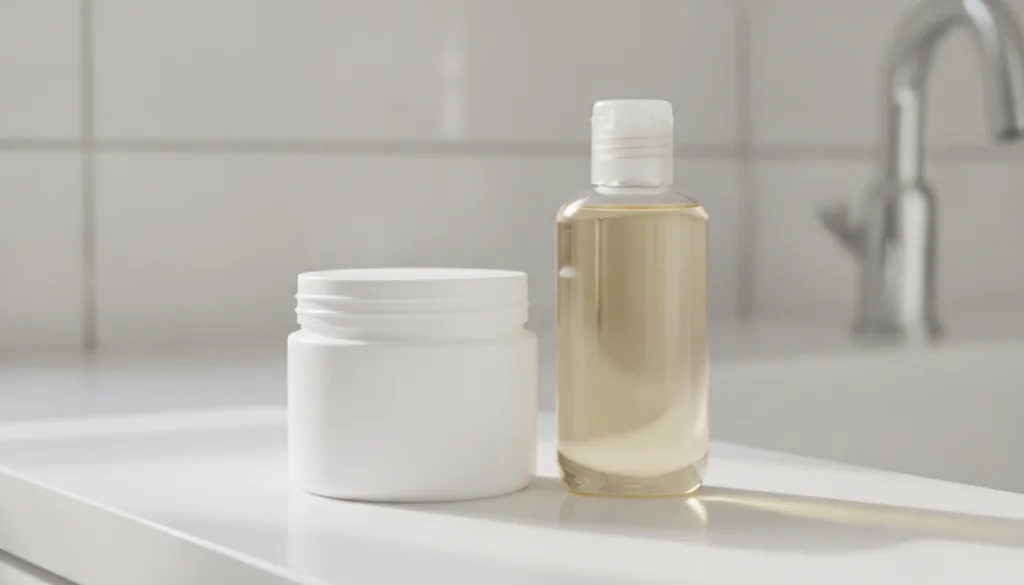
DIY “Collagen Cream” Recipe: Simple & Effective
Ready to whip up your own age-defying blend? Here’s how!
What You’ll Need:
- 2 tablespoons of Petroleum Jelly
- 1 tablespoon of Baby Oil
- A small, clean, airtight container or jar
- A spoon or small spatula for mixing
Step-by-Step Instructions:
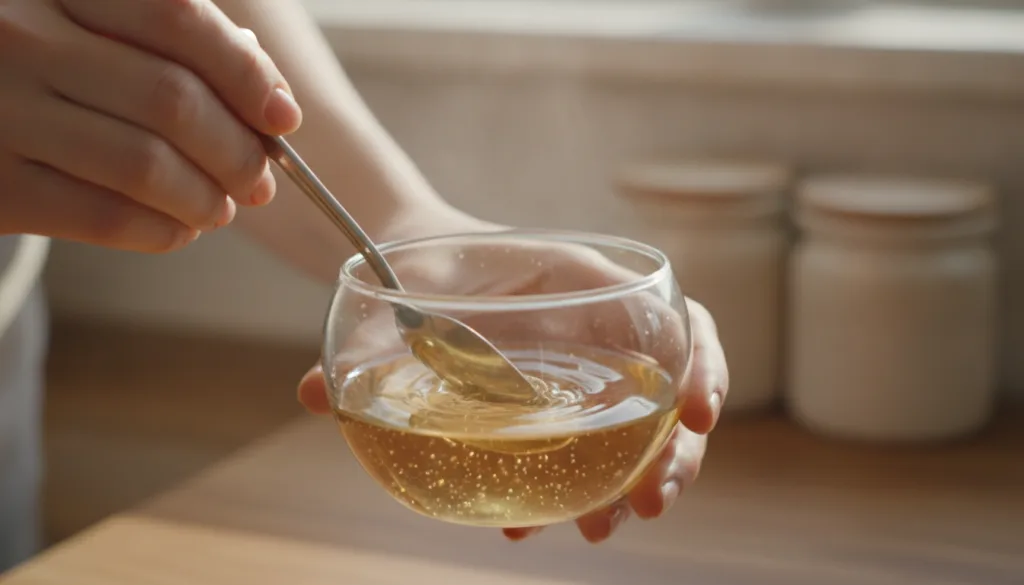
- Melt the Petroleum Jelly: Scoop the petroleum jelly into a microwave-safe bowl. Heat it in the microwave for short bursts (15-20 seconds) until it’s mostly melted and pliable. Alternatively, you can use a double boiler method for a more gentle melt.
- Combine Ingredients: Once the petroleum jelly is melted, add the baby oil to the bowl.
- Mix Well: Stir the mixture thoroughly with your spoon or spatula until both ingredients are completely combined and smooth.
- Pour into Container: Carefully pour the warm mixture into your clean, airtight container.
- Allow to Set: Let the cream cool down and solidify completely. You can place it in the refrigerator for about an hour to speed up the process, or simply leave it at room temperature.
How to Use Your DIY Cream for Best Results
For maximum benefits and a visibly youthful glow, incorporate this cream into your nightly routine:
- Cleanse Your Skin: Always start with a clean face. Gently wash your face to remove any makeup, dirt, and impurities.
- Apply a Small Amount: A little goes a long way! Take a pea-sized amount of your DIY cream.
- Gently Massage: Apply the cream to your face and neck, gently massaging it in upward circular motions until absorbed. Pay extra attention to areas prone to fine lines, like around your eyes and mouth.
- Nighttime Application: We recommend using this cream primarily at night, allowing it to work its magic while you sleep.
- Patch Test: As with any new product, always perform a patch test on a small area of your skin first to ensure you don’t have any adverse reactions.
Embrace Your Natural Beauty Journey
This simple DIY