Hey Beautiful! Ready for Some Skincare Magic? ✨
Ever wished for that glowing, healthy skin without breaking the bank or deciphering endless ingredient lists? Well, your beauty bestie is here to spill the beans on a little secret: DIY natural toners! Forget those expensive store-bought versions; the real magic often lies in your kitchen.
Today, we’re diving deep into the world of homemade toners, focusing on one of our absolute favorites: the incredibly potent yet surprisingly simple Rice Water Toner. Get ready to unveil a brighter, more even skin tone naturally!
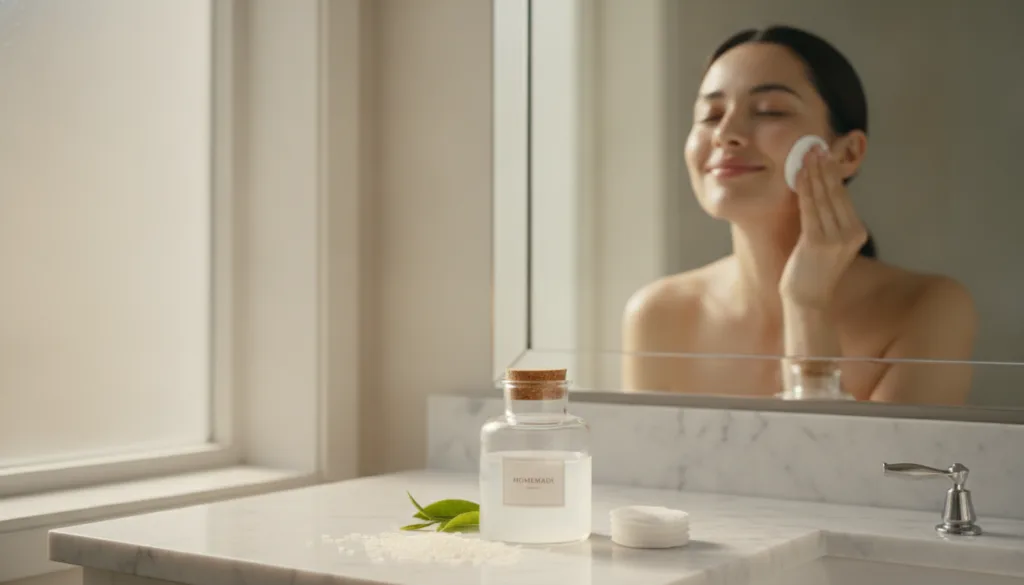
Why Choose Natural DIY Toners?
Before we jump into the recipes, let’s talk about why making your own toner is a game-changer for your skin and your wallet:
- Gentle & Pure: You control every ingredient, meaning no harsh chemicals, synthetic fragrances, or alcohol that can strip your skin.
- Cost-Effective: Many ingredients are already in your pantry or easily accessible at a fraction of the cost of commercial products.
- Customizable: Tailor your toner to your specific skin needs! Oily, dry, sensitive, or combination – there’s a natural solution for everyone.
- Eco-Friendly: Reduce plastic waste by reusing bottles and knowing exactly what goes onto your skin and into the environment.
Spotlight: The Amazing Rice Water Toner
If you haven’t heard about rice water for skincare, prepare to be amazed! Used for centuries in Asian beauty rituals, rice water is packed with vitamins, minerals, and amino acids that work wonders for your complexion.
Benefits of Rice Water for Your Skin:
- Brightens Skin: Helps to fade dark spots and even out skin tone, giving you that coveted radiant glow.
- Soothes & Calms: Anti-inflammatory properties can help calm irritated skin.
- Minimizes Pores: Acts as a natural astringent to tighten and reduce the appearance of pores.
- Improves Skin Elasticity: Rich in antioxidants, it can help combat signs of aging.
- Hydrates: Adds a boost of moisture, leaving your skin feeling soft and supple.
Your Super Simple Rice Water Toner Recipe!
This recipe is incredibly easy and uses ingredients you likely already have.
What You’ll Need:
- ½ cup organic white rice (any variety works!)
- 2 cups filtered water
- A clean, airtight bottle or spray bottle for storage
Instructions:
- Rinse the Rice: Place the rice in a fine-mesh strainer and rinse it thoroughly under cold running water. This removes any impurities or excess starch.
- Soak the Rice: Transfer the rinsed rice to a bowl and add the 2 cups of filtered water.
- Let it Soak (or Ferment!):
- Quick Method: Let it sit for 30 minutes to 1 hour at room temperature. The water will become cloudy.
- Fermented Method (for extra benefits!): Cover the bowl and let it sit at room temperature for 12-24 hours. You’ll notice a slightly sour smell – that’s good! This method enhances its antioxidant properties.
- Strain the Water: Strain the rice water into your clean bottle, discarding the rice (or use it for cooking!).
- Store: Keep your rice water toner in the refrigerator. It stays fresh for up to 7 days.
How to Use Your Rice Water Toner:
After cleansing your face, simply:
- Pour a small amount onto a cotton pad and gently swipe it across your face and neck.
- Or, pour it into a spray bottle and mist your face for a refreshing boost.
Follow up with your favorite serum and moisturizer. Use it once or twice daily for best results.
Other Easy DIY Natural Toner Ideas
While rice water is fantastic, here are a couple more simple natural toners you might love:
Rose Water Toner: For Hydration & Balance
Ingredients: Fresh rose petals (from organic, unsprayed roses) and distilled water.
How to Make: Gently simmer rose petals in distilled water until they lose their color. Let cool, strain, and store in a spray bottle in the fridge. Perfect for sensitive or dry skin, it hydrates, soothes, and balances pH.
Apple Cider Vinegar (ACV) Toner: For Acne-Prone & Oily Skin
Ingredients: Organic Apple Cider Vinegar (with the mother) and filtered water.
How to Make: Mix 1 part ACV with 3-4 parts water (start with more water if you have sensitive skin). This powerful toner helps balance pH, fight bacteria, and reduce breakouts. Always dilute it well!
Important Tips for Your DIY Toners
- Patch Test: Always apply a small amount to an inconspicuous area (like behind your ear or on your inner arm) and wait 24 hours to ensure no irritation.
- Fresh is Best: Natural toners don’t have preservatives, so always store them in the fridge and use them within their recommended timeframe (usually 1 week for rice water, longer for ACV mixtures).
- Listen to Your Skin: If you experience any redness, itching, or discomfort, discontinue use.
- Cleanliness is Key: Always use clean bottles and utensils to prevent bacterial growth.
Ready to Glow?
Embracing DIY skincare, especially with natural toners, is a wonderful way to nourish your skin with ingredients you trust. The humble rice water toner is a testament to how simple, natural ingredients can deliver powerful, beautiful results.
Give it a try and watch your skin transform! We’d love to hear about your experience. What’s your favorite DIY beauty secret? Share in the comments below!