Are you ready to multiply the vibrant beauty in your garden or home? Coleus plants are beloved for their stunning, colorful foliage, and the best part is, they’re incredibly easy to propagate! Turning one plant into many is not only rewarding but also a fantastic way to expand your collection, share with friends, or simply enjoy more of these spectacular plants without breaking the bank. Join us as we explore the simple steps to propagate Coleus and watch new life begin!
Why Propagate Coleus?
Coleus propagation offers a multitude of benefits for any gardener:
- Expand Your Collection: Easily create more plants from your favorites.
- Save Money: Get new plants for free instead of buying them.
- Preserve Your Favorites: If you have a particularly beautiful variety, propagating ensures you always have it, especially if you’re bringing plants indoors for winter or want to share.
- Rejuvenate Plants: Taking cuttings from leggy plants can encourage bushier growth and give you fresh, vigorous new plants.
- Share the Joy: Propagated Coleus make wonderful gifts for fellow plant lovers!
What You’ll Need
Gathering your tools before you start will make the process smooth and enjoyable:
- A healthy Coleus plant
- Sharp, clean pruning shears or scissors
- Small pots or containers
- Well-draining potting mix (if propagating in soil)
- A glass or jar of clean water (if propagating in water)
- Rooting hormone (optional, but can speed up rooting)
Step-by-Step Guide to Coleus Propagation
1. Taking Your Cuttings
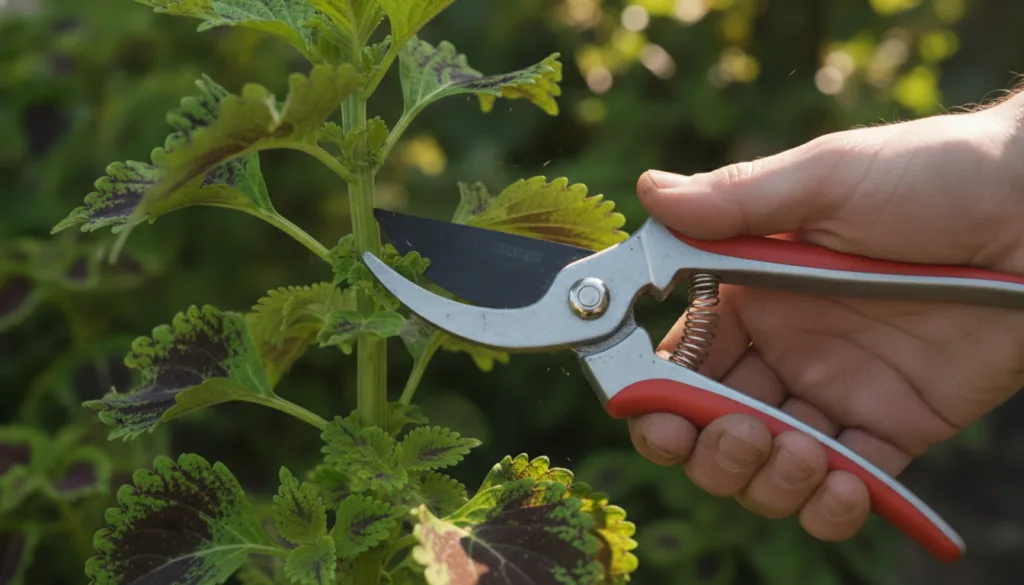
The first and most crucial step is selecting and taking healthy cuttings. Look for strong, non-flowering stems about 4-6 inches long. Cuttings from actively growing parts of the plant tend to root best.
2. Preparing Your Cuttings
Once you have your cuttings, it’s time to prepare them for rooting:
- Remove Lower Leaves: Gently strip off the leaves from the bottom 1-2 inches of the stem. This ensures that no leaves will be submerged in water (if water propagating) or buried in soil, which can lead to rot.
- Locate Nodes: Ensure your cutting has at least one or two ‘nodes’ (small bumps where leaves or branches emerge) on the part of the stem that will be submerged or buried. Roots typically form from these nodes.
- Optional Rooting Hormone: If desired, dip the cut end of the stem into rooting hormone powder or gel. Tap off any excess.
3. Choosing Your Propagation Method: Water vs. Soil
Coleus cuttings root easily in both water and soil. Choose the method that suits you best!
Water Propagation
This is a favorite for many because you can literally watch the roots grow!
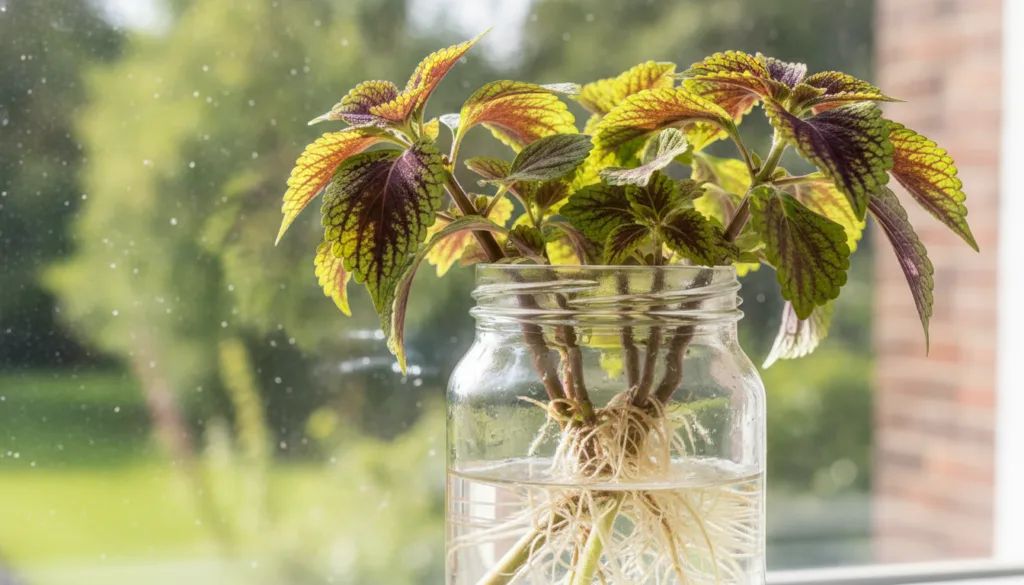
- Place the prepared cuttings into a clear glass or jar filled with clean water. Ensure only the leafless part of the stem is submerged.
- Change the water every few days to keep it fresh and prevent bacterial growth.
- Place the jar in a warm spot with bright, indirect light. Avoid direct sunlight, which can overheat the water.
- Within 1-3 weeks, you should start to see small white roots emerging from the nodes.
- Once the roots are about 1-2 inches long, your Coleus cuttings are ready to be planted in soil.
Soil Propagation
Planting directly into soil can lead to stronger root systems from the start.
- Fill small pots or a seed tray with a moist, well-draining potting mix.
- Use a pencil or your finger to make a small hole in the center of the soil for each cutting.
- Insert the prepared cutting into the hole, ensuring the nodes are buried. Gently firm the soil around the stem to secure it.
- Water lightly to settle the soil.
- Place the pots in a warm location with bright, indirect light.
- Keep the soil consistently moist but not waterlogged. You can also cover the pots with a plastic dome or bag to create a mini-greenhouse effect, increasing humidity and promoting faster rooting.
- New growth on the cutting is a good sign that roots have established, usually within 2-4 weeks.
4. Caring for Your New Coleus Plants
Once your cuttings have rooted and are growing well:
- Light: Provide bright, indirect light. Coleus colors are most vibrant with ample light, but direct afternoon sun can scorch their leaves.
- Watering: Keep the soil consistently moist, but avoid overwatering, which can lead to root rot. Water when the top inch of soil feels dry.
- Humidity: Coleus appreciates humidity, especially when young. Misting occasionally can help.
- Pinching: To encourage bushy growth, pinch off the top set of leaves or any developing flower spikes. This redirects the plant’s energy into producing more foliage.
- Fertilizing: Once established, you can fertilize lightly with a balanced liquid fertilizer every 2-4 weeks during the growing season.
Tips for Success
- Timing is Key: Propagate during the active growing season (spring and summer) for the best results.
- Sterilize Tools: Always use clean, sharp tools to prevent disease.
- Don’t Rush: Be patient! Rooting times can vary depending on conditions and Coleus variety.
- Experiment: Try both water and soil methods to see which works best for you.
Common Problems and Solutions
- Cuttings Wilting: This can happen if the cutting isn’t taking up enough water. Ensure the water is fresh (if propagating in water) or the soil is adequately moist (if propagating in soil). High humidity can also help.
- Rotting Stems: Usually caused by too much moisture or leaves submerged in water/soil. Ensure good air circulation and remove any rotting parts immediately.
- No Roots: If after several weeks no roots appear, the cutting might not have been healthy enough, or conditions might not be ideal. Try again with a fresh cutting.
Watch Life Begin!
Propagating Coleus is an incredibly satisfying aspect of gardening. With just a few simple steps, you can turn a single plant into a thriving collection of colorful foliage, adding bursts of joy to every corner of your home and garden. So grab your snips, choose your favorite Coleus, and get ready to watch new life begin!
Have you tried propagating Coleus before? Share your tips and experiences in the comments below!