Are you eager to see your garden flourish, but tired of waiting for stubborn seeds to sprout? You’re not alone! Many gardeners face the frustration of slow or inconsistent germination. But what if there was a simple trick to give your seeds a head start and encourage them to pop up faster and stronger? Good news, there is!
Today, we’re diving into an incredibly easy and effective method that can significantly speed up seed sprouting: seed soaking. This age-old technique is a game-changer for many varieties and can transform your gardening success, leading to healthier seedlings and a more bountiful harvest.
The Magic of Seed Soaking: A Simple Solution
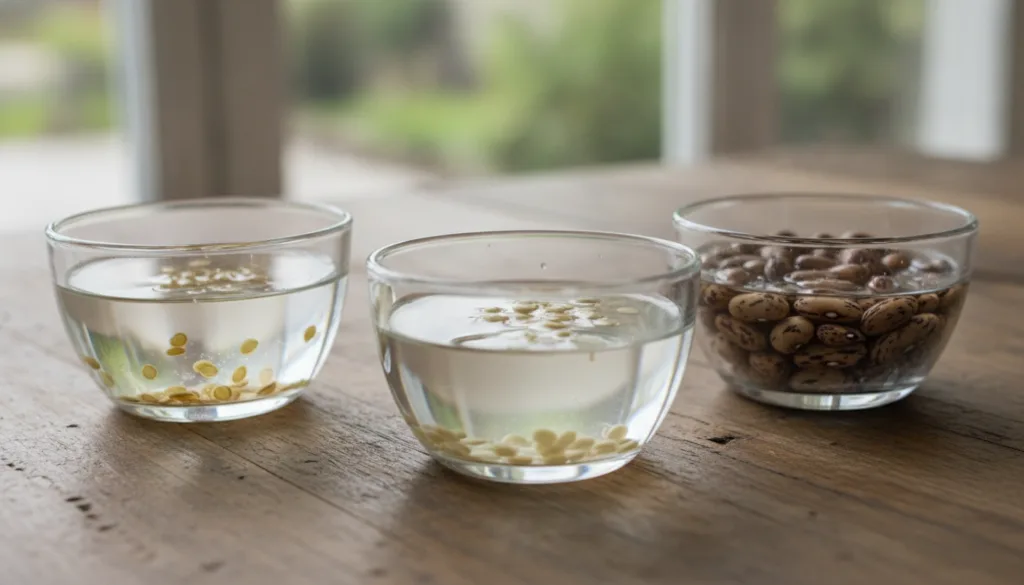
Seed soaking is exactly what it sounds like – giving your seeds a good bath before planting. While it might seem like a small step, it has a big impact on the germination process. Think of it as waking your seeds up from their dormant state and telling them it’s time to grow!
Why Soaking Works Wonders for Germination
To understand why soaking is so effective, let’s look at what a seed needs to sprout:
- Water Absorption: Seeds have a hard outer shell (seed coat) that protects the embryo inside. For germination to begin, the seed needs to absorb enough water to trigger metabolic processes. Soaking helps break down this barrier and allows water to penetrate more quickly and uniformly.
- Softening the Seed Coat: Some seeds have particularly tough coats that can hinder water absorption and the embryo’s ability to break through. Soaking softens this coat, making it easier for the emerging sprout to push through.
- Washing Away Inhibitors: Certain seeds contain natural germination inhibitors on their surface. Soaking can help wash away these chemicals, removing another obstacle to growth.
By providing these ideal conditions, you’re essentially giving your seeds a powerful head start, reducing the time it takes for them to germinate and increasing your chances of success.
How to Soak Seeds for Success: Your Step-by-Step Guide
Ready to try this simple trick? Here’s how to do it effectively:
1. Which Seeds Benefit Most?
While most seeds can benefit from soaking, it’s particularly helpful for those with naturally hard or thick seed coats. These often include:
- Peas and Beans
- Squash and Cucumbers
- Corn
- Beets
- Spinach
- Hard-shelled flower seeds (e.g., morning glories, sweet peas)
Delicate or very small seeds (like lettuce, carrots, or most herbs) typically don’t need soaking, as they absorb water easily.
2. The Soaking Process: A Simple Guide
- Gather Your Supplies: You’ll need your seeds, a small bowl or jar, and clean, room-temperature water (distilled or filtered water is best, but tap water left out for a day to dechlorinate works too).
- Place Seeds in Water: Put your chosen seeds into the bowl and cover them with water. Ensure they are fully submerged.
- Set a Timer: This is crucial! Most seeds only need 12-24 hours of soaking. Some very hard seeds might benefit from up to 48 hours, but rarely longer. Over-soaking can deprive seeds of oxygen and cause them to rot.
- Keep an Eye on Them: You might notice some seeds swell up as they absorb water – this is a good sign!
- Prepare for Planting: Once the soaking time is up, gently drain the water. Your seeds are now primed and ready for planting!
3. Water Temperature Matters
Room temperature water is generally ideal. Avoid using very cold water, which can shock the seeds, or hot water, which could damage them. Lukewarm water can sometimes be beneficial for very hard-coated seeds, mimicking a natural warm rain.
Beyond Soaking: Other Tips for Healthy Germination
While soaking is powerful, combine it with other good practices for the best results:
- Quality Seeds: Always start with fresh, viable seeds from a reputable source. Old seeds may have a lower germination rate regardless of soaking.
- Right Potting Mix: Use a high-quality, sterile seed-starting mix that is light, well-draining, and provides good aeration.
- Ideal Temperature & Light: Ensure your planting area has the specific temperature and light conditions recommended for your seed type. Many seeds prefer warmth to germinate.
- Consistent Moisture: Keep the soil consistently moist but not waterlogged. Use a spray bottle or bottom watering to prevent disturbing tiny seedlings.
Get Ready for a Greener Garden!
By incorporating this simple seed-soaking technique into your gardening routine, you’ll be amazed at how quickly and uniformly your seeds sprout. It’s a small effort for a big reward – healthier plants, a more productive garden, and the joy of watching life burst forth with renewed vigor. Happy gardening!