Welcome back to the Garden – L. Quyên community! Today, we’re diving into one of nature’s most rewarding cycles: transforming fallen leaves into a rich, dark gold for your garden. If you’ve ever wished for healthier plants, more vibrant blooms, or bumper harvests of vegetables, the secret might just be in your own backyard – with DIY leaf compost!
Many gardeners underestimate the power of fallen leaves. Instead of bagging them up and sending them away, you can turn this free, abundant resource into an incredible soil amendment. It’s a simple, sustainable practice that not only benefits your plants but also reduces waste and connects you more deeply with the natural rhythms of your garden.
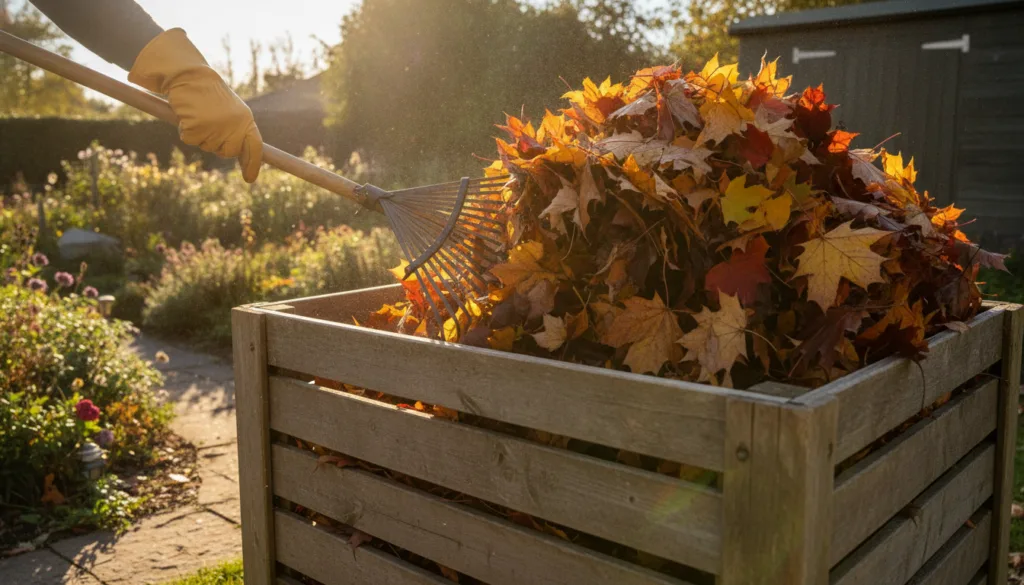
Why Leaf Compost is a Game-Changer for Your Garden
Leaf compost, often called ‘leaf mold,’ is a fantastic addition to any garden. Unlike general compost (which often includes kitchen scraps and green waste), leaf mold is primarily made from decomposed leaves and offers unique benefits:
- Improves Soil Structure: It adds vital organic matter, making heavy clay soils lighter and more workable, and improving water retention in sandy soils.
- Boosts Drainage and Aeration: The spongy texture helps soil breathe, preventing waterlogging and promoting healthy root growth.
- Feeds Soil Microbes: It’s a feast for beneficial fungi and bacteria, which are crucial for nutrient cycling and plant health.
- Natural and Free: Why buy expensive soil amendments when nature provides them right outside your door?
- Suppresses Weeds: When used as a mulch, a layer of leaf mold can help keep pesky weeds at bay.
Your Step-by-Step Guide to Making DIY Leaf Compost
Ready to get started? Making leaf compost is incredibly simple and requires minimal effort. Here’s how:
Step 1: Gather Your Leaves
The best time to start is in autumn when leaves are falling. Collect as many leaves as you can – oak, maple, birch, and most deciduous tree leaves work wonderfully. Avoid black walnut leaves as they contain juglone, a substance that can inhibit the growth of some plants.
- Tip: Shredding your leaves (with a lawnmower, leaf shredder, or even by running over them with your car) will significantly speed up the decomposition process. Smaller pieces mean more surface area for microbes to work on.
Step 2: Choose Your Composting Method
There are a few ways to create leaf compost, depending on your space and preference:
- The Simple Pile: If you have space, simply rake your leaves into a large pile in an out-of-the-way corner of your garden. This is the easiest method, though it takes the longest (1-2 years).
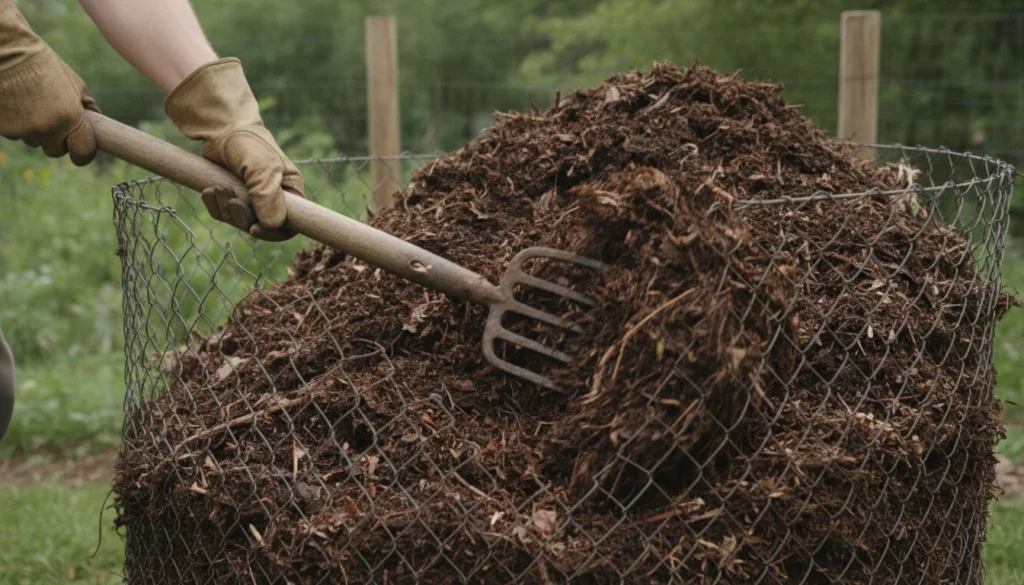
- Wire Mesh Bin: Create a cylindrical bin using chicken wire or hardware cloth. This allows for better airflow.
- Wooden Pallet Bin: Construct a simple four-sided bin using old wooden pallets. This is sturdy and effective.
- Heavy-Duty Trash Bags: For smaller quantities or limited space, stuff leaves into strong, black trash bags. Poke a few holes in the bags for aeration and moisture, then tie them shut and leave them in a shaded spot.
Step 3: Add Water
Moisture is key for decomposition. Your leaf pile should be as damp as a wrung-out sponge – not soaking wet, but consistently moist. If rain isn’t doing the job, give your pile a good soak with a hose every now and then, especially if you’re using a bin or a pile in an exposed area.
Step 4: Wait and Turn (Optional, but Recommended)
Now, nature takes over! Over several months, fungi and other microorganisms will break down the leaves. While leaf compost will eventually happen on its own, you can speed up the process by:
- Turning the Pile: Every few weeks or months, use a pitchfork to turn the pile, mixing the outer, drier leaves with the inner, moister ones. This also introduces oxygen, which accelerates decomposition.
- Adding a Nitrogen Source: While not strictly necessary for leaf mold, a small amount of green material (like grass clippings or kitchen scraps) can act as a nitrogen boost, helping leaves break down faster.
When is Your Leaf Compost Ready?
You’ll know your leaf compost is ready when the leaves have transformed into a dark brown, crumbly, earthy-smelling material with a texture similar to coarse peat moss. It should no longer look like individual leaves. This process can take anywhere from 6 months to 2 years, depending on shredding, moisture, and turning.
How to Use Your Wonderful Leaf Compost
Once ready, your leaf compost is incredibly versatile:
- Soil Amendment: Mix it into garden beds and raised beds before planting to improve soil structure and fertility.
- Mulch: Apply a 2-4 inch layer around plants to retain moisture, suppress weeds, and regulate soil temperature.
- Potting Mix Component: Blend it with your homemade or store-bought potting mixes for an added organic boost.
- Seed Starting Mix: Fine, screened leaf mold can be a component in your seed starting mixes, providing a light, sterile medium.
- Compost Tea: Steep leaf mold in water to create a nutrient-rich liquid feed for your plants.
Embrace the Cycle!
Creating DIY leaf compost is a beautiful way to close the loop in your garden. You’re taking what nature provides and giving it back in a form that enriches your soil and nourishes your plants. It’s truly a sustainable gardening practice that yields incredible results.
Have you tried making leaf compost before? What are your favorite ways to use it in your garden? Share your tips and experiences in the comments below! Happy composting!