Imagine waking up every morning to skin that feels incredibly soft, looks dewy, and boasts that radiant, healthy glow. It sounds like a dream, doesn’t it? Well, with a little bit of DIY magic, that dream can become your everyday reality! We’re excited to share a wonderfully simple yet effective recipe for a homemade Vitamin E and Rose Hydrating Night Gel, designed to deeply nourish and revitalize your complexion while you enjoy your beauty sleep.
This isn’t just any night cream; it’s a personalized potion crafted with skin-loving ingredients known for their hydrating and soothing properties. Say goodbye to expensive store-bought gels and hello to a natural, budget-friendly solution that truly works!
Why This DIY Night Gel Is Your Skin’s New Best Friend
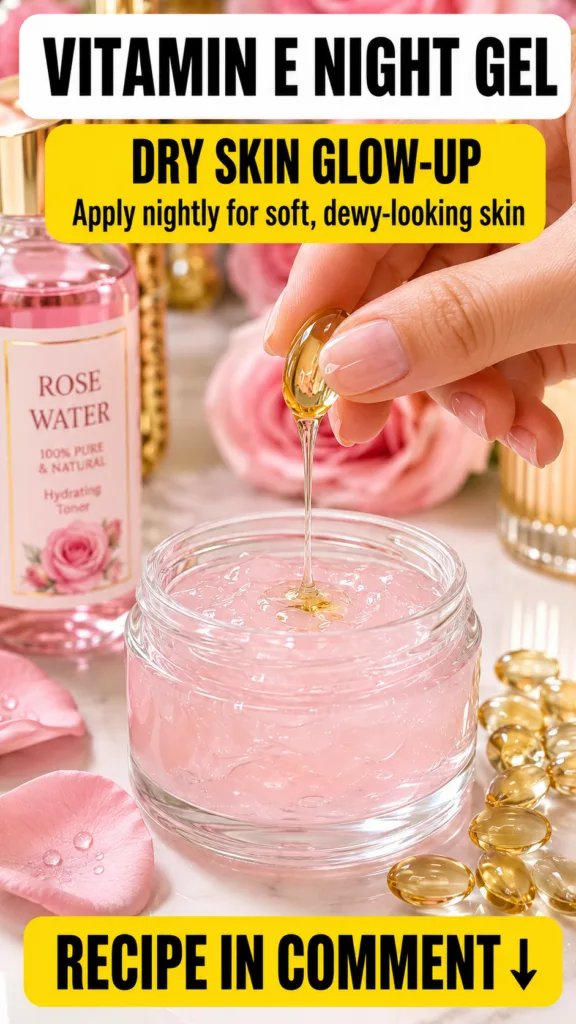
Our recipe combines three powerhouses of natural beauty: Vitamin E, Rose Water, and Aloe Vera Gel. Let’s dive into what makes each of these ingredients so special for your skin.
The Wonders of Vitamin E for Your Skin
- Antioxidant Power: Vitamin E is a well-known antioxidant, meaning it helps protect your skin from damage caused by free radicals, which can contribute to premature aging.
- Deep Hydration: It’s incredibly moisturizing, helping to strengthen your skin’s barrier and reduce moisture loss, leaving your skin feeling supple and smooth.
- Supports Skin Repair: People often use Vitamin E to help soothe and support the natural healing process of the skin.
The Soothing Touch of Rose Water
- Natural Toner: Rose water is a natural astringent, which can help to tone the skin and minimize the appearance of pores.
- Calming Properties: It’s known for its anti-inflammatory properties, making it excellent for soothing irritated skin and reducing redness.
- Gentle Hydration: It provides light hydration and leaves a subtle, refreshing scent.
Aloe Vera Gel: The Perfect Base
- Lightweight Hydration: Aloe vera gel is non-greasy and quickly absorbed, making it an ideal base for a night gel, especially if you have oily or combination skin.
- Soothing & Cooling: It’s famous for its ability to soothe and cool the skin, which can be lovely after a long day.
- Nutrient-Rich: Packed with vitamins, minerals, and enzymes, aloe vera contributes to overall skin health.
Your Simple DIY Vitamin E & Rose Hydrating Night Gel Recipe
Ready to create your glowing skin secret? Here’s what you’ll need and how to do it!
Ingredients:
- 2-3 Vitamin E Capsules (puncture them to extract the oil)
- 2 tablespoons pure Aloe Vera Gel (make sure it’s 99% pure or higher)
- 1 tablespoon pure Rose Water (look for distilled or organic)
Equipment:
- A small, clean, airtight jar or container (ideally glass)
- A small mixing spoon or spatula
Step-by-Step Instructions:
- Prepare Your Container: Ensure your jar is thoroughly clean and dry to prevent contamination and prolong the shelf life of your gel.
- Combine Aloe Vera Gel: Scoop the 2 tablespoons of pure aloe vera gel into your clean jar.
- Add Rose Water: Gently pour 1 tablespoon of rose water into the jar with the aloe vera gel.
- Extract Vitamin E: Take your Vitamin E capsules. Using a clean pin or needle, carefully puncture each capsule and squeeze out the oil into the mixture in the jar.
- Mix Thoroughly: With your small spoon or spatula, mix all the ingredients together until they are well combined and form a smooth, uniform gel. This might take a minute or two.
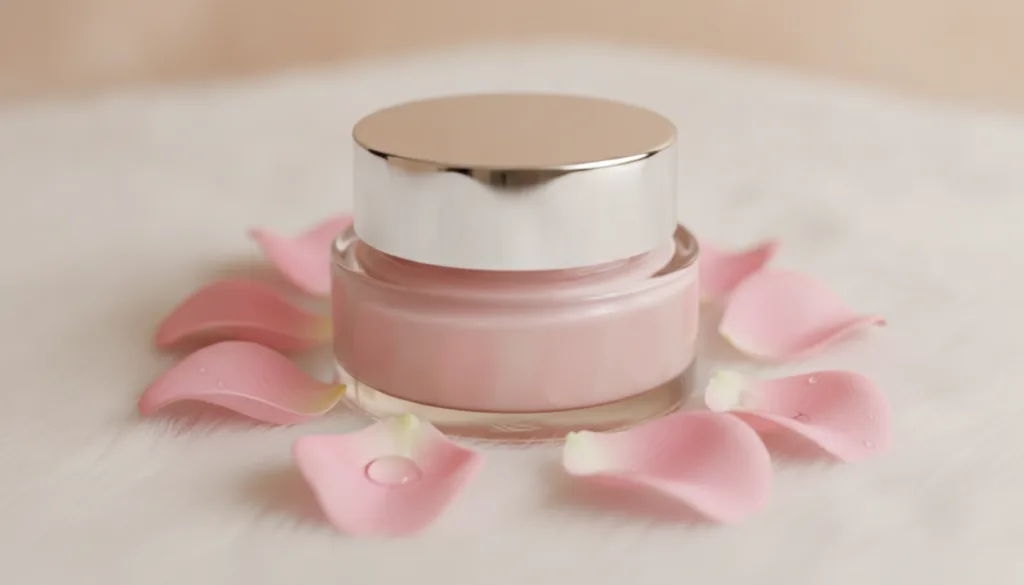
- Seal and Store: Once thoroughly mixed, seal the jar tightly with its lid.
How to Use Your DIY Night Gel
- Cleanse Your Face: Start with a clean face. Wash away makeup and impurities as part of your usual nighttime routine.
- Tone (Optional): If you use a toner, apply it after cleansing.
- Apply the Gel: Take a small, pea-sized amount of your DIY Vitamin E & Rose Hydrating Night Gel.
- Massage Gently: Apply it evenly over your face and neck, massaging gently in upward circular motions until it’s absorbed. A little goes a long way!
- Enjoy Your Sleep: Let the gel work its magic overnight.
Repeat this routine every evening to wake up to noticeably softer, more hydrated, and glowing skin.
Tips for Storing and Enjoying Your Gel
- Refrigerate: Because this is a homemade product with no harsh preservatives, it’s best to store your night gel in the refrigerator. This also gives it a wonderfully cooling sensation when applied!
- Shelf Life: Used fresh ingredients ensure a longer shelf life. It should last for about 1-2 weeks in the refrigerator. If you notice any change in color, smell, or consistency, it’s best to discard it and make a fresh batch.
- Patch Test: As with any new product, especially a DIY one, always perform a patch test on a small area of your skin (like behind your ear or on your inner arm) before applying it to your entire face to ensure you don’t have any sensitivities.
Why Choose DIY Skincare?
Embracing DIY skincare is more than just a trend; it’s a mindful choice:
- Know Your Ingredients: You have complete control over what goes onto your skin, avoiding harsh chemicals, synthetic fragrances, and unnecessary fillers.
- Cost-Effective: Many natural ingredients are affordable and readily available, saving you money in the long run.
- Sustainable: Reducing packaging and making products at home can be a more eco-friendly approach to beauty.
This DIY Vitamin E and Rose Hydrating Night Gel is a wonderful way to pamper your skin with natural goodness. It’s simple to make, a pleasure to use, and offers the potential for that radiant, dewy complexion you’ve been dreaming of.
Have you tried making your own night gels or other DIY beauty recipes? Share your experiences and favorite ingredients in the comments below!