Are you tired of looking at dull floors and stubborn, discolored grout lines that just won’t come clean? You’re not alone! Many common cleaning products can be harsh or expensive, but sometimes the best solutions are found right in your pantry. This DIY method harnesses the simple power of salt to help you tackle grime and bring back the sparkle to your floors.
Using a simple salt solution is an easy, budget-friendly hack for a dazzling finish. It’s a natural approach that can make a noticeable difference, especially on those hard-to-clean grout areas, without resorting to harsh chemicals.
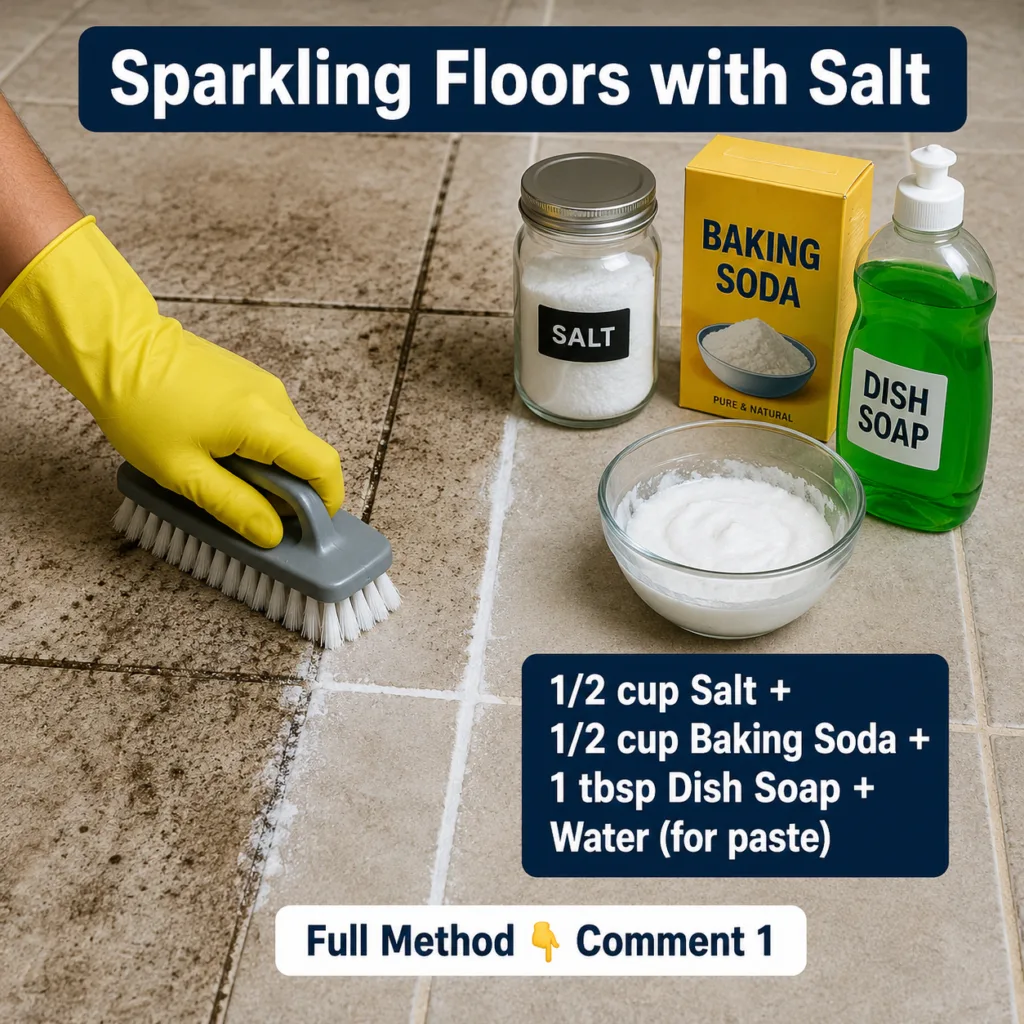
What You’ll Need
- 1/2 cup Table Salt (Sodium Chloride)
- 1 cup Warm Water
- Small mixing bowl or container
- Stiff-bristled brush (a dedicated grout brush works best)
- Sponge or microfiber cloths
- Mop and bucket (for larger floor areas)
- Spray bottle (optional, for solution application)
- Optional: Steam cleaner (for enhanced deep cleaning and rinsing)
Why This DIY Can Be Useful
Salt, a common household staple, offers several practical benefits for cleaning, particularly on surfaces like tile and grout. When used as a paste, its granular texture provides a mild abrasive quality, which can help physically dislodge embedded dirt and grime without being overly harsh. When dissolved in water, the salt solution can assist in breaking down greasy residues and lifting dirt, making it easier to wipe away. It’s a non-toxic, readily available, and inexpensive ingredient that can complement your regular cleaning routine, especially when tackling neglected areas.
How to Make It
Preparing your salt solution is quick and easy, depending on whether you’re targeting specific grout lines or cleaning a larger floor area.
- For a Grout Paste: In your small mixing bowl, combine 1/2 cup of table salt with 2-3 tablespoons of warm water. Stir until a thick, spreadable paste forms. Adjust water sparingly if needed to achieve the right consistency.
- For a Floor Cleaning Solution: In your bucket or spray bottle, dissolve 1/4 cup of table salt in 4 cups (approximately 1 liter) of warm water. Stir well until the salt is fully dissolved.
How to Use It
For Stubborn Grout:
- Apply the Paste: Generously apply the salt paste directly onto the dirty grout lines.
- Let it Sit: Allow the paste to sit on the grout for about 10-15 minutes. This gives the salt time to work on loosening the grime.
- Scrub Thoroughly: Using your stiff-bristled brush, scrub the grout lines vigorously. You should see the dirt lifting away.
- Rinse: Wipe the area clean with a damp sponge or microfiber cloth. For best results, rinse thoroughly with fresh, clean water to remove all salt residue. If you have a steam cleaner, you can use it to steam and then wipe away the loosened dirt and residue effectively.
For General Floor Cleaning:
- Prepare the Area: Sweep or vacuum your floors to remove loose dirt and debris.
- Apply the Solution: Mop your floor with the salt cleaning solution. For more targeted cleaning, you can spray the solution directly onto smaller areas.
- Allow to Dwell (Optional): For extra dirty spots, let the solution sit for 5 minutes before scrubbing.
- Mop/Wipe Clean: Scrub any stubborn areas with a sponge or brush, then mop the entire floor with clean water to rinse. Ensure all salt residue is removed to prevent streaking or a gritty feel.
What to Expect
You can expect a noticeable improvement in the cleanliness and brightness of your floors and grout. Stubborn grout lines should appear significantly lighter and cleaner, and your floors will have a fresher, revitalized look. While this DIY solution is powerful, keep in mind that extremely deep-set stains or heavily discolored grout might require repeat applications or more intensive cleaning methods. However, for everyday grime and buildup, this salt solution offers a highly effective and satisfying clean.
Helpful Tips
- Patch Test: Always test the salt paste or solution on an inconspicuous area of your floor first, especially if you have sensitive or unsealed surfaces, to ensure it doesn’t cause discoloration or damage.
- Work in Sections: For larger areas, work in small sections to prevent the solution from drying before you can scrub and rinse.
- Warm Water Boost: Using warm water helps dissolve the salt more effectively and can enhance its cleaning power.
- Use a Steam Cleaner: If you own a steam cleaner, it can be a fantastic companion to this DIY. After applying the salt solution or paste and letting it sit, use the steam cleaner to help agitate and lift the dirt, then follow with a wipe down. It can also be used for a final rinse, ensuring no salt residue remains.
- Ventilation: Ensure good ventilation in your cleaning area.
Important Notes / Safety
- Rinse Thoroughly: It’s crucial to rinse your surfaces thoroughly with clean water after using the salt solution or paste. Leaving salt residue can attract dirt, leave a gritty texture, or potentially cause damage to certain materials over time.
- Avoid Delicate Surfaces: While generally safe for most sealed tile and grout, avoid using concentrated salt solutions on unsealed natural stone (like marble or granite), hardwood, or highly sensitive finishes without first conducting a patch test.
- No Mixing Chemicals: Never mix this salt solution with other cleaning chemicals unless explicitly advised by a product manufacturer, as it could create unpredictable or harmful reactions.