There’s nothing quite like the taste of fresh, homegrown garlic. From its robust flavor in your cooking to the satisfaction of harvesting your own crop, growing garlic is a remarkably rewarding experience for any gardener. It’s surprisingly easy, even for beginners!
Forget store-bought garlic; once you taste the difference of your own harvest, you’ll be hooked. This comprehensive guide will walk you through every step, ensuring you get a bountiful yield of delicious garlic.
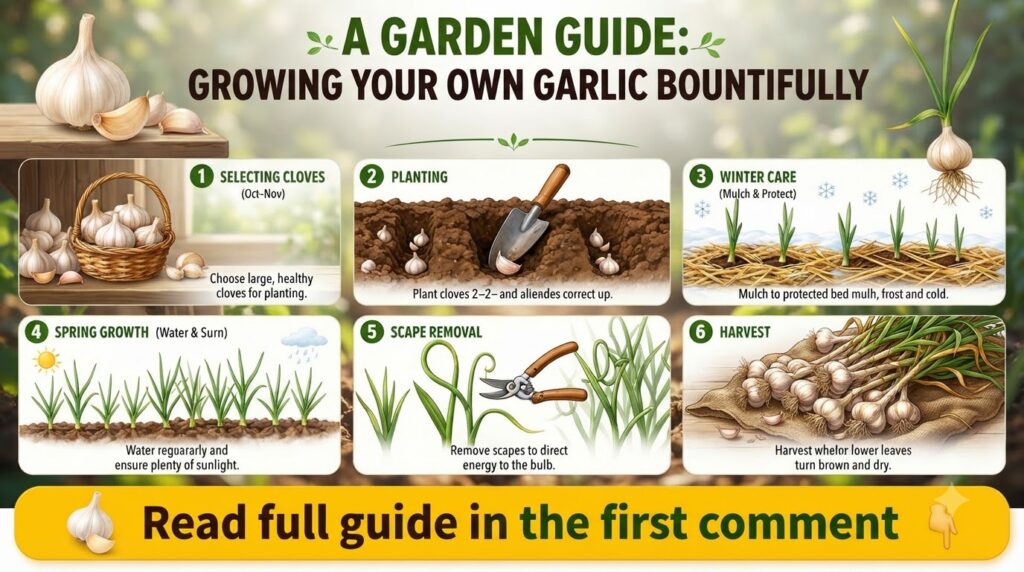
Why Grow Your Own Garlic?
Beyond the immense satisfaction, growing your own garlic offers several advantages:
- Superior Flavor: Homegrown garlic often boasts a stronger, more complex flavor profile than its store-bought counterparts.
- Cost-Effective: A small investment in seed garlic can yield a significant harvest, saving you money in the long run.
- Pest Control: Garlic is known to deter many common garden pests, making it a great companion plant.
- Variety: Access to a wider range of garlic varieties, each with unique characteristics not typically found in supermarkets.
Choosing the Right Garlic Variety
Before you plant, it’s essential to understand the two main types of garlic:
- Hardneck Garlic: Ideal for colder climates, hardneck varieties produce a stiff central stalk (scape) that can be harvested and eaten. They typically have fewer, larger cloves and a more intense flavor.
- Softneck Garlic: Best for milder climates, softneck varieties don’t produce a scape and have a pliable neck, making them excellent for braiding. They produce more, smaller cloves than hardnecks and tend to store longer.
Consider your local climate and your desired use for the garlic when making your choice.
Step 1: Preparation – Timing and Location are Key
When to Plant
For most climates, the best time to plant garlic is in the fall, about 4-6 weeks before the ground freezes. This allows the roots to establish before winter, leading to robust growth in spring. In very mild climates, late fall to early winter is suitable. If you miss the fall planting window, spring planting is possible, but it may result in smaller bulbs.
Choosing Your Site
Garlic thrives in full sun, meaning at least 6-8 hours of direct sunlight per day. It also needs well-drained soil. If your soil is heavy clay, amend it with plenty of organic matter like compost or aged manure to improve drainage and fertility. A slightly acidic to neutral soil pH (6.0 to 7.0) is ideal.
Step 2: Planting Your Garlic Cloves
Breaking Apart the Bulbs
Gently break apart your garlic bulbs into individual cloves just before planting. Avoid bruising them. Use the largest, healthiest cloves for planting, as these will produce the largest bulbs. Save the smaller cloves for cooking!
Planting Technique
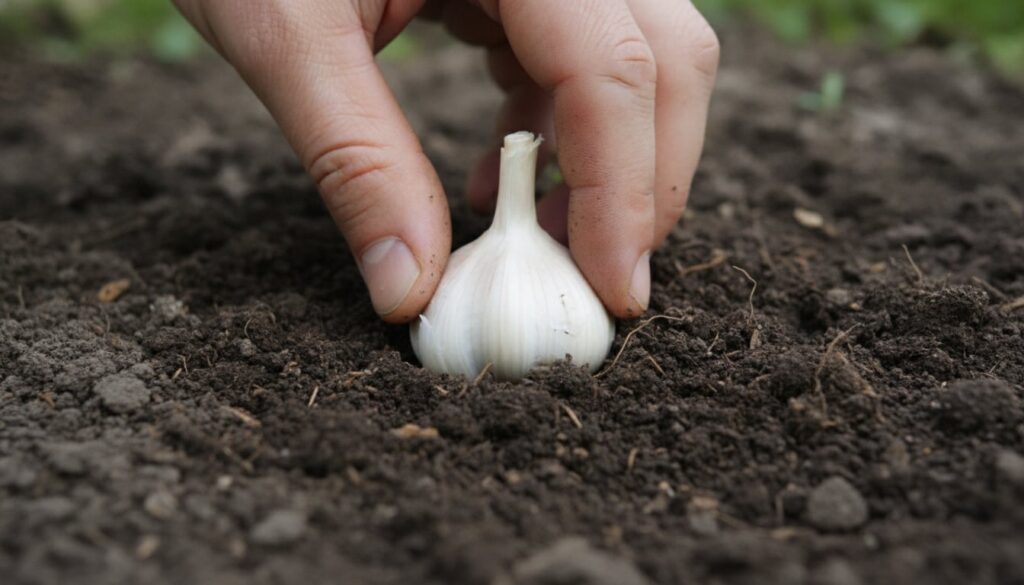
- Depth: Plant each clove with the pointed side facing up and the flat, root-end down, about 2-3 inches deep.
- Spacing: Space cloves 4-6 inches apart in rows, with rows about 12 inches apart.
- Covering: Cover the planted cloves with soil and then apply a 2-4 inch layer of mulch (straw, leaves, or shredded bark) to help retain moisture, suppress weeds, and insulate the soil during winter.
Step 3: Care and Nurturing for Healthy Growth
Watering
Garlic needs consistent moisture, especially during its active growing phase in spring. Aim for about 1 inch of water per week, either from rain or irrigation. Reduce watering as the harvest time approaches (typically in late spring/early summer) to prevent bulb rot and promote better curing.
Weeding
Keep your garlic patch free of weeds, as weeds compete for nutrients and moisture. The mulch layer will help significantly, but be sure to pull any weeds that break through.
Fertilizing
If your soil isn’t rich, you can fertilize in early spring with a balanced organic fertilizer or a nitrogen-rich amendment like blood meal or compost tea to encourage leafy growth.
Removing Scapes (for Hardneck Garlic)
If you’re growing hardneck garlic, you’ll notice a curled flower stalk, or scape, emerging in late spring. Snap or cut these off when they are about 6-8 inches tall. Removing scapes directs the plant’s energy into bulb development, resulting in larger garlic bulbs. Don’t discard them; garlic scapes are delicious grilled, sautéed, or made into pesto!
Step 4: Harvesting Your Garlic Bounty
When to Harvest
Knowing when to harvest is crucial. Look for signs in early to mid-summer (depending on your climate and variety):
- The bottom 2-3 leaves have turned yellow or brown.
- The remaining leaves are still mostly green.
Waiting too long can cause the outer wrappers of the bulbs to split, reducing their storage life. Harvesting too early results in smaller, less developed bulbs.
How to Harvest
Gently loosen the soil around the bulbs with a fork or trowel. Do not pull on the stalks, as this can break the neck and damage the bulb. Carefully lift each bulb from the soil. Brush off any excess dirt, but do not wash the bulbs.
Step 5: Curing and Storing Your Garlic
Curing
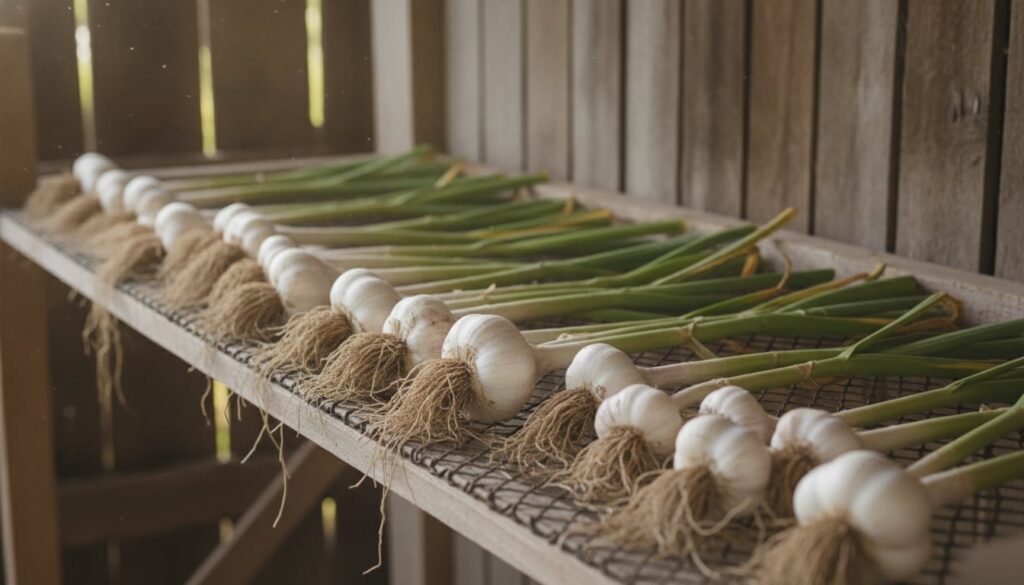
Curing is a vital step that dries the outer wrappers and necks of the garlic, preparing them for long-term storage. Tie your garlic in small bundles (about 5-10 bulbs) or spread them out on racks in a well-ventilated, warm (75-85°F / 24-29°C), and shaded area for 2-4 weeks. Good air circulation is essential to prevent mold.
Storage
Once cured, trim the roots to about 1/2 inch and the stalks to about 1 inch (or leave longer for braiding softneck varieties). Store your garlic in a cool, dry, dark place with good air circulation. Ideal conditions are usually around 50-60°F (10-15°C) with moderate humidity. Avoid refrigerating garlic, as this can encourage sprouting. Properly cured and stored garlic can last for many months!
Common Garlic Growing Issues
While garlic is relatively trouble-free, here are a few things to watch for:
- Pests: Thrips or onion maggots can sometimes be an issue. Healthy soil and companion planting can help.
- Diseases: Fungal diseases like white rot or rust can occur, especially in overly wet conditions. Ensure good drainage and rotate your crops.
Organic pest and disease management focuses on prevention and maintaining a healthy garden ecosystem.
Enjoy Your Homegrown Garlic!
Growing your own garlic is an incredibly satisfying journey, culminating in a harvest of flavorful bulbs that will elevate your culinary creations. With these step-by-step instructions, you’re well on your way to enjoying the freshest garlic straight from your garden. Happy gardening!