Leaky situations got you frustrated? Whether it’s a dripping faucet, a drafty window, or a gap around your bathtub, unexpected leaks can be a real headache, leading to water damage and an untidy home. But before you call a professional, consider tackling those small repairs yourself. This DIY guide to using neutral silicone sealant is your new hero for quick, effective home repairs. It’s surprisingly simple to apply and creates a powerful, lasting seal, making it a truly useful solution for keeping your home in top shape.
What You’ll Need
- Neutral Silicone Sealant: One tube (ensure it’s labeled ‘neutral cure’ for broader application and less odor).
- Caulking Gun: To dispense the sealant smoothly.
- Utility Knife or Cutter: To open the sealant tube.
- Clean Rags or Paper Towels: For cleanup.
- Rubbing Alcohol or Degreaser: For surface preparation.
- Masking Tape (optional): For clean lines.
- Smoothing Tool or Gloved Finger: For finishing the bead.
Why This DIY Can Be Useful
Silicone sealant is a go-to for many home repair tasks because it offers excellent flexibility, durability, and superior water resistance. Unlike some other sealants, neutral silicone cure types are generally less corrosive to sensitive materials like certain plastics and metals, and they produce fewer strong odors during application and curing. This makes them versatile for sealing around bathtubs, sinks, shower stalls, windows, doors, and even some outdoor applications. It creates a long-lasting, watertight barrier that can withstand temperature changes and movement, effectively stopping drips and preventing moisture intrusion.
Preparing Your Sealant and Surface
- Prepare the Surface: Before applying any new sealant, the surface must be clean, dry, and free of any old caulk, dirt, grease, or mildew. Use a utility knife or scraper to remove old sealant. Clean the area thoroughly with rubbing alcohol or a degreaser, then let it dry completely.
- Prepare the Sealant Tube: Cut the tip of the sealant nozzle at a 45-degree angle. The size of the opening should match the width of the gap you intend to seal.
- Load the Caulking Gun: Pierce the inner seal of the sealant tube (if present) with a long nail or the built-in tool on your caulking gun. Place the tube into the caulking gun.
How to Use It
- Apply Masking Tape (Optional): For very neat lines, apply masking tape along both sides of the joint, leaving only the gap to be sealed exposed.
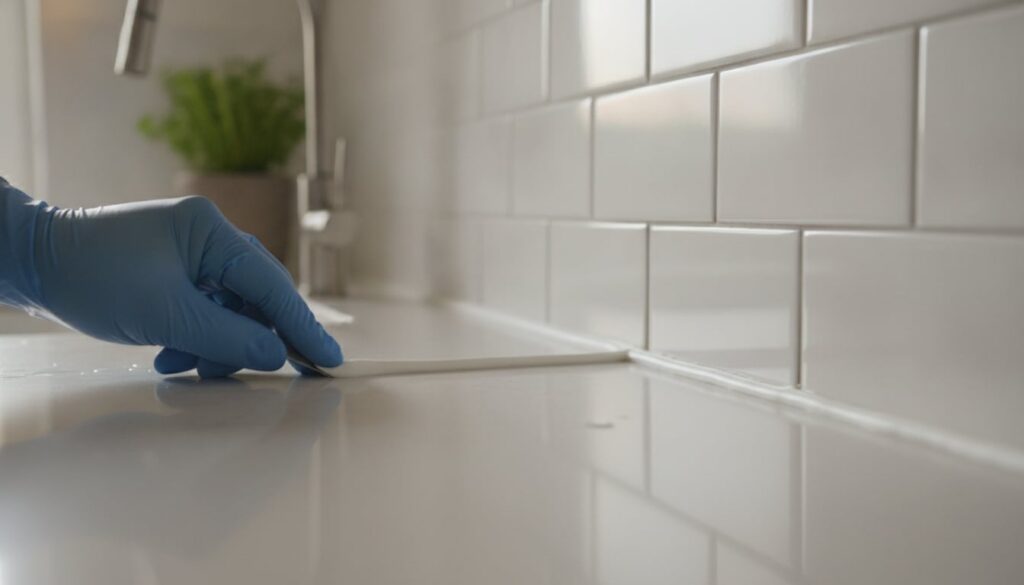
- Apply the Sealant: Position the nozzle at the beginning of the joint. Apply steady, even pressure to the trigger of the caulking gun, moving it smoothly along the joint. Aim for a continuous, uniform bead of sealant.
- Smooth the Bead: Immediately after applying a section (before it starts to skin over), use a smoothing tool or a gloved finger (lightly moistened with water or rubbing alcohol for easier gliding) to smooth the sealant bead. This pushes the sealant into the joint and creates a professional finish.
- Remove Masking Tape: If you used masking tape, remove it immediately after smoothing the sealant, pulling it away slowly at a 45-degree angle.
- Allow to Cure: Check the product’s label for specific curing times. Most silicone sealants need at least 24 hours to fully cure before being exposed to water, though some can take longer.
What to Expect
When applied correctly, neutral silicone sealant will create a strong, flexible, and watertight seal that effectively prevents leaks and drafts. You can expect the sealed area to be protected from moisture and to maintain its integrity for a significant period. While it’s excellent for stopping active drips, remember that serious structural issues might require professional attention.
Helpful Tips
- Practice First: If you’re new to using a caulking gun, practice on a piece of cardboard or scrap material to get a feel for steady pressure and movement.
- Work in Sections: For long joints, apply and smooth the sealant in manageable sections to prevent it from drying too quickly.
- Ventilation is Key: Even neutral cure sealants have some odor, so ensure good ventilation by opening windows while you work.
- Clean Up Spills Quickly: Fresh silicone sealant can be cleaned with a damp cloth or mineral spirits. Once cured, it’s much harder to remove.
Important Notes / Safety
- Always read the manufacturer’s instructions on your specific silicone sealant product for detailed application, curing times, and safety information.
- Ensure good ventilation in your work area to avoid inhaling fumes.
- Wear gloves to protect your hands from the sealant.
- Test compatibility: If applying to a very delicate or unusual surface, do a small patch test in an inconspicuous area first to ensure there’s no adverse reaction.
- Dispose of empty tubes and any waste sealant properly according to local regulations.