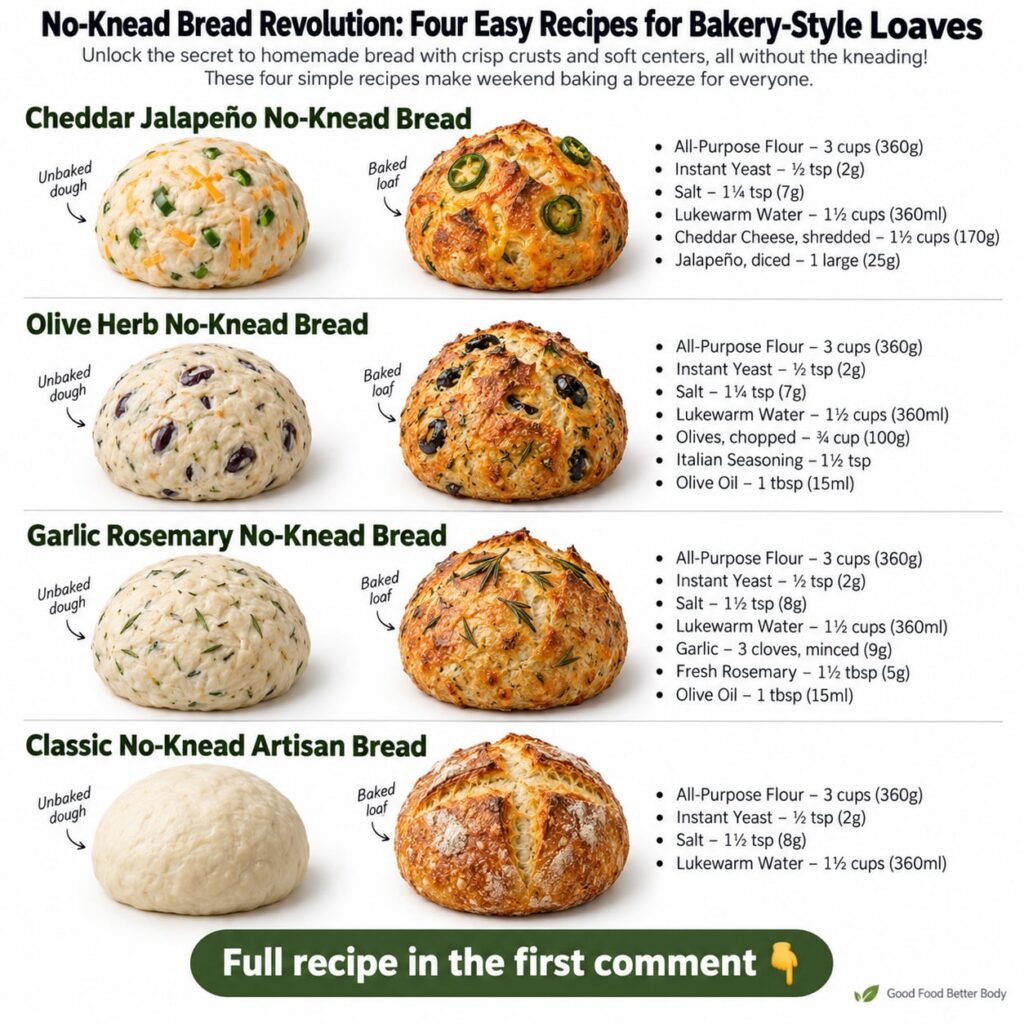
Unlock the secret to homemade bread with a crisp crust and a soft, airy center, all without the strenuous kneading! Our No-Knead Bread Revolution brings bakery-style loaves right into your kitchen with minimal effort. This collection of four easy no-knead bread recipes is perfect for weekend baking or whenever you crave fresh, delicious bread.
Forget complicated techniques and endless mixing. These recipes rely on a long, slow fermentation to develop flavor and texture, letting time do all the work. From a rustic Classic Artisan loaf to savory variations like Garlic Rosemary, Cheddar Jalapeño, and Olive Herb, you’ll find a favorite for every occasion.
Quick Overview
- Main topic: Easy No-Knead Bread Recipes
- Best for: Home bakers, beginners, comfort food lovers, weekend projects
- Number of recipes: 4
- Prep style: Hands-off, long fermentation
- Reader benefit: Delicious, bakery-quality bread with minimal effort
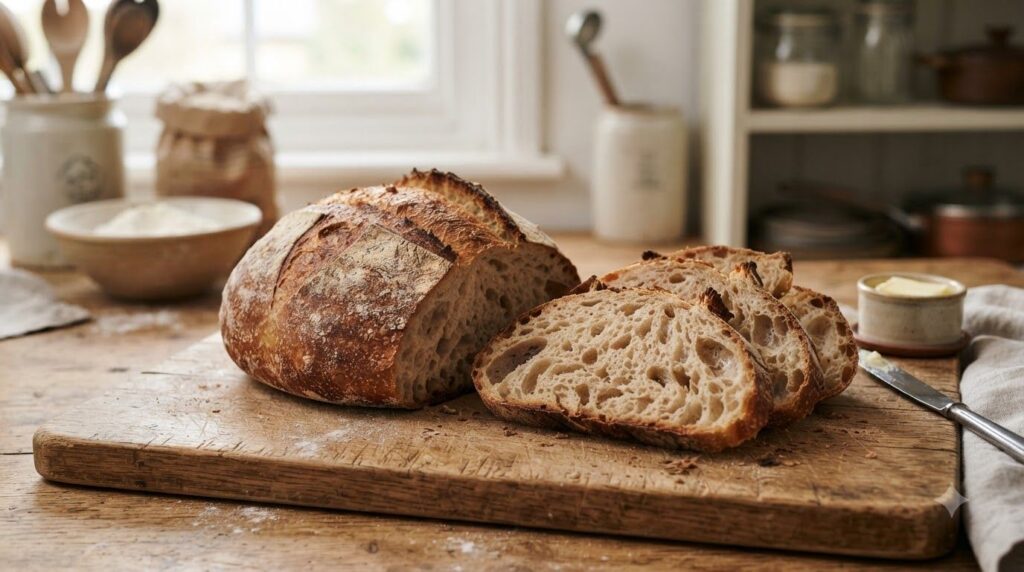
Recipe 1: Classic Artisan No-Knead Bread
This foundational recipe delivers a rustic, crusty loaf that tastes like it came straight from a European bakery. It’s simple, elegant, and perfect with almost any meal.
Servings: 8-10 slices
Prep time: 15 minutes (active)
Cook / chill / rest time: 12-18 hours (initial rise) + 1-2 hours (final proof) + 45-55 minutes (bake)
Ingredients:
- 3 cups (360g) bread flour or all-purpose flour
- 1 ½ teaspoons fine sea salt
- ½ teaspoon active dry yeast
- 1 ½ cups (360ml) warm water (approx. 100-110°F / 38-43°C)
Instructions:
- In a large bowl, whisk together the flour, salt, and yeast until well combined.
- Add the warm water to the dry ingredients. Mix with a wooden spoon or sturdy spatula until all the flour is hydrated and you have a shaggy, sticky dough. Do not overmix.
- Cover the bowl tightly with plastic wrap and let the dough rise at room temperature (ideally 68-72°F / 20-22°C) for 12 to 18 hours, or until it has more than doubled in size and the surface is dotted with bubbles.
- Lightly flour a clean work surface. Gently scrape the dough out of the bowl onto the floured surface. Fold the edges of the dough towards the center a few times to create a somewhat round or oval shape. Avoid aggressive kneading.
- Generously flour a piece of parchment paper or a proofing basket (banneton). Place the dough seam-side down onto the floured parchment paper. Cover loosely with plastic wrap or a kitchen towel and let it proof for another 30 minutes to 1 hour, or until slightly puffy.
- About 30 minutes before baking, place a Dutch oven (with its lid) into your oven and preheat to 450°F (232°C).
- Carefully remove the hot Dutch oven from the oven. If using parchment paper, gently lift the dough by the paper and transfer it into the hot Dutch oven. If using a banneton, invert the dough directly into the Dutch oven. Score the top of the dough with a sharp knife or razor if desired.
- Cover with the lid and bake for 30 minutes.
- Remove the lid and continue baking for another 15-25 minutes, or until the crust is deeply golden brown and the internal temperature reaches 200-210°F (93-99°C).
- Carefully remove the bread from the Dutch oven and transfer it to a wire rack to cool completely before slicing. This step is crucial for the internal structure and flavor.
Storage / Serving / Usage Note: Store leftover bread in an airtight container at room temperature for up to 3-4 days. It’s best served sliced with butter, olive oil, or alongside your favorite soup or stew.
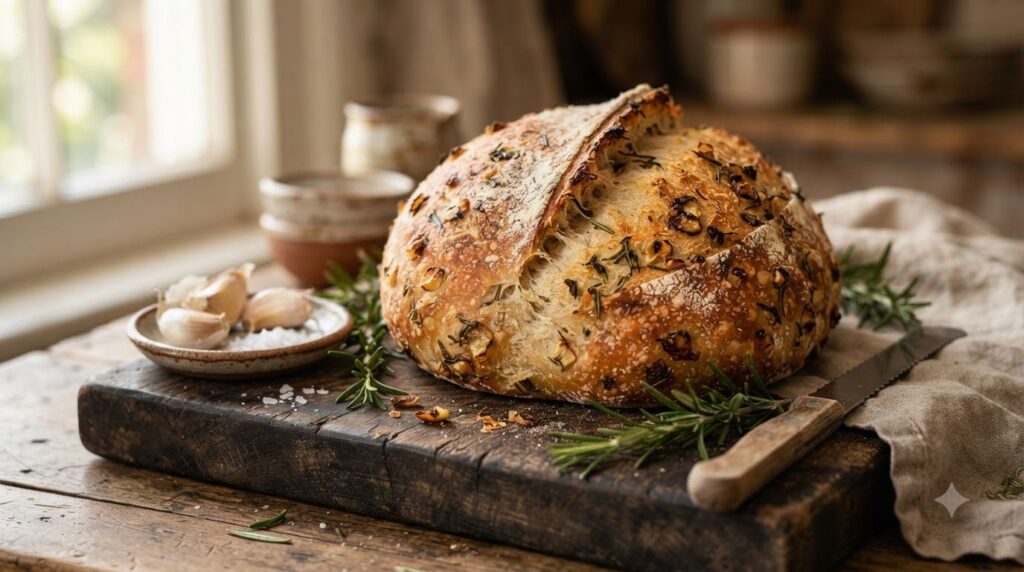
Recipe 2: Garlic Rosemary No-Knead Bread
Infuse your home with the aromatic scents of garlic and rosemary with this savory variation. It’s perfect for dipping in olive oil or serving with pasta dishes.
Servings: 8-10 slices
Prep time: 20 minutes (active)
Cook / chill / rest time: 12-18 hours (initial rise) + 1-2 hours (final proof) + 45-55 minutes (bake)
Ingredients:
- 3 cups (360g) bread flour or all-purpose flour
- 1 ½ teaspoons fine sea salt
- ½ teaspoon active dry yeast
- 1 ½ cups (360ml) warm water (approx. 100-110°F / 38-43°C)
- 3 cloves garlic, minced
- 2 tablespoons fresh rosemary, finely chopped
Instructions:
- In a large bowl, whisk together the flour, salt, and yeast.
- Add the minced garlic and chopped rosemary to the dry ingredients and stir to distribute evenly.
- Add the warm water and mix with a wooden spoon or sturdy spatula until all the flour is hydrated and you have a shaggy, sticky dough.
- Cover the bowl tightly with plastic wrap and let the dough rise at room temperature for 12 to 18 hours, or until it has more than doubled in size and the surface is bubbly.
- Lightly flour a clean work surface. Gently scrape the dough out of the bowl onto the floured surface. Fold the edges of the dough towards the center a few times to create a roundish shape.
- Generously flour a piece of parchment paper or a proofing basket. Place the dough seam-side down onto the floured parchment paper. Cover loosely and let it proof for another 30 minutes to 1 hour.
- About 30 minutes before baking, place a Dutch oven (with its lid) into your oven and preheat to 450°F (232°C).
- Carefully transfer the dough into the hot Dutch oven. Score the top if desired.
- Cover with the lid and bake for 30 minutes.
- Remove the lid and continue baking for another 15-25 minutes, or until the crust is deeply golden brown.
- Carefully remove the bread and transfer it to a wire rack to cool completely before slicing.
Storage / Serving / Usage Note: Enjoy warm with butter or olive oil. Store in an airtight container for up to 3 days. This bread also freezes well for longer storage.
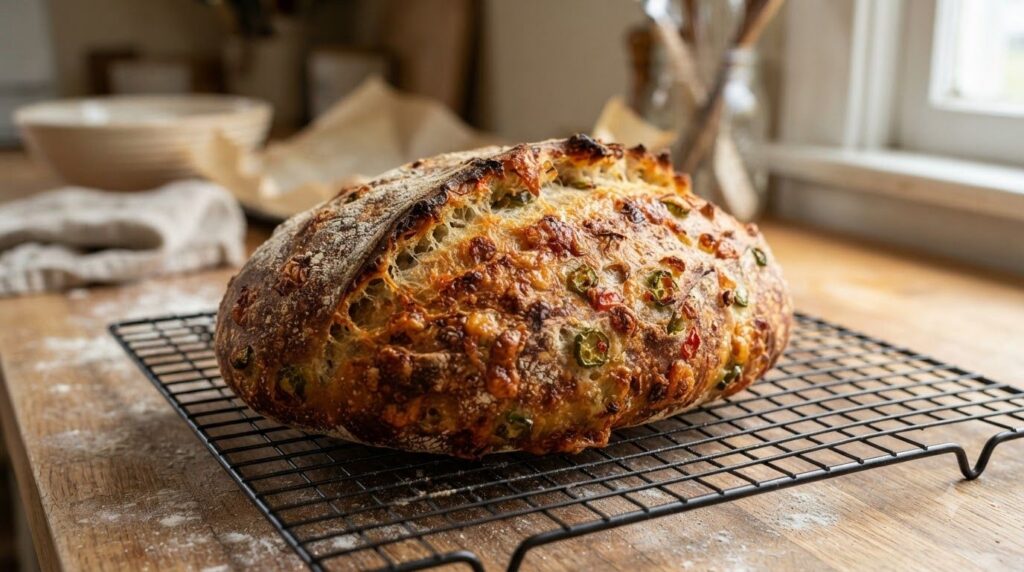
Recipe 3: Cheddar Jalapeño No-Knead Bread
Spice things up with this cheesy, slightly fiery loaf. The combination of sharp cheddar and mild jalapeño creates a delicious bread perfect for sandwiches or alongside chili.
Servings: 8-10 slices
Prep time: 20 minutes (active)
Cook / chill / rest time: 12-18 hours (initial rise) + 1-2 hours (final proof) + 45-55 minutes (bake)
Ingredients:
- 3 cups (360g) bread flour or all-purpose flour
- 1 ½ teaspoons fine sea salt
- ½ teaspoon active dry yeast
- 1 ½ cups (360ml) warm water (approx. 100-110°F / 38-43°C)
- 1 cup (113g) shredded sharp cheddar cheese
- ¼ cup (approx. 2-3 medium) pickled or fresh jalapeños, finely diced (remove seeds for less heat)
Instructions:
- In a large bowl, whisk together the flour, salt, and yeast.
- Add the shredded cheddar cheese and diced jalapeños to the dry ingredients. Stir well to coat the cheese and jalapeños with flour, preventing them from clumping.
- Add the warm water and mix with a wooden spoon or sturdy spatula until a shaggy dough forms.
- Cover the bowl tightly with plastic wrap and let the dough rise at room temperature for 12 to 18 hours, or until bubbly and expanded.
- Lightly flour a clean work surface. Gently scrape the dough out onto the floured surface. Fold the dough a few times to incorporate the inclusions further and form a roundish shape.
- Generously flour a piece of parchment paper or a proofing basket. Place the dough seam-side down onto the floured parchment paper. Cover loosely and let it proof for another 30 minutes to 1 hour.
- Preheat your oven with a Dutch oven inside to 450°F (232°C) for 30 minutes.
- Carefully transfer the dough into the hot Dutch oven. Score if desired.
- Cover with the lid and bake for 30 minutes.
- Remove the lid and continue baking for another 15-25 minutes, or until golden brown and the cheese is bubbly.
- Carefully remove the bread and transfer it to a wire rack to cool completely before slicing.
Storage / Serving / Usage Note: Fantastic with chili, as grilled cheese, or toasted for breakfast. Store in an airtight container for up to 3 days.
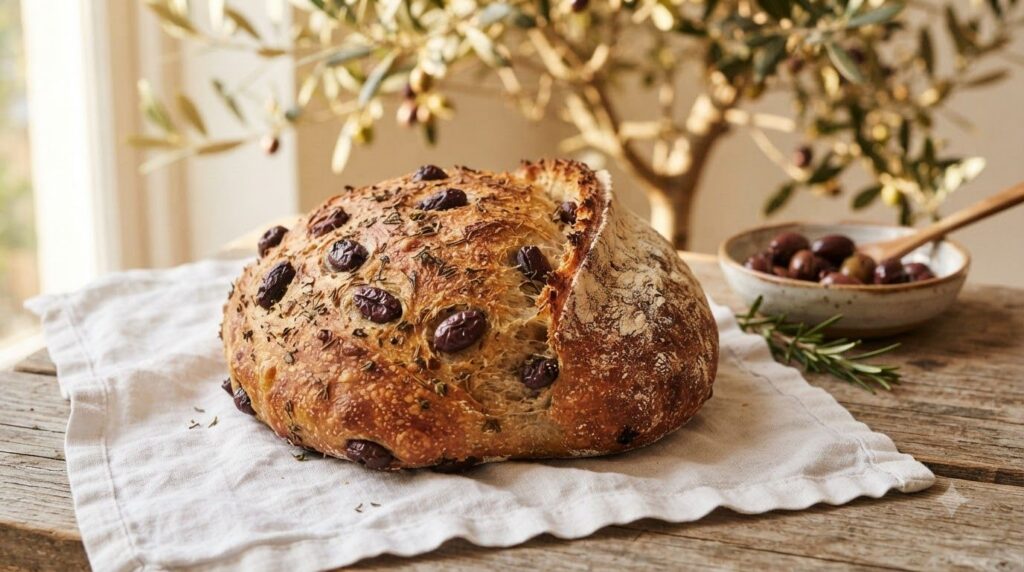
Recipe 4: Olive Herb No-Knead Bread
Transport your taste buds to the Mediterranean with this savory Olive Herb No-Knead Bread. Briny olives and fragrant herbs create a loaf that’s perfect with salads or a simple charcuterie board.
Servings: 8-10 slices
Prep time: 20 minutes (active)
Cook / chill / rest time: 12-18 hours (initial rise) + 1-2 hours (final proof) + 45-55 minutes (bake)
Ingredients:
- 3 cups (360g) bread flour or all-purpose flour
- 1 ½ teaspoons fine sea salt
- ½ teaspoon active dry yeast
- 1 ½ cups (360ml) warm water (approx. 100-110°F / 38-43°C)
- ½ cup (about 80g) pitted Kalamata or green olives, roughly chopped
- 1 tablespoon mixed dried Italian herbs (e.g., oregano, thyme, basil)
Instructions:
- In a large bowl, whisk together the flour, salt, and yeast.
- Add the chopped olives and dried herbs to the dry ingredients and stir to combine.
- Add the warm water and mix with a wooden spoon or sturdy spatula until the flour is fully incorporated and you have a shaggy dough.
- Cover the bowl tightly with plastic wrap and let the dough rise at room temperature for 12 to 18 hours, or until it has more than doubled and is bubbly.
- Lightly flour a clean work surface. Gently scrape the dough out onto the floured surface. Fold the dough a few times to distribute the olives and herbs and form a roundish shape.
- Generously flour a piece of parchment paper or a proofing basket. Place the dough seam-side down onto the floured parchment paper. Cover loosely and let it proof for another 30 minutes to 1 hour.
- Preheat your oven with a Dutch oven inside to 450°F (232°C) for 30 minutes.
- Carefully transfer the dough into the hot Dutch oven. Score if desired.
- Cover with the lid and bake for 30 minutes.
- Remove the lid and continue baking for another 15-25 minutes, or until the crust is golden brown.
- Carefully remove the bread and transfer it to a wire rack to cool completely before slicing.
Storage / Serving / Usage Note: Wonderful with a Greek salad, as part of a sandwich, or simply dipped in olive oil. Store in an airtight container for up to 3 days.
Simple Tips for Best Results
- Use a Dutch Oven: The enclosed environment of a preheated Dutch oven creates steam, which is essential for a crisp, professional-looking crust.
- Long Fermentation is Key: Don’t rush the initial rise. The long fermentation (12-18 hours) develops deep flavor and the characteristic airy, open crumb of no-knead bread.
- Don’t Overwork the Dough: The beauty of no-knead bread is its minimal handling. Gentle folding is all that’s needed to shape it.
- Cool Completely: Resist the urge to slice into warm bread. Cooling allows the internal structure to set and prevents a gummy texture.
- Experiment with Inclusions: Once you master the basic technique, feel free to try other additions like sun-dried tomatoes, different cheeses, or seeds.
FAQ
What kind of flour is best for no-knead bread?
Bread flour is ideal due to its higher protein content, which helps develop gluten and a chewier texture. However, all-purpose flour works perfectly well and is often used for great results.
Can I proof the dough in the refrigerator?
Yes, for an even longer and slower fermentation, you can proof the dough in the refrigerator for up to 2-3 days. This can develop more complex flavors. Just bring it closer to room temperature for the final proof.
Why is my no-knead bread crust not crisp?
A common reason is not using a Dutch oven, or not preheating it sufficiently. The intense heat and steam trapped inside the Dutch oven are crucial for creating a crisp crust. Ensure your oven and Dutch oven are fully preheated.
Final Thoughts
Embrace the simplicity and satisfaction of baking your own bakery-style loaves with this No-Knead Bread Revolution. These four easy recipes prove that incredible homemade bread doesn’t require hours of kneading or complex skills. With a little time and patience, you can enjoy warm, flavorful, and crusty bread that will impress everyone. So gather your ingredients, choose your favorite flavor, and let the revolution begin!