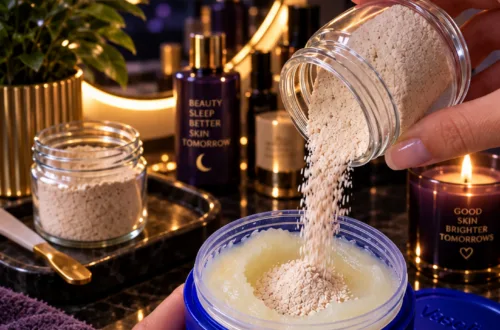
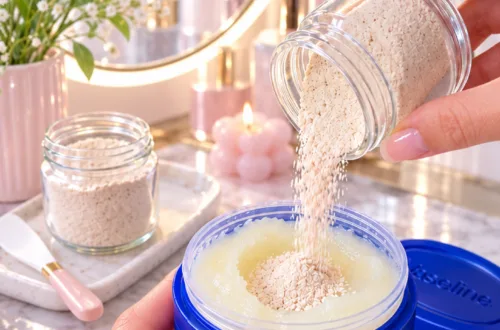
Are you dreaming of waking up to skin that feels incredibly smooth, soft, and radiates a youthful glow? We all know that achieving that fresh, vibrant look doesn’t have to come with a hefty price tag or complicated routines. Sometimes, the most talked-about beauty secrets are simple, effective, and right in our own homes!
Today, we’re diving into a popular beauty routine that many people are trying for a smoother-looking complexion: a DIY Vaseline balm. This simple mix, often shared across beauty communities, combines the power of a common household staple with a natural ingredient to create a nourishing concoction. Let’s uncover this ‘secret’ recipe and see how it might just become a new favorite in your skincare routine!
What is This “Secret Vaseline Balm”?
This trending DIY beauty hack involves combining Vaseline Healing Jelly with a finely ground natural exfoliant. The idea is to leverage Vaseline’s well-known occlusive properties, which help lock in moisture and protect the skin barrier, while gently preparing the skin with an added ingredient.
The Power of Vaseline
Vaseline, or petroleum jelly, has been a skincare staple for generations. It creates a protective barrier on the skin’s surface, which is fantastic for preventing moisture loss and shielding your skin from environmental stressors. This barrier also helps to seal in any other beneficial ingredients applied underneath, potentially enhancing their effects.
Why Add a Granular Ingredient?
The addition of a finely ground ingredient, like sugar, is often included in these viral balms. When used gently, fine sugar can offer a mild physical exfoliation, helping to buff away dull surface skin cells. This process can leave your skin feeling softer and looking more radiant, creating a smoother canvas. For the purpose of this recipe, we’ll focus on a widely available and gentle option: finely ground sugar.
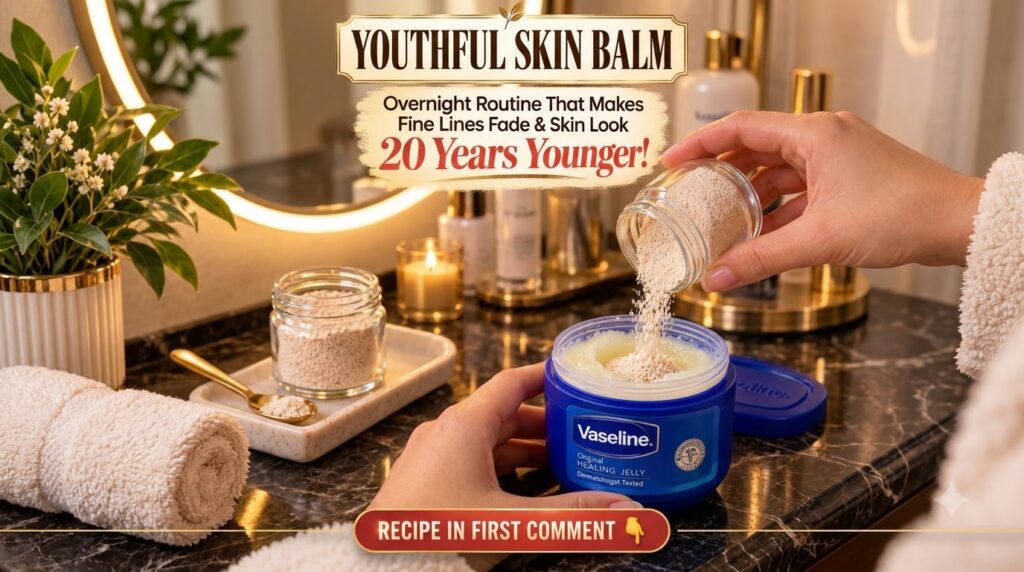
DIY Vaseline Youth Balm: The Simple Recipe
Ready to try making your own? Here’s how to whip up this popular balm at home:
Ingredients You’ll Need:
- 2 tablespoons of Vaseline Healing Jelly
- 1 teaspoon of finely ground sugar (ensure it’s very fine to avoid harsh abrasion)
- A small, clean, airtight container for storage
- A small spoon or spatula for mixing
Step-by-Step Instructions:
- Prepare Your Space: Make sure your hands, mixing tools, and storage container are thoroughly clean to maintain hygiene.
- Scoop the Vaseline: Place the two tablespoons of Vaseline Healing Jelly into your clean mixing bowl or directly into your storage container if it’s large enough.
- Add the Sugar: Carefully add the teaspoon of finely ground sugar to the Vaseline. Remember, the finer the sugar, the gentler the balm will be on your skin.
- Mix Thoroughly: Using your spoon or spatula, mix the ingredients together until they are fully combined and the sugar is evenly dispersed throughout the Vaseline. It should have a consistent texture.
- Store Your Balm: Transfer your newly made balm into your airtight container. This will keep it fresh and prevent contamination.
How to Use Your DIY Balm for Smoother-Looking Skin
Once your balm is ready, incorporating it into your routine is easy. Here’s a gentle guide:
- Nighttime Application: Many people prefer to use this balm as part of their evening skincare routine, allowing the ingredients to work while they sleep.
- Cleanse First: Always start with a clean face. Gently wash away makeup, dirt, and impurities.
- Apply a Small Amount: Take a pea-sized amount of your DIY balm and gently massage it onto your face, using upward, circular motions. Focus on areas where you desire smoother-looking skin or improved radiance.
- Be Gentle: If using sugar, remember the goal is gentle exfoliation and barrier support, not harsh scrubbing. Apply with a light touch.
- Rinse in the Morning: In the morning, gently cleanse your face to remove any residue.
- Frequency: Start by using it 2-3 times a week. If your skin responds well, you can adjust the frequency as needed. Always listen to your skin!
Important Considerations & ‘BEAUTY 2’ Tips
While DIY beauty can be fun and rewarding, it’s crucial to approach it with care. Here are a few ‘BEAUTY 2’ tips:
- Patch Test is Key: Before applying any new product to your entire face, always perform a patch test on a small, inconspicuous area of your skin (like behind your ear or on your inner arm). Wait 24-48 hours to check for any adverse reactions.
- Ingredient Quality: Use high-quality, pure ingredients. If using sugar, ensure it’s food-grade and very fine.
- Hygiene is Essential: Always use clean hands and sterilized tools and containers to prevent bacterial growth in your homemade products.
- Storage Matters: Store your balm in a cool, dark place and use it within a few weeks. If you notice any changes in color, smell, or texture, discard it.
- Avoid Harsh Claims: Remember, while this balm can contribute to smoother-looking skin and a healthy appearance, it’s important not to make or believe claims that it will permanently remove wrinkles, reverse aging, or cure skin conditions. Consistency and gentle care are what truly support skin health.
- Consult a Professional: If you have sensitive skin, existing skin conditions, or are unsure about any ingredients, always consult with a dermatologist or healthcare professional before trying new DIY recipes.
Embracing a more natural approach to beauty can be a delightful journey, and this DIY Vaseline balm is a wonderful example of how simple ingredients can come together to support your skin’s glow. Give it a try and see how your skin responds to this popular, easy-to-make concoction!