Have you ever wondered if there’s a better way to clean your home—one that doesn’t involve harsh chemicals or overpowering artificial scents? Many people are actively seeking healthier alternatives to keep their spaces spotless, especially those with children, pets, or sensitivities to commercial products. Conventional cleaners often contain ingredients that can irritate the respiratory system and skin, and their environmental impact is also a significant concern.
Fortunately, you don’t have to sacrifice effectiveness for safety and sustainability. Preparing your own cleaning products at home is a wonderful solution that allows you to control the ingredients and enjoy a truly fresh and clean environment. It’s a simple way to embrace a more conscious lifestyle and reduce exposure to potentially harmful substances.
This guide is designed for you, whether you’re a DIY novice or an experienced homemaker looking for new ideas. We’ll show you step-by-step how to create a natural multi-purpose cleaner that will not only leave your surfaces gleaming but also infuse your home with a pleasant, natural aroma. Say goodbye to aggressive chemicals and welcome a purer, healthier approach to cleaning.
Get ready to transform your cleaning routine with ingredients you probably already have in your pantry. You’ll not only save money but also contribute to a healthier planet and a safer home for your entire family. Ready to discover the power of natural cleaning?
Why You’ll Love This Guide
- Easy to prepare
- Uses common, inexpensive ingredients
- Environmentally friendly
- Safe for children and pets (with precautions)
- Free from harsh chemicals
- Leaves a fresh, natural scent
- Effective on various surfaces
- Customizable to your preferences
Ingredients / Materials
- Distilled white vinegar: 1 cup (240 ml)
- Filtered or distilled water: 1 cup (240 ml)
- Baking soda: 2 tablespoons (for abrasive paste or to mix with vinegar for deodorizing)
- Whole cloves: 10-15 units (optional, for infusing aroma and antibacterial properties)
- Lemon or tea tree essential oil: 10-15 drops (optional, for scent and reinforcement)
Equipment Needed
- Glass or plastic spray bottle (reused and clean)
- Funnel
- Measuring cups and spoons
- Glass container with lid (for infusing, if using cloves)
- Clean microfiber cloths
Step-by-Step Instructions
-
Prepare Ingredients and Infusion (Optional)
If you desire a deeper aroma and additional properties, you can infuse the vinegar. Take the whole cloves (or citrus peels/rosemary sprigs) and place them in a glass container. Cover with distilled white vinegar. Seal and let sit in a cool, dark place for 1-2 weeks. This allows the vinegar to absorb the oils and aromas. (Estimated time: 5 minutes initial prep, 1-2 weeks infusion).
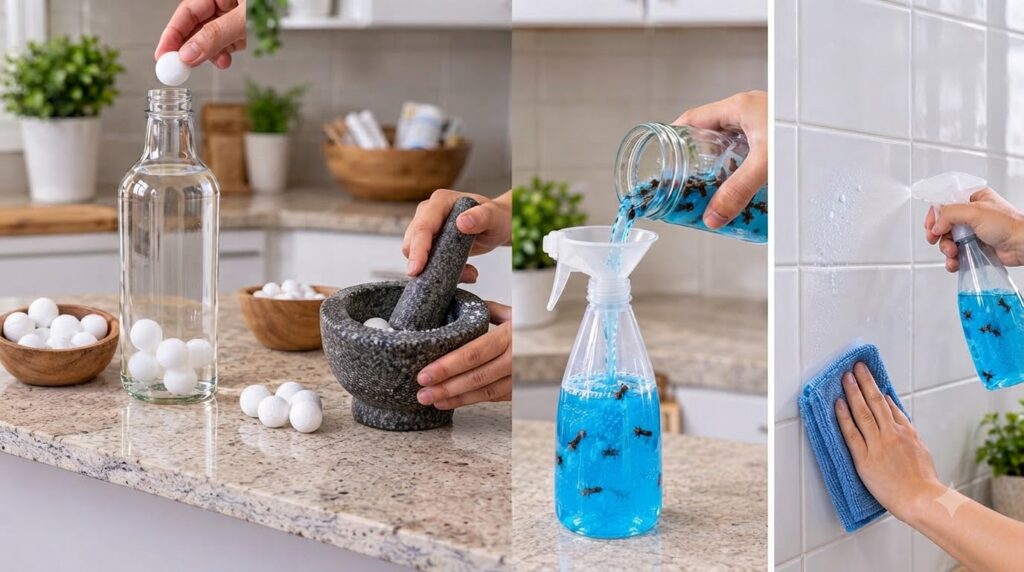
Prepare a vinegar infusion with cloves to enhance your natural cleaner. -
Filter the Vinegar (if infused)
Once the vinegar has infused, strain it to remove the cloves (or citrus/rosemary). Discard the solids and reserve the aromatic vinegar. If you didn’t infuse, simply use white vinegar directly. (Estimated time: 2 minutes).
-
Combine the Liquids
In your clean, empty spray bottle, pour 1 cup of white vinegar (infused or not) and 1 cup of filtered or distilled water. (Estimated time: 1 minute).
-
Add Baking Soda (with caution!)
If you wish to incorporate baking soda directly into the spray (though it’s more effective in pastes or dissolved first), do so with extreme caution. Vinegar and baking soda react vigorously. A safe way is to first dissolve the baking soda in a small amount of warm water before adding it to the vinegar and water mixture in the spray bottle. Alternatively, save the baking soda for use as a separate cleaning paste. (Estimated time: 2 minutes).
-
Incorporate Essential Oils (Optional)
If you’re using essential oils for an additional scent or antibacterial properties, add 10-15 drops to the mixture in the bottle. (Estimated time: 30 seconds).
-
Shake and Label
Close the spray bottle tightly and gently shake to combine all ingredients. Make sure to clearly label the bottle with the name of your cleaner and the preparation date. (Estimated time: 1 minute).
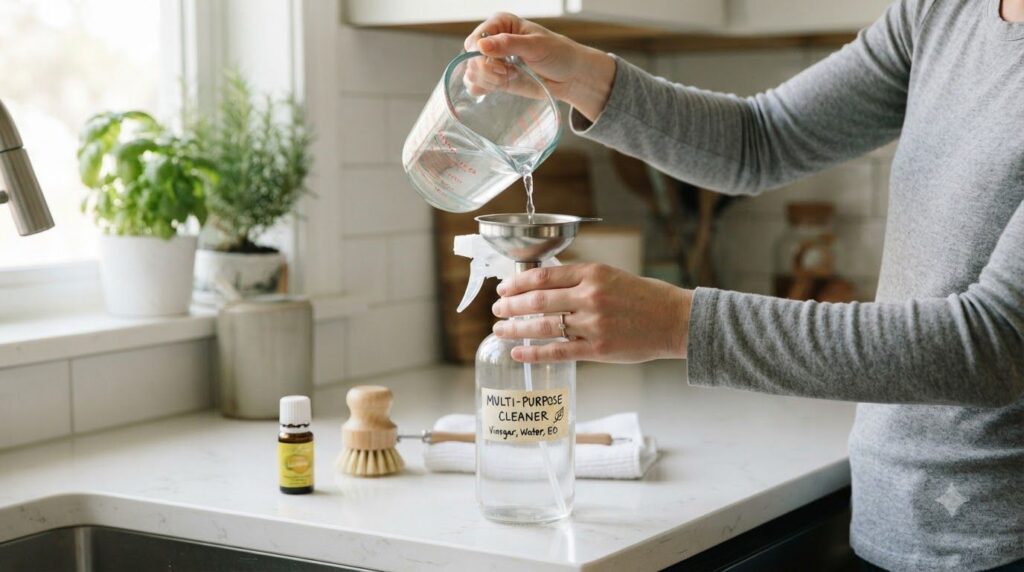
A funnel makes filling the bottle easier without spills. -
Ready to Use!
Your homemade multi-purpose cleaner is ready to leave your surfaces sparkling. Spray directly onto the surface to be cleaned and wipe with a clean microfiber cloth. For more stubborn dirt, let it sit for a few minutes before wiping. (Estimated time: Varies depending on use).
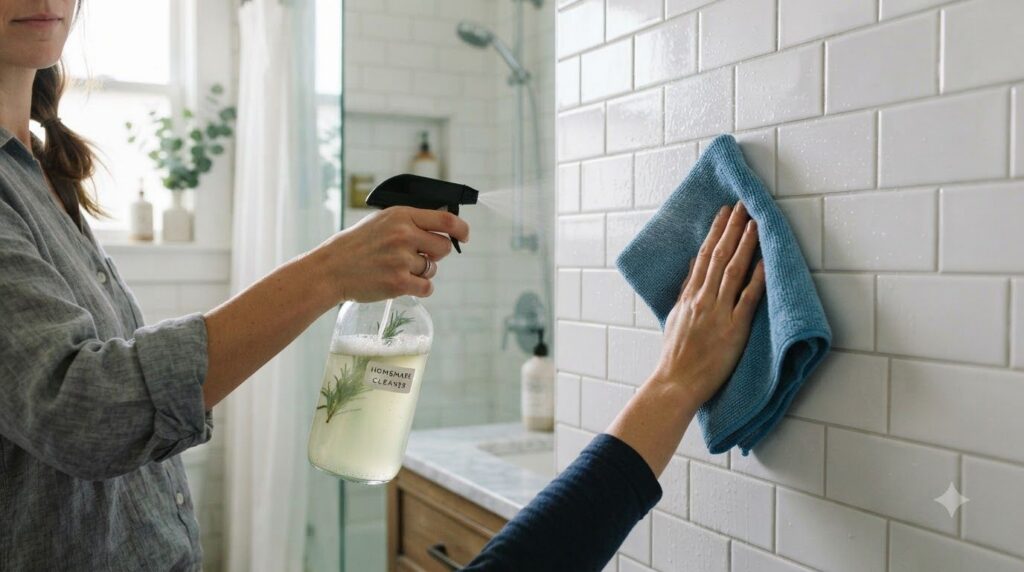
Enjoy the feeling of fresh, natural cleanliness in your home.
Expert Tips
- For Extra Shine on Glass: After cleaning with the spray, wipe with a dry, clean cloth to prevent water marks.
- Natural Deodorizer: To eliminate persistent odors, spray the cleaner generously and allow to air dry. The vinegar smell will dissipate as it dries.
- Bathroom Cleaning: This spray is excellent for sinks, toilets (exterior), and tiles. For limescale, you can spray and let it sit for 10-15 minutes before scrubbing.
- Not for All Surfaces: Avoid using pure or diluted vinegar on natural stone surfaces such as marble, granite, or travertine, as its acidity can damage the sealant and etch the stone. Always test in an inconspicuous area first.
- Scent Booster: For a stronger, longer-lasting aroma, you can add a few drops of essential oil directly to the cloth before wiping.
- For Sealed Wood Surfaces: Use sparingly and make sure to dry immediately to prevent damage. Not suitable for unsealed wood.
- Against Mild Mildew: Vinegar is a natural antifungal. Spray on areas with light mildew and let it act before cleaning.
- The Importance of Distilled Water: Using distilled or filtered water helps prevent mineral buildup in the spray and on your surfaces, especially if your tap water is hard.
Variations
- Citrus Version: Infuse the vinegar with lemon, orange, or grapefruit peels instead of cloves for a fresh, degreasing aroma.
- Herbal Version: Add rosemary or thyme sprigs to the vinegar for an infusion with antiseptic properties.
- With a Disinfecting Touch (Tea Tree Oil): If you’re looking for extra disinfecting power, tea tree essential oil is an excellent addition. Make sure to shake well before each use, as oils and water don’t mix completely.
- For Extreme Dirt (Abrasive Paste): Combine baking soda with a few drops of the liquid cleaner to create a soft but effective paste for tough stains on sinks or tiles.
Storage Instructions
Store your homemade multi-purpose cleaner in the spray bottle, tightly closed, in a cool, dark place, away from direct sunlight. If you use fresh ingredients for infusing (like citrus peels), the cleaner will last approximately 1-2 months. If you only use vinegar, water, and essential oils, it can last up to 3-6 months. Ensure the bottle is clean before refilling to prevent bacterial growth.
Safety Notes
- Ventilation: Although this cleaner is natural, it’s advisable to use it in a well-ventilated area, especially if you are sensitive to smells.
- Delicate Surfaces: As mentioned, avoid using this cleaner on unsealed natural stone surfaces or without testing it in an inconspicuous area first. Also, be careful with some metal surfaces that may react to vinegar.
- Children and Pets: Keep the spray out of reach of children and pets. Although the ingredients are natural, they should not be ingested.
- Never Mix with Bleach: This is crucial! Never combine vinegar (or any acid) with bleach (chlorine), as it produces toxic gases dangerous to health.
- Allergic Reactions: If using essential oils, ensure no one in your household has allergies to them. If you experience skin irritation, use gloves.
Frequently Asked Questions (FAQs)
- How long does this homemade cleaner last? It typically lasts 1-2 months if infused with fresh ingredients, or up to 3-6 months if using only vinegar, water, and essential oils.
- Can I use it on wood? Use with caution on sealed wood surfaces, wiping immediately. It is not recommended for unsealed wood.
- Does the vinegar smell linger on surfaces? The strong vinegar smell will dissipate as the surface dries, leaving behind a fresh, clean scent, especially if essential oils are added.
- Is it safe to clean children’s toys or pet areas? Yes, once dried, it’s generally safe. However, always rinse toys with plain water after cleaning to remove any residue before children play with them. Keep pets away from freshly sprayed areas until dry.
- Do I need distilled water? Using distilled or filtered water is recommended to prevent mineral buildup and water spots, especially if you have hard tap water.
- Can I use other essential oils? Absolutely! Feel free to experiment with other essential oils like lavender, eucalyptus, peppermint, or grapefruit, based on your scent preferences and desired properties.
- Does it work as a disinfectant? While vinegar has natural antiseptic properties, it is not classified as a disinfectant by regulatory bodies like commercial disinfectants. For light sanitizing, it’s effective, especially when paired with tea tree oil.
- What if I have a marble or granite surface? Avoid using this cleaner on natural stone surfaces like marble or granite, as the acidity of vinegar can damage them. Opt for pH-neutral cleaners specifically designed for stone.
- Can I use lemon juice instead of vinegar? Lemon juice is also acidic and can be used, but vinegar is generally more economical and has a less sticky residue. However, lemon juice can bleach some dark surfaces, so test first.
- Why is it important to shake before using? Shaking ensures that the essential oils (if used) are dispersed evenly throughout the water and vinegar mixture, as they tend to separate.
Conclusion
Embracing natural cleaning at home isn’t just a trend; it’s a conscious decision towards a healthier, more sustainable lifestyle. Creating your own multi-purpose cleaner is a simple yet powerful step to reduce your exposure to chemicals, save money, and contribute to environmental care. With basic ingredients like vinegar, water, and baking soda, you hold the power to transform your home into a sanctuary of freshness and purity.
We hope this guide has inspired you to try this recipe and discover how rewarding it is to see your home sparkling with the power of nature. Every time you use this spray, you’ll not only be cleaning a surface but also cultivating a safer and more harmonious environment for yourself and your loved ones.
Go ahead, prepare your own cleaner today and experience the difference! Your home, your family, and the planet will thank you.