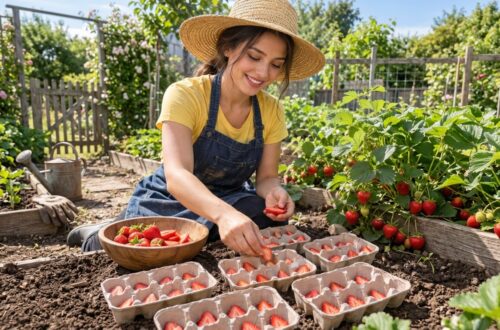
Imagine plucking sweet, juicy strawberries right from your own garden, even if you only have a tiny balcony or patio! Growing strawberries vertically is a fantastic way to maximize space and enjoy fresh, homegrown berries all season long. It’s an incredibly rewarding project that’s perfect for both seasoned gardeners and beginners. Ready to turn your small space into a productive berry haven? Let’s dive in!
Why Go Vertical with Your Strawberries?
Vertical gardening offers a host of benefits, especially when it comes to growing delicious strawberries:
- Space Saving: The most obvious benefit! Vertical designs allow you to grow more plants in a smaller footprint, making it ideal for balconies, patios, or even small yards.
- Easier Harvesting: No more bending over! Your berries will be at a more convenient height, making picking a breeze.
- Reduced Pests & Diseases: Keeping plants off the ground can help deter ground-dwelling pests and improve air circulation, reducing the risk of fungal diseases.
- Improved Drainage: Vertical systems often provide excellent drainage, preventing waterlogged roots.
- Aesthetic Appeal: A vertical garden can be a beautiful focal point, adding greenery and color to your outdoor living space.
Materials You’ll Need for Your DIY Project
Creating your own vertical strawberry garden is surprisingly simple. You can use various materials, but here’s a popular and effective approach using PVC pipes and a wooden pallet, inspired by many creative gardeners:
Core Materials:
- PVC Pipes: Large diameter (4-6 inch) PVC pipes are excellent for creating growing pockets.
- Wooden Pallet: A sturdy wooden pallet can serve as a frame or support structure for your PVC pipes or be adapted directly into a planter.
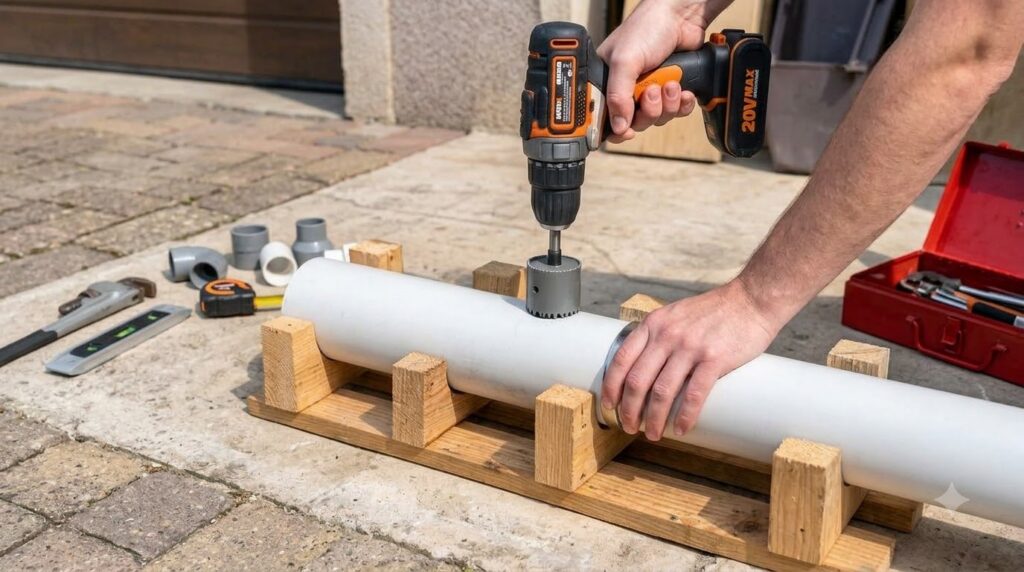
- Drill and Hole Saw: To create openings in your PVC pipes.
- Saw: For cutting PVC pipes and potentially the pallet.
- Strong Adhesive or Screws/Bolts: To secure components.
- Growing Medium: A good quality potting mix, preferably organic, that drains well.
- Strawberry Plants: June-bearing, ever-bearing, or day-neutral varieties, depending on your climate and desired harvest time.
- Optional: Landscape fabric or mesh to line the bottom of planting holes to prevent soil from washing out.
Step-by-Step Guide to Building Your Vertical Strawberry Garden
Step 1: Plan Your Design
Decide how you want your vertical garden to look. Will the PVC pipes be stacked, or will they be integrated into the pallet? A common design involves cutting PVC pipes into sections, drilling holes for plants, and then securing them horizontally or vertically to a pallet frame.
Step 2: Prepare Your Materials
- For PVC Pipes: Cut the PVC pipe into desired lengths (e.g., 3-4 feet). Using a hole saw, drill circular openings along one side of each pipe, spaced about 6-8 inches apart. These will be your planting pockets. Remember to leave space between the holes for structural integrity.
- For Wooden Pallet: If using the pallet as a standalone planter, you might need to reinforce it or add landscape fabric to create pockets for soil. If using it as a frame, ensure it’s clean, sanded, and perhaps treated with a non-toxic sealant to prolong its life.
Step 3: Assemble the Structure
Secure your prepared PVC pipes to the wooden pallet. You can use strong screws, bolts, or heavy-duty zip ties to attach the pipes securely. Ensure the structure is stable and won’t tip over once filled with soil and plants. If you’re building a tower, ensure the base is wide and sturdy.
Step 4: Add Drainage and Soil
Before adding soil, consider lining the bottom of your PVC pipes or pallet pockets with a layer of gravel or small stones for enhanced drainage. Then, fill your vertical garden with a high-quality, well-draining potting mix. Leave a little space at the top of each planting hole for your strawberry plants.
Step 5: Plant Your Strawberries!
Carefully plant your strawberry starts into the openings you created. Gently loosen the roots before placing them. Ensure the crown of the plant (where the leaves emerge) is at soil level, not buried too deep or exposed too much. Water thoroughly after planting.
Caring for Your Vertical Strawberry Garden
Once your garden is built and planted, a little ongoing care will ensure a bountiful harvest.
Sunlight
Strawberries need at least 6-8 hours of direct sunlight per day to produce well. Position your vertical garden in the sunniest spot available.
Watering
Vertical gardens, especially those in PVC pipes, can dry out faster than traditional beds. Check the soil moisture daily and water deeply when the top inch of soil feels dry. Consistent moisture is key for juicy berries.
Fertilizing
Use a balanced organic liquid fertilizer every 2-4 weeks during the growing season, following product instructions. Avoid over-fertilizing, especially with nitrogen, which can lead to lush foliage but fewer fruits.
Pest and Disease Management
Inspect your plants regularly for signs of pests or diseases. Vertical gardens naturally help reduce some issues, but keep an eye out for aphids, slugs, or fungal spots. Organic pest control methods like neem oil or insecticidal soap can be effective.
Harvesting
Harvest strawberries when they are fully red and easily detach from the stem. Pick regularly to encourage more production. Enjoy them fresh, or use them in your favorite recipes!
Start Your Berry Adventure Today!
Building a DIY vertical strawberry garden is a rewarding project that brings the joy of fresh, homegrown fruit right to your doorstep, no matter the size of your space. With a bit of creativity and effort, you’ll be enjoying your own delicious strawberries in no time. Happy gardening!