Dreaming of smoother, younger-looking skin without complicated routines or expensive products? We hear you! At BEAUTY 2, we believe in the power of simple, natural solutions to help you achieve that radiant glow. Today, we’re revealing a wonderful secret: a two-ingredient anti-aging gel that’s incredibly easy to make and integrate into your nightly skincare.
This DIY beauty hack is gaining popularity for a reason – it combines potent natural ingredients to nourish your skin while you sleep, contributing to a more revitalized and smoother-looking complexion. Ready to discover your new favorite night-time routine?
The Power of Simplicity: Just Two Ingredients!
You might be surprised that such an effective gel requires only two readily available ingredients. This simplicity is its charm, making it perfect for anyone looking to embrace a more natural and straightforward approach to mature beauty.
Meet Your Star Ingredients:
- Aloe Vera Gel: A true miracle plant, aloe vera is renowned for its soothing, hydrating, and healing properties. It’s packed with vitamins, enzymes, and amino acids that can help calm skin, reduce the appearance of redness, and provide deep moisture, contributing to a plump, youthful look.
- Vitamin E Oil: A powerful antioxidant, Vitamin E is a beloved ingredient in many anti-aging formulations. It helps to protect the skin from environmental stressors and supports skin elasticity. When applied topically, it can help improve the appearance of skin tone and texture, making it feel softer and smoother.
How to Prepare Your DIY Anti-Aging Gel
Making this gel is incredibly simple, and you likely already have these ingredients in your home!
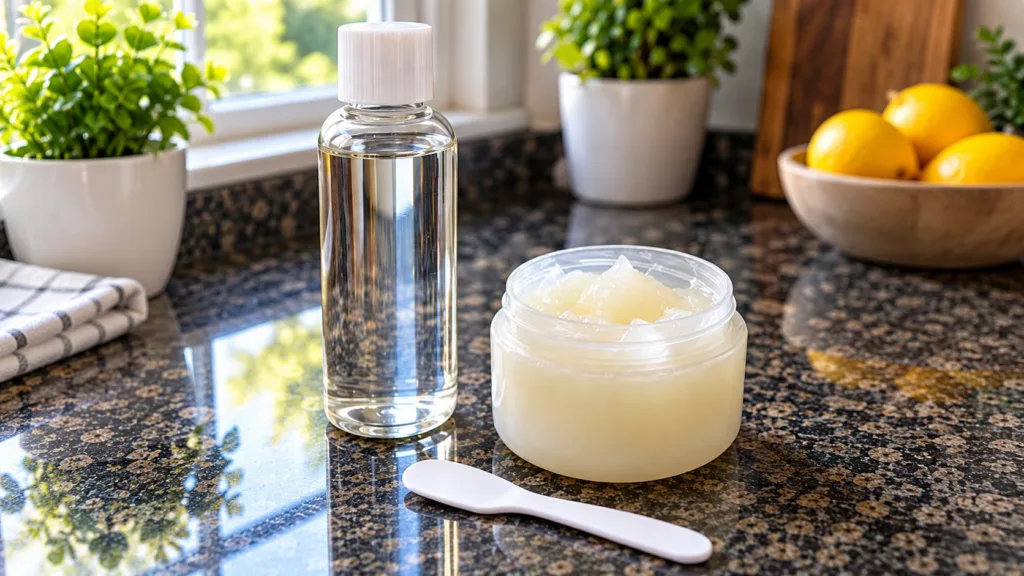
What You’ll Need:
- 2 tablespoons of pure Aloe Vera Gel (ensure it’s 99-100% pure, without added fragrances or colors)
- 1 teaspoon of Vitamin E Oil (you can break open a few Vitamin E capsules if you prefer)
- A small, clean, airtight container or jar
- A small spoon or spatula for mixing
Step-by-Step Instructions:
- Combine Ingredients: In your clean container, add the 2 tablespoons of pure aloe vera gel.
- Add Vitamin E: Carefully add 1 teaspoon of vitamin E oil to the aloe vera gel. If using capsules, snip off the tip of about 4-5 capsules and squeeze the oil out.
- Mix Well: Using your spoon or spatula, thoroughly mix the two ingredients until they are fully combined and form a smooth, uniform gel. It might take a minute or two to ensure the oil is perfectly integrated into the aloe vera.
- Store: Close the container tightly. Your DIY anti-aging gel is now ready to use!
How to Incorporate This Gel into Your Night Routine
This gel is best used as part of your nightly skincare regimen when your skin is in repair mode.
- Cleanse: Start with a clean face. Gently wash away makeup and impurities with your favorite mild cleanser.
- Tone (Optional): If you use a toner, apply it after cleansing.
- Apply the Gel: Take a small amount of your homemade anti-aging gel onto your fingertips. Gently massage it onto your face, neck, and décolletage using upward, circular motions. Avoid getting it too close to your eyes, though both ingredients are generally mild.
- Let it Absorb: Allow the gel to fully absorb into your skin before resting your head on your pillow.
- Sweet Dreams: Let the natural goodness work its magic overnight!
Tips for Best Results and What to Know Before You Try This
- Patch Test is Key: Before applying it to your entire face, always do a patch test on a small, inconspicuous area of your skin (like behind your ear or on your inner arm) to check for any sensitivities or allergic reactions.
- Consistency is Crucial: Like any skincare routine, consistency yields the best results. Use this gel every night for several weeks to truly observe its benefits.
- Storage: Store your DIY gel in a cool, dark place away from direct sunlight. Since it contains natural ingredients and no harsh preservatives, it’s best to make small batches that you can use up within 1-2 weeks. If you notice any changes in color, smell, or texture, it’s best to discard it and make a fresh batch.
- Individual Results Vary: While many people find great success with natural DIY remedies, remember that everyone’s skin is unique. What works wonderfully for one person may have different effects on another.
- Not a Cure-All: This gel is designed to support healthy-looking skin and contribute to a youthful glow. It is not a medical treatment for skin conditions, nor does it guarantee to permanently remove wrinkles or reverse aging.
Embracing natural beauty solutions like this simple two-ingredient gel can be a rewarding way to care for your skin. It’s affordable, easy to make, and harnesses the gentle power of nature to help you achieve that coveted youthful radiance. Give it a try and see the amazing difference people are talking about!
Stay glowing, BEAUTY 2 fam!