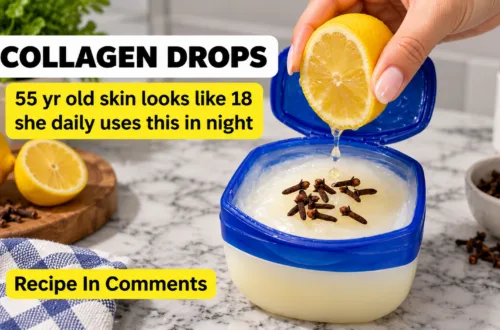
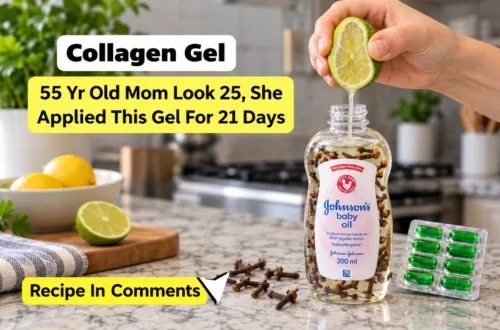
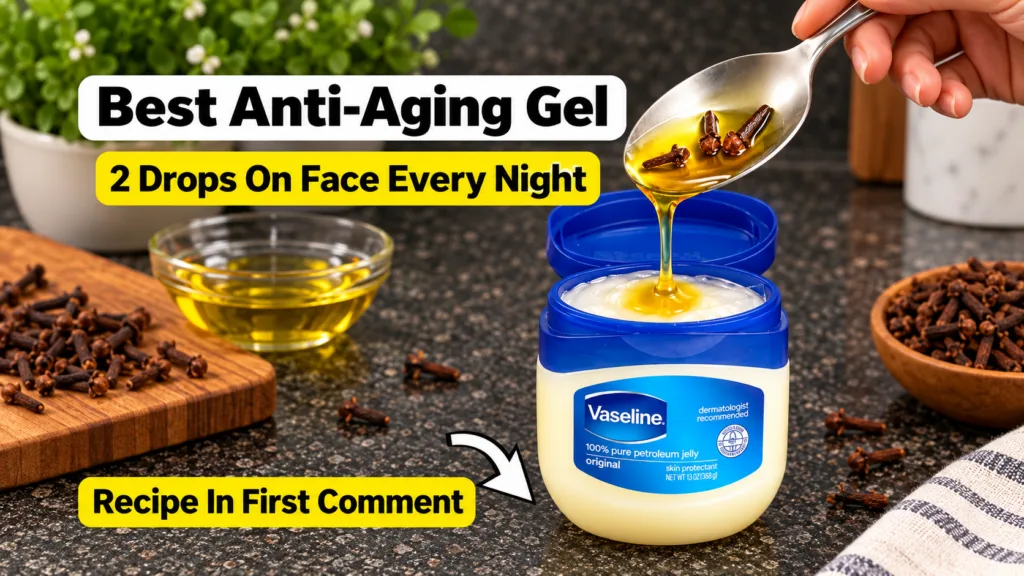
Are you searching for a simple, natural way to help your skin feel revitalized and look more radiant? Many of us are looking for budget-friendly beauty solutions that truly make a difference. Today, we’re diving into a popular DIY beauty routine that combines two humble ingredients: Vaseline and cloves, to create a homemade gel people are trying for a smoother-looking complexion.
This easy-to-make gel aims to hydrate and nourish your skin, potentially helping to reduce the appearance of dryness and support a healthy-looking glow. Let’s explore how you can create this popular anti-aging gel right in your own kitchen!
Why Vaseline and Cloves? Understanding the Power Duo
Before we jump into the recipe, let’s understand why these two ingredients are generating buzz in the DIY beauty world.
The Moisturizing Marvel: Vaseline (Petroleum Jelly)
Vaseline, or petroleum jelly, is a skincare staple for a reason. It’s an occlusive agent, meaning it creates a protective barrier on the skin’s surface. This barrier helps to lock in moisture, preventing water loss and keeping your skin hydrated. For mature skin, which can often struggle with dryness, this moisture-retention property can be particularly beneficial, contributing to a softer, more supple appearance.
The Aromatic Wonder: Cloves
Cloves are more than just a spice; they’ve been used in traditional remedies for centuries. In skincare, cloves are often appreciated for their potential antioxidant properties. While we can’t make medical claims, many people believe the natural compounds found in cloves may help to protect the skin from environmental stressors and contribute to a healthy glow when applied topically in diluted forms.
Your Easy DIY Anti-Aging Gel Recipe
Here’s how you can make your very own anti-aging gel at home. It’s simple, and you likely have most of the ingredients already!
What You’ll Need:
- Approximately 2 tablespoons of Petroleum Jelly (Vaseline)
- 1-2 teaspoons of a Carrier Oil (such as almond oil, olive oil, or jojoba oil)
- 1-2 teaspoons of Whole Cloves or Clove Powder
- A small, heat-safe bowl or microwave-safe container
- A small saucepan (if using a double boiler method)
- A clean, airtight container for storage
- A fine-mesh strainer (if using whole cloves for infusion)
Step-by-Step Guide:
- Prepare Your Clove-Infused Oil: If using whole cloves, gently heat 1-2 teaspoons of your chosen carrier oil with 1-2 teaspoons of whole cloves in a small saucepan over very low heat for about 10-15 minutes. Alternatively, you can warm them briefly in a microwave-safe bowl. This allows the beneficial compounds from the cloves to infuse into the oil. If using clove powder, simply mix it into the carrier oil. Allow the oil to cool completely, then strain out the whole cloves if you used them, leaving behind a fragrant, clove-infused oil.
- Melt the Vaseline: Scoop about 2 tablespoons of Vaseline into your heat-safe bowl. Gently melt it using a double boiler method (placing the bowl over a pot of simmering water) or in short 15-second bursts in the microwave until it reaches a liquid consistency.
- Combine the Ingredients: Once the Vaseline is melted and liquid, slowly add 1-2 teaspoons of your cooled clove-infused oil. Stir thoroughly until both ingredients are completely combined and the mixture is smooth.
- Pour and Set: Carefully pour the warm mixture into your clean, airtight storage container. Allow it to cool and solidify completely at room temperature, or place it in the refrigerator for faster setting. It will return to a soft gel-like consistency.
How to Use Your DIY Gel:
- Patch Test First: Always apply a small amount to a discreet area of your skin (like your inner arm) 24 hours before full application to check for any sensitivities.
- Nightly Application: After cleansing your face in the evening, take a small amount of the gel and gently massage it onto your face and neck. A little goes a long way!
- Gentle Massage: Use upward, circular motions to apply the gel, encouraging absorption and promoting a sense of relaxation.
- Storage: Store your homemade gel in a cool, dark place. It should last several weeks, but always check for any changes in smell or consistency.
Important Considerations Before You Start
While this DIY gel is a popular home remedy, it’s important to remember a few things:
- Individual Results Vary: Skincare results can be very personal. What works for one person might not work for another.
- Not a Cure-All: This gel is intended to support skin hydration and a radiant appearance, not to cure medical conditions or permanently reverse signs of aging.
- Professional Advice: If you have specific skin concerns, always consult with a dermatologist or healthcare professional.
Embrace Your Natural Radiance
This DIY anti-aging gel offers a simple, accessible way to incorporate natural ingredients into your nightly beauty routine. By providing your skin with ample moisture and the gentle benefits of cloves, you might just find yourself on the path to a smoother, more revitalized complexion. Give it a try and enjoy the process of nurturing your skin with homemade goodness!