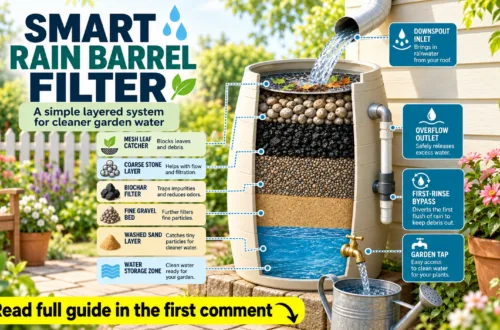
Are you looking for a simple, effective, and eco-friendly way to boost your garden’s health while reducing kitchen waste? Look no further than the amazing DIY worm tower! This ingenious system harnesses the power of composting worms to turn your food scraps into nutrient-rich fertilizer directly in your garden beds. It’s a game-changer for anyone aspiring to a healthier, more sustainable garden. Let’s dive into how you can create your own and watch your plants thrive!
What is a DIY Worm Tower and Why Do You Need One?
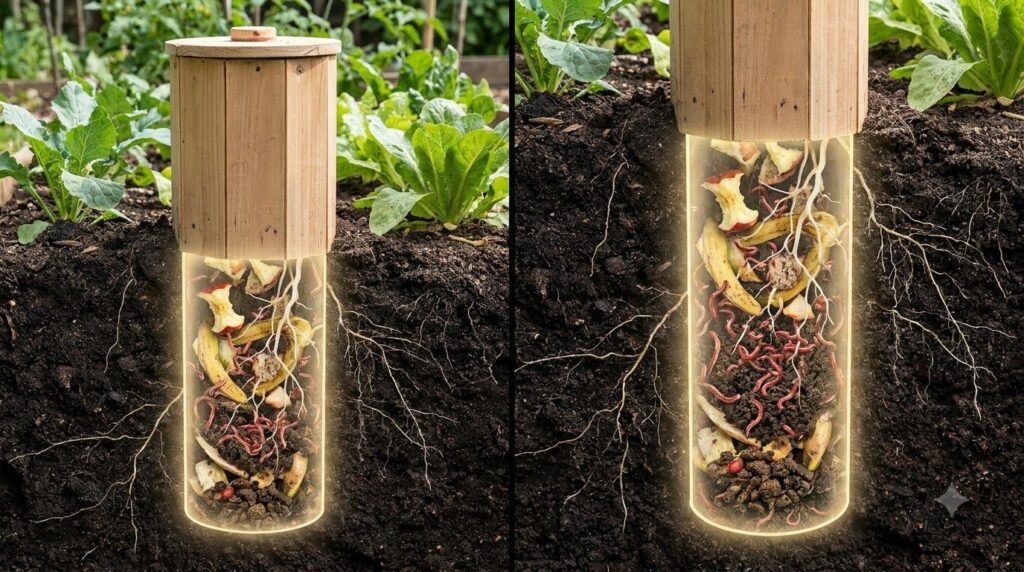
A worm tower, sometimes called a worm tube or worm composter, is essentially a pipe buried in your garden bed with holes drilled into it. You fill this pipe with organic kitchen scraps, and then introduce composting worms (like Red Wigglers). These busy little creatures crawl in and out of the holes, devouring the scraps and depositing their nutrient-rich castings (worm poop) directly into the surrounding soil. This process provides a slow-release fertilizer, improves soil structure, and reduces the need for synthetic additives.
The Benefits Are Endless!
- Nutrient-Rich Soil: Worm castings are packed with essential nutrients, beneficial microbes, and enzymes that plants adore.
- Waste Reduction: Divert kitchen scraps from landfills and turn them into a valuable resource for your garden.
- Improved Soil Structure: Worms aerate the soil as they move, enhancing drainage and root penetration.
- Easy to Maintain: Once set up, worm towers require minimal effort and are largely self-sufficient.
- Eco-Friendly: A fantastic step towards sustainable gardening and a greener lifestyle.
Gather Your Supplies: What You’ll Need
Building a worm tower is surprisingly straightforward and requires just a few basic materials:
- A length of PVC pipe (4-6 inches in diameter, about 2-3 feet long)
- A drill with a 1/2-inch to 3/4-inch drill bit
- A cap or lid for the top of the pipe (optional, but recommended to keep out pests and rain)
- A saw (if you need to cut your PVC pipe to length)
- A small amount of soil or bedding material for your worms (shredded newspaper, coco coir)
- Composting worms (Red Wigglers are ideal)
- Your kitchen scraps!
Step-by-Step Guide to Building Your Worm Tower
Step 1: Prepare Your PVC Pipe
First, you’ll need to prepare your PVC pipe. Using your drill, create numerous holes all over the lower two-thirds of the pipe. These holes should be large enough for worms to pass through comfortably (1/2 to 3/4 inch) but small enough to prevent large scraps from falling out. Aim for a good distribution of holes to allow worms easy access to the surrounding soil.
Step 2: Install the Worm Tower in Your Garden
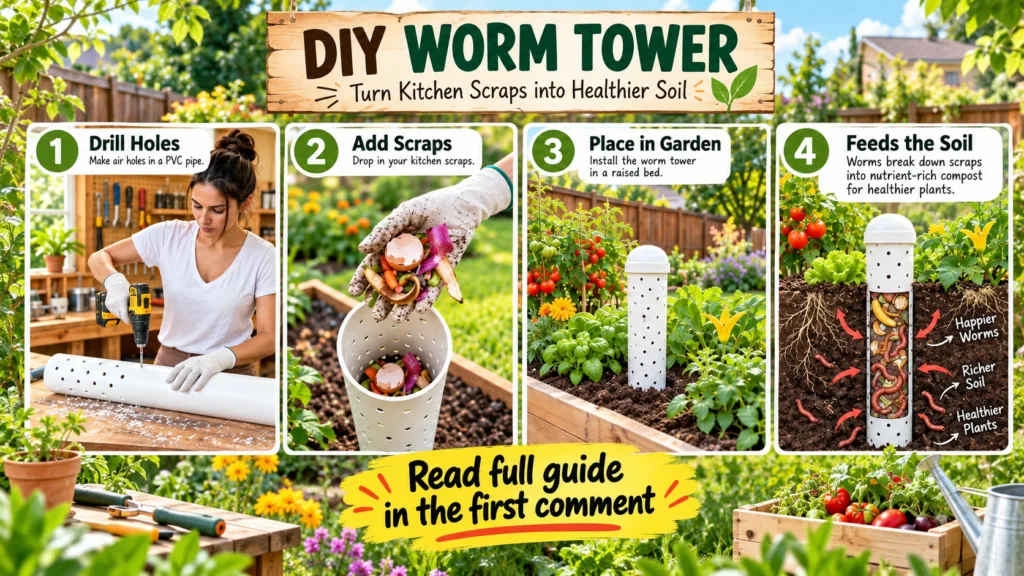
Choose a spot in your garden bed where you want to boost soil fertility the most. Dig a hole deep enough so that about 6-8 inches of the pipe remains above the soil surface. Place the drilled PVC pipe into the hole and backfill around it, ensuring it’s stable. The part of the pipe with holes should be buried, allowing the worms direct access to your garden’s root systems.
Step 3: Introduce Your Worms and Their Feast
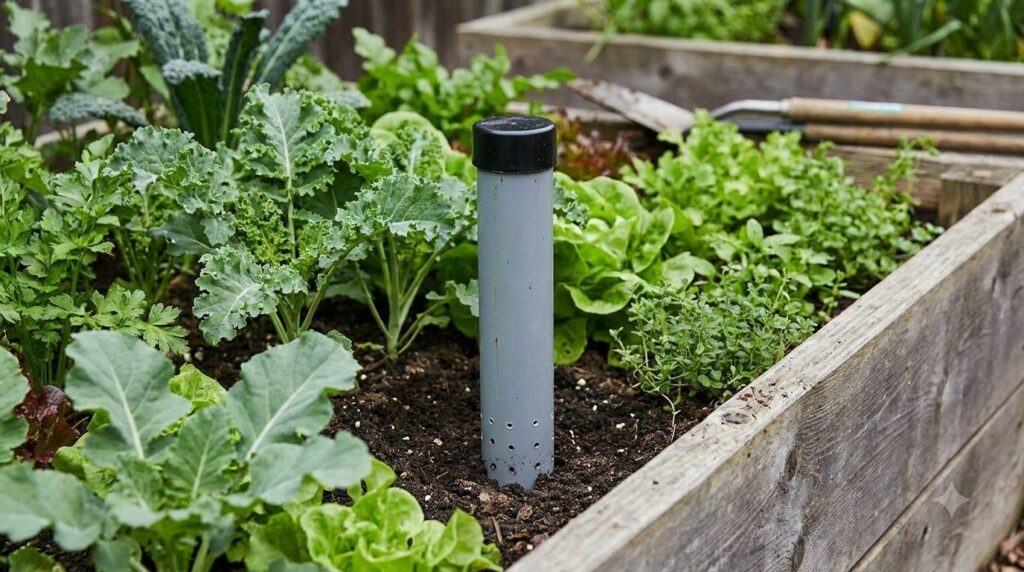
Now for the fun part! Add a layer of moist bedding material (like shredded newspaper or coco coir) to the bottom of the pipe. Gently introduce your composting worms into the pipe. Give them a day or two to settle in, then start adding your kitchen scraps. Good scraps include fruit and vegetable peels, coffee grounds, tea bags, and crushed eggshells. Avoid meat, dairy, oily foods, and citrus in large quantities, as these can attract pests or harm your worms.
Step 4: Let the Worms Work Their Magic
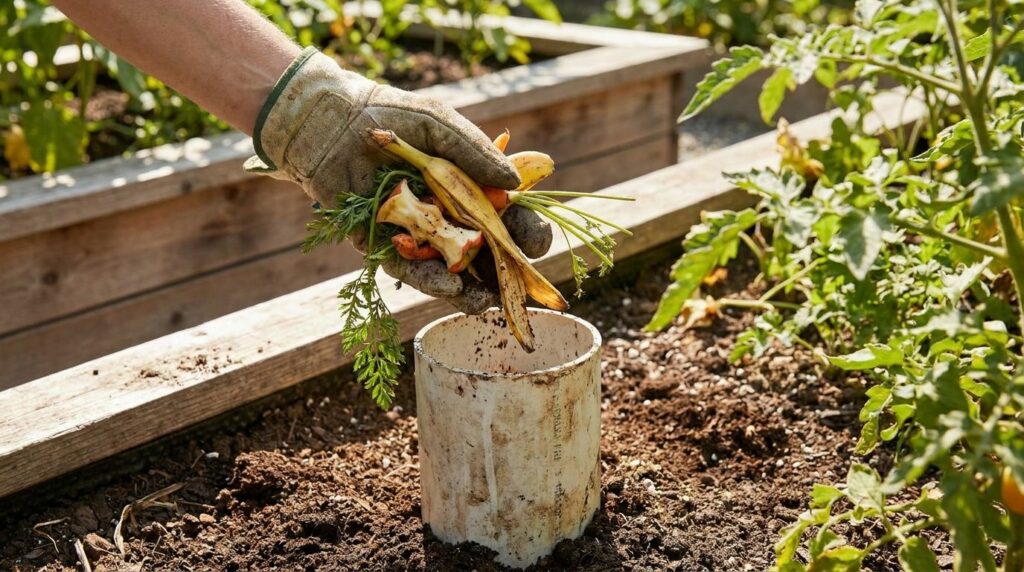
Once your worm tower is established, the worms will continuously move between the pipe and the surrounding soil, digesting scraps and leaving their valuable castings. These castings enrich the soil directly where your plants need it most, providing a constant supply of nutrients. The underground view of your garden will show a bustling network of worms improving your soil!
Tips for a Thriving Worm Tower
- Don’t Overfeed: Start with small amounts of scraps and increase as your worm population grows.
- Keep it Moist: Worms need a moist environment. If the pipe seems dry, add a little water.
- Protect from Pests: Use a lid to prevent unwanted critters from getting into your worm tower.
- Rotate Locations: If you have multiple garden beds, consider building a few worm towers and rotating where you place them each season to enrich different areas.
- Be Patient: It takes time for the worms to establish and for the full benefits to become apparent, but the wait is well worth it!
Embrace the Power of Worm Composting!
A DIY worm tower is a fantastic addition to any garden, offering a sustainable solution for waste management and a powerful boost for your plants. It’s a simple project with profound benefits for your soil, your plants, and the environment. So, gather your materials, get your hands a little dirty, and prepare to be amazed by the transformation in your garden!