Are you dreaming of a garden overflowing with vibrant flowers and bountiful vegetables? The secret to a truly thriving garden often lies beneath the surface: in your soil! And what if we told you that the key to unlocking incredibly rich, nutrient-dense soil is likely sitting in your kitchen scraps and yard waste? Welcome to the wonderful world of 3-bin composting!
Composting is more than just an eco-friendly practice; it’s a powerful way to transform organic waste into ‘black gold’ for your garden. While there are many ways to compost, a 3-bin system is particularly efficient, allowing you to continuously produce finished compost while actively breaking down new materials. It’s a simple, systematic approach that ensures you always have a fresh supply of nutrient-rich goodness for your plants.
Why Choose a 3-Bin Composting System?
A 3-bin system offers several advantages over a single pile or bin:
- Continuous Production: You can add fresh materials to one bin, actively turn another, and harvest finished compost from the third, ensuring a constant supply.
- Efficient Decomposition: Segregating materials by their stage of decomposition helps maintain optimal conditions for microbial activity, leading to faster results.
- Better Aeration: Turning materials between bins naturally aerates the piles, which is crucial for healthy composting and preventing foul odors.
- Pest Control: Keeping fresh scraps separate from actively decomposing and finished compost can help reduce pest attraction.
Setting Up Your 3-Bin Composting System
1. Choose the Right Location
Select a spot that’s:
- Accessible: Easy to reach with your wheelbarrow and garden tools.
- Well-Drained: Prevents waterlogging, which can slow decomposition.
- Partially Shaded: Helps retain moisture, but some sun is beneficial for heating the pile.
- Away from Your House: To avoid any potential odors or pest concerns, though a well-managed compost pile should smell earthy, not foul.
2. Gather Your Materials
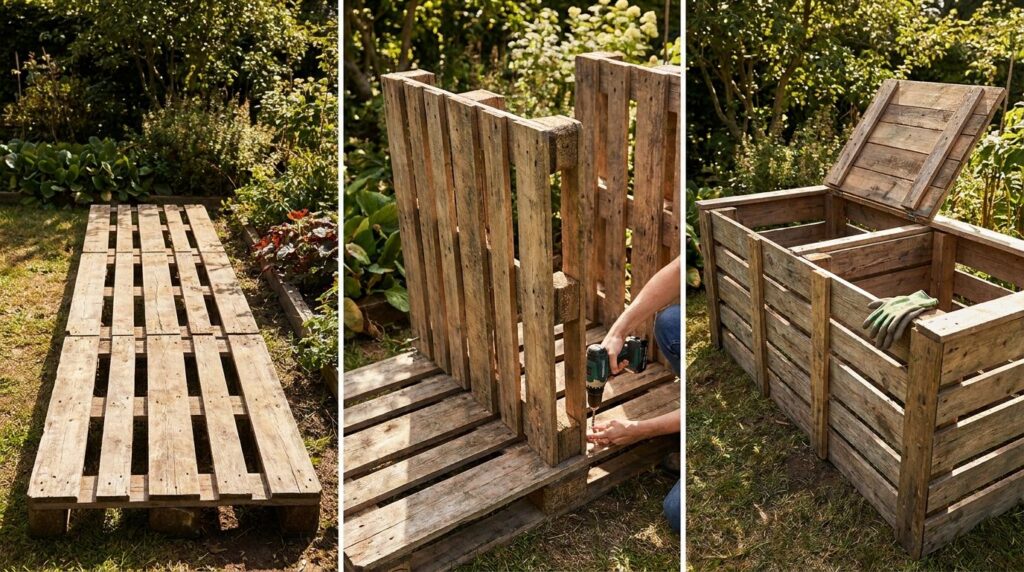
You can build a 3-bin system using various repurposed materials. Popular choices include:
- Wood Pallets: Easy to assemble into sturdy bins.
- Wire Mesh/Hardware Cloth: Great for airflow.
- Concrete Blocks: Durable and long-lasting.
Aim for bins that are approximately 3x3x3 feet (1 meter per side) for optimal heat retention and turning.
The 3-Bin Composting Process: A Bin-by-Bin Guide
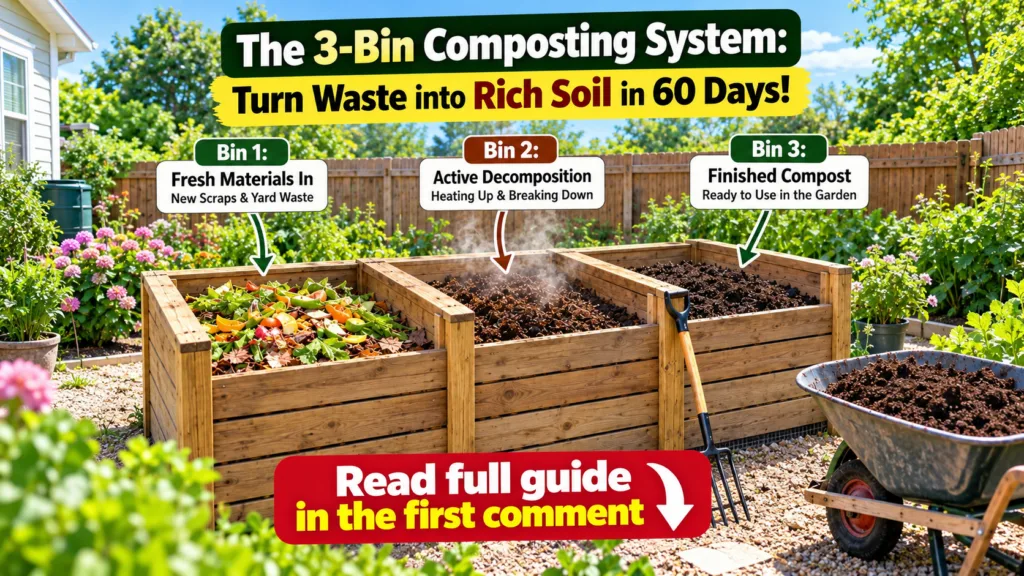
Bin 1: The ‘New Stuff’ Bin
This is where your composting journey begins. All your fresh organic waste goes here.
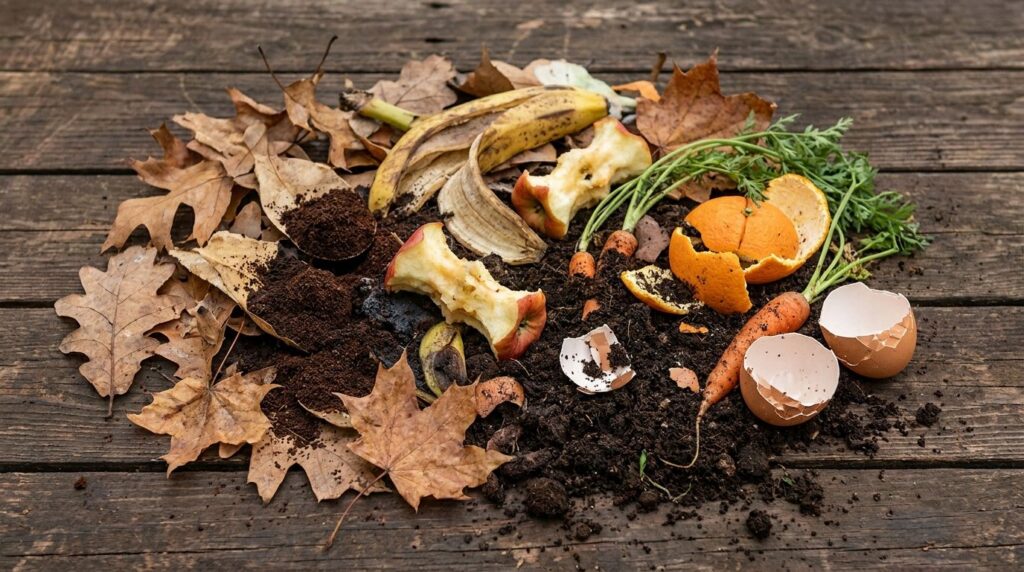
- What to Add: Layer ‘greens’ (nitrogen-rich) and ‘browns’ (carbon-rich) materials.
- Greens: Vegetable and fruit scraps, coffee grounds, tea bags, fresh grass clippings, green plant trimmings.
- Browns: Dry leaves, shredded newspaper, cardboard, wood chips, straw, sawdust.
- Layering is Key: Aim for a balance, roughly 2-3 parts browns to 1 part greens. This helps prevent odors and provides the right carbon-to-nitrogen ratio for microbes.
- Keep it Moist: The pile should feel like a wrung-out sponge. Add water if it’s too dry.
Bin 2: The ‘Cooking’ Bin
Once Bin 1 is full, or the materials have started to break down slightly, it’s time to move them to Bin 2 for active decomposition.
- Transferring: Use a pitchfork to move the contents from Bin 1 to Bin 2. This acts as the first major ‘turn’ of your compost, aerating it thoroughly.
- Monitor and Turn: This bin is where the magic happens! The microbial activity will generate heat, often making the pile warm to the touch (130-160°F or 54-71°C is ideal). Turn the pile every few days to a week to keep it aerated and ensure even decomposition.
- Maintain Moisture: Continue to check moisture levels. If it looks dry, give it a good sprinkle with water.
Bin 3: The ‘Ready to Use’ Bin
Once the material in Bin 2 has significantly broken down, cooled, and appears mostly uniform, transfer it to Bin 3 for curing.
- Curing: This is the final stage where the compost matures. It allows any remaining bits to fully decompose and ensures a stable, plant-friendly product. You don’t need to turn this bin as frequently, if at all.
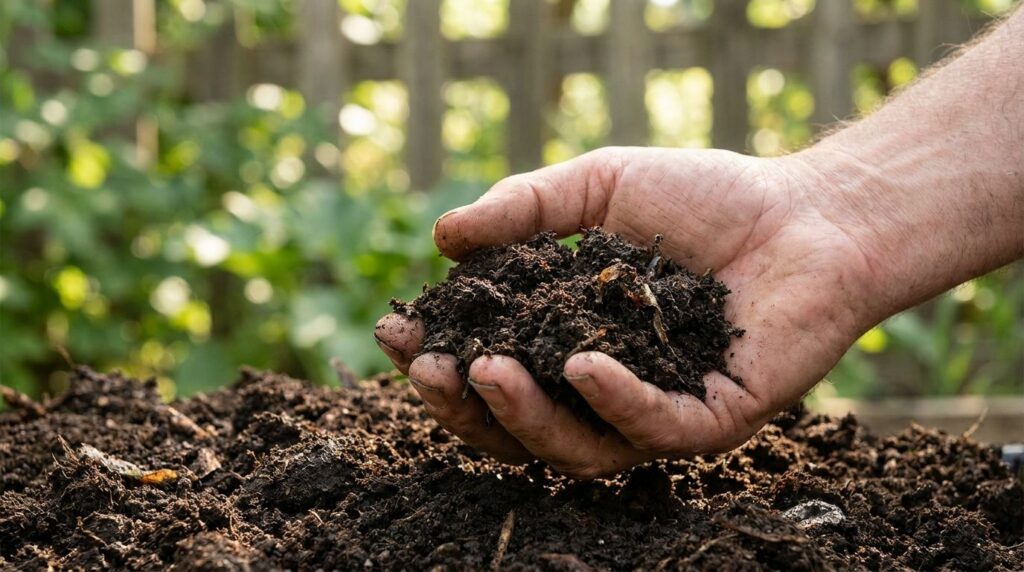
- Harvesting: Once the compost is dark brown, crumbly, and smells like fresh earth, it’s ready! Sift out any larger, undecomposed pieces and return them to Bin 1.
What to Compost and What to Avoid
Compost Heroes (Add These!)
- Fruit and vegetable scraps
- Coffee grounds and filters
- Tea bags
- Eggshells
- Grass clippings (in moderation)
- Leaves
- Shredded newspaper and plain cardboard
- Sawdust and wood chips (untreated)
- Straw and hay
- Dead plants (non-diseased)
Compost Villains (Avoid These!)
- Meat and bones
- Dairy products (milk, cheese, yogurt)
- Oils and greasy foods
- Pet waste (dog, cat, and other carnivorous animals)
- Diseased plants
- Chemically treated wood
- Weeds with mature seeds (they might sprout!)
- Synthetic materials (plastics, metals)
Troubleshooting Common Composting Issues
- Smelly Pile: Usually indicates too much ‘green’ material or not enough aeration. Add more ‘browns’ and turn the pile frequently.
- Attracting Pests: Ensure no meat, dairy, or oily foods are added. Bury fresh food scraps deep within the pile.
- Slow Decomposition: The pile might be too dry, lacking greens, or not aerated enough. Check moisture, add greens, and turn more often.
Reap the Rewards: Using Your Finished Compost
Once your compost is ready, you’ll have a rich, dark, earthy-smelling amendment that will transform your garden. Use it to:
- Improve Soil Structure: Adds organic matter, improving drainage in clay soils and water retention in sandy soils.
- Provide Nutrients: A slow-release source of essential nutrients for healthy plant growth.
- Boost Microbial Life: Introduces beneficial microorganisms to your soil, enhancing plant health.
- Suppress Diseases: Healthy soil and plants are more resistant to pests and diseases.
Spread it generously on garden beds, mix it into potting soil, use it as a top dressing for existing plants, or sprinkle it on your lawn.
Start Composting Today!
Embracing a 3-bin composting system is a fantastic step towards a more sustainable lifestyle and a significantly healthier, more productive garden. It’s a simple cycle: you reduce waste, enrich your soil, and grow happier plants. So, grab your pitchfork, gather your scraps, and start turning your waste into garden gold!