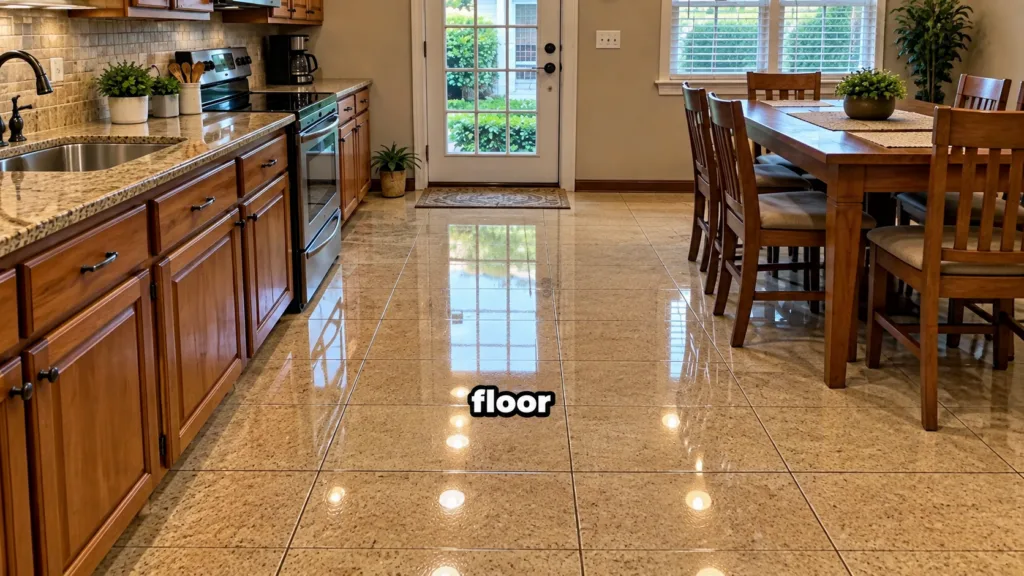
Do your floors look a bit dull, making your entire home feel less vibrant? If you’re longing for that sparkling, reflective finish that truly brightens a room, you’re in the right place. Achieving gleaming floors isn’t just about surface-level clean; it’s about a method that brings out the natural shine and makes your space feel expansive and inviting. This DIY guide will show you how to clean and maintain your tiled floors to achieve that beautifully luminous ambiance you desire.
What You’ll Need
- Warm water
- 1/2 cup white vinegar OR 2 tablespoons pH-neutral floor cleaner (check product instructions for dilution)
- 2 buckets
- Clean microfiber mop
- Several clean, dry microfiber cloths or old towels
Tools
- Vacuum cleaner or broom
- Mop bucket with wringer (optional, but helpful)
Why This DIY Can Be Useful
This method focuses on deep cleaning and proper finishing, which are key to making your tiled floors truly shine. White vinegar is a natural, mild acid that helps break down grime, hard water stains, and soap scum without leaving a residue that can dull your floors. Alternatively, a pH-neutral cleaner is designed to clean effectively without damaging your tile or grout. The secret to the gleam often lies not just in what you clean with, but how thoroughly you rinse and dry, which prevents streaks and enhances the reflective quality of your tiles, making your home feel brighter and more serene.
How to Make It
- Prepare Your Cleaning Solution: Fill one bucket with warm water and add 1/2 cup of white vinegar. If using a pH-neutral floor cleaner, follow the product’s dilution instructions with warm water in the first bucket.
- Prepare Rinse Water: Fill your second bucket with clean, plain warm water. This will be used for rinsing your mop and the floor.
How to Use It
- Clear the Area: Before you begin, remove any movable furniture, rugs, and other items from the floor area you plan to clean.
- Sweep or Vacuum: Thoroughly sweep or vacuum your entire floor to remove loose dirt, dust, and debris. This prevents you from just pushing around dirt with your mop.
- Mop with Cleaning Solution: Dip your microfiber mop into the cleaning solution (the first bucket), wring it out well so it’s damp, not dripping. Mop a small section of your floor, working in manageable areas.
- Rinse Thoroughly: Immediately after mopping a section with the cleaning solution, rinse your mop head in the second bucket of clean water, wring it out, and mop over the same section again to remove any cleaning solution residue. Change the rinse water frequently to ensure it stays clean.
- Dry and Buff for Shine: For the ultimate gleam, do not let the floor air dry, as this can lead to water spots or streaks. After rinsing a section, immediately go over it with a clean, dry microfiber cloth or towel. You can also attach a clean, dry microfiber pad to your mop and buff the area until it’s dry and shining.
- Repeat: Continue this process, working in small sections, until your entire floor is clean, rinsed, and gleaming.
What to Expect
After following these steps, you can expect visibly cleaner, brighter floors that reflect light beautifully. Your tiles should be free of grime, streaks, and dulling residues, creating a more luminous and inviting atmosphere in your home. While this method will significantly enhance the natural shine, it may not create a ‘mirror-like’ finish if your tiles naturally have a matte or satin texture. The key is a clean, streak-free surface that maximizes natural light reflection.
Helpful Tips
- Work from Back to Front: Always start cleaning from the farthest corner of the room and work your way towards the exit to avoid stepping on freshly cleaned areas.
- Change Water Often: Dirtier water will only transfer grime back to your floor. Change both your cleaning solution and rinse water regularly, especially if cleaning a large or very dirty area.
- Spot Clean Spills Immediately: Addressing spills as they happen will prevent them from setting and requiring deeper cleaning later, helping to maintain your floor’s shine.
- Maintain Regularly: A quick sweep or vacuum daily and a full mop once a week (or as needed) will keep your floors consistently gleaming.
Important Notes / Safety
- Patch Test: Always test any cleaning solution on an inconspicuous area of your floor first to ensure it doesn’t cause discoloration or damage.
- Avoid Over-Wetting: While tiles are durable, excessive water can seep into grout lines and potentially cause issues. Wring your mop well so it’s just damp.
- Slippery When Wet: Floors will be slippery during and immediately after cleaning. Use caution and consider placing ‘wet floor’ signs if others are in the home.
- Ventilation: Ensure good ventilation by opening windows or doors, especially if using a commercial cleaner.
- Check Tile Type: While this method is generally safe for most ceramic and porcelain tiles, always refer to your tile manufacturer’s recommendations for specific cleaning instructions. For natural stone tiles (like marble, granite, travertine), avoid vinegar as its acidity can etch the stone; use a pH-neutral cleaner specifically designed for natural stone.