Burnt Pan SOS: The Unexpected Cola, Toothpaste, & Baking Soda Hack!
A badly scorched pan can look like a lost cause, leaving you feeling frustrated and eyeing the trash can. But before you surrender to the stubborn cooked-on residue, consider this clever DIY cleaning hack that uses an unlikely combination of everyday household ingredients. This budget-friendly solution can help loosen those tough, burnt messes, making your scrubbing efforts far more effective and revealing a sparkling clean pan once more!
Can Cola, Toothpaste, Dish Soap & Baking Soda Help Clean a Burnt Pan?
Yes! This DIY cleaning mixture combines cola, toothpaste, liquid dish soap, and baking soda to tackle those notoriously tough burnt-on messes. It’s inexpensive, simple to prepare, and incredibly satisfying to test, especially on the bottom of a stainless-steel pan. While it might sound like a strange concoction, each ingredient plays a specific role in breaking down and lifting the grime.
The secret lies in the synergy of these common items:
- Cola: The phosphoric acid in cola acts as a mild corrosive, helping to break down burnt food particles and residue.
- Toothpaste: Most toothpastes contain mild abrasives and detergents that can gently scrub away stains without scratching the surface.
- Dish Soap: A powerful degreaser, dish soap cuts through oily and greasy components of burnt food, making it easier to lift.
- Baking Soda: Known for its mild abrasive and alkaline properties, baking soda helps to scour away burnt bits and neutralize odors.
It’s important to set realistic expectations: the key is not to expect the grime to magically disappear on its own. The mixture helps loosen residue, while the actual scrubbing does most of the cleaning work. Think of it as a powerful pre-treatment for stubborn stains.
What You’ll Need
For one small batch, perfect for tackling a single burnt pan:
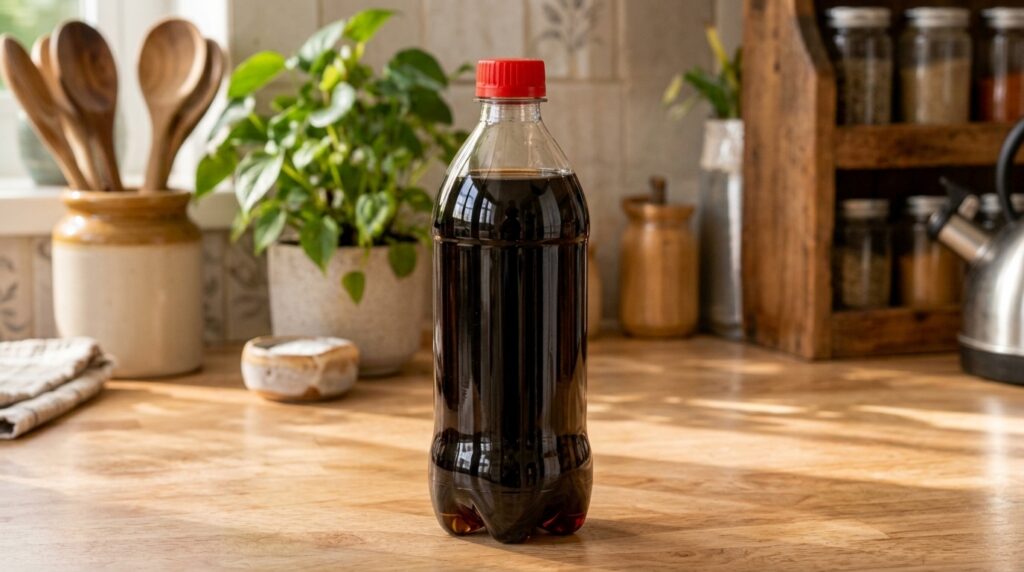
- ½ cup (120 ml) cola (any brand will do)
- About 1 teaspoon white toothpaste (gel toothpaste might not work as well)
- 1 teaspoon liquid dish soap
- 1 teaspoon baking soda
- 1 clean spray bottle
- Non-scratch kitchen sponge or scrubber
- Warm water
- Gloves, optional (recommended for sensitive skin)
This method is best tested on stainless steel first. Always perform a patch test on an inconspicuous area, especially with other pan materials, to ensure no discoloration or damage occurs.
Step-by-Step Guide to Cleaning Your Burnt Pan
Step 1: Mix the Cola and Toothpaste
Pour the ½ cup of cola into a container, or if your cola bottle is nearly empty, you can use it directly. Add approximately 1 teaspoon of white toothpaste. Close the container temporarily and gently shake until the toothpaste begins to disperse thoroughly into the cola. You’ll notice it starting to dissolve and combine.
Step 2: Add Dish Soap and Baking Soda
Once the cola and toothpaste are somewhat mixed, open the container. Add 1 teaspoon of liquid dish soap and then a spoonful of baking soda. This will create a gentle fizzing reaction. Stir the mixture gently to combine all ingredients without excessive foaming. The goal is to integrate everything into a consistent liquid.
Step 3: Transfer to a Spray Bottle
Carefully pour the complete mixture into your clean spray bottle. This makes application much easier and more even. Cap the spray bottle securely.
Step 4: Prepare and Spray the Burnt Pan
Bring out your heavily burnt stainless-steel frying pan. Spray the mixture evenly over the entire burnt surface, ensuring good coverage. Let the mixture sit on the pan for 5-10 minutes to allow the ingredients to start working on loosening the burnt residue. This dwell time is crucial for the acids and abrasives to penetrate the grime.
Step 5: Scrub Away the Grime
Don your gloves if using, then grab your non-scratch kitchen sponge or scrubber. Start scrubbing the burnt areas with firm, consistent pressure. You should see the burnt residue gradually lifting and breaking down. Keep going, applying more mixture if needed, until the surface starts to reveal its original shine. This step requires elbow grease, but the mixture will make your job significantly easier.
Step 6: Rinse and Reveal
Once you’ve scrubbed away as much of the burnt residue as possible, rinse the pan thoroughly with warm water. Watch as the grime washes away, revealing a dramatically cleaner, reflective surface beneath. For any particularly stubborn spots, you can repeat the process.
Important Safety Note
As with any DIY cleaning solution, always test on a small, inconspicuous area of your pan first. Different surfaces can react differently, and this will help ensure no damage or discoloration occurs before you tackle the entire pan. This hack is generally safe for stainless steel, but caution is always best!
Say goodbye to those daunting burnt pan nightmares and hello to sparkling cookware with this simple, budget-friendly hack. Happy cleaning!