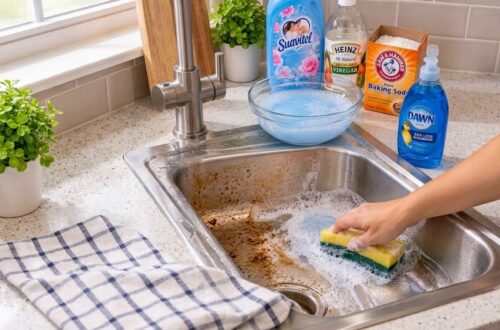
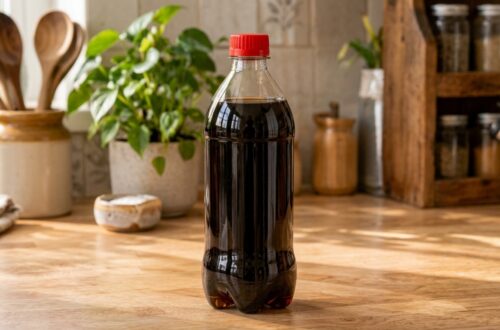
Sometimes the most useful home tricks start with things you already have in the kitchen or bathroom. These four simple DIY cleaning ideas use familiar ingredients such as baking soda, vinegar, toothpaste, cola, and olive oil to tackle common household messes.
They’re inexpensive and easy to test, but remember: different surfaces and finishes react differently, so always try a small hidden area first.
1. Cola + Baking Soda for Toilet Bowl Rings
Stubborn mineral rings around a toilet bowl can take a lot of scrubbing. This simple mixture may help loosen some surface buildup so it is easier to clean.
What You’ll Need
- ½ cup cola (any brand)
- 1 tablespoon baking soda
- Toilet brush or non-scratch cleaning sponge
- Gloves
How to Use It
- Pour the cola into a small container and slowly add the baking soda. Expect a little fizzing.
- Apply the mixture directly to the stained area inside the toilet bowl.
- Let it sit for about 5–10 minutes, keeping the surface wet.
- Scrub thoroughly with a toilet brush or suitable sponge.
- Flush and inspect the area. Repeat on stubborn spots if necessary.
Why It May Help
Cola contains phosphoric acid and carbonic acid, which are mild acids that can help break down mineral deposits and rust stains common in toilet rings. Baking soda (sodium bicarbonate) acts as a gentle abrasive to help scrub away grime, and it also helps to neutralize odors and enhance the cleaning action when combined with the acids in cola, creating a fizzing reaction that can further loosen dirt. Always wear gloves to protect your hands.
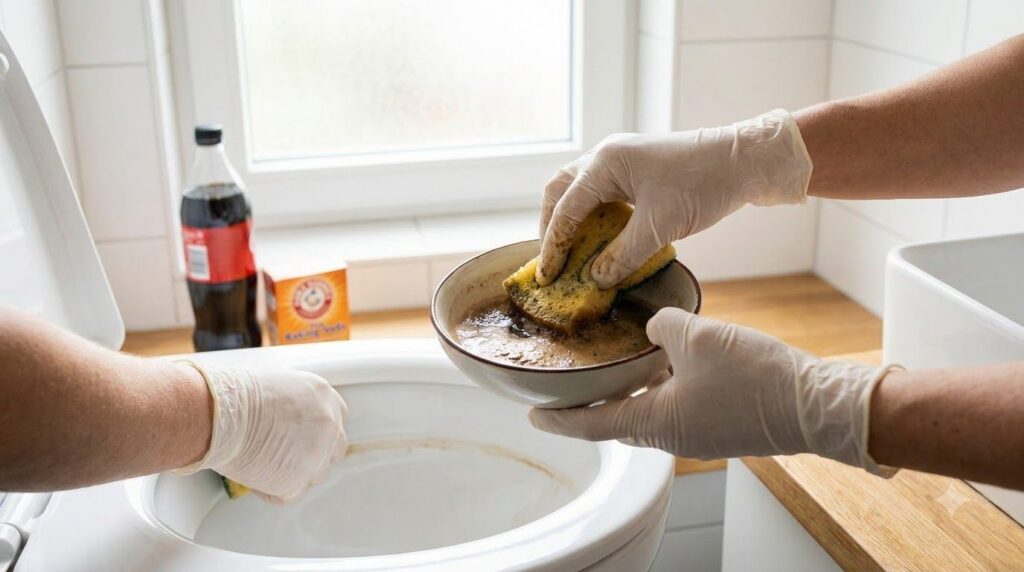
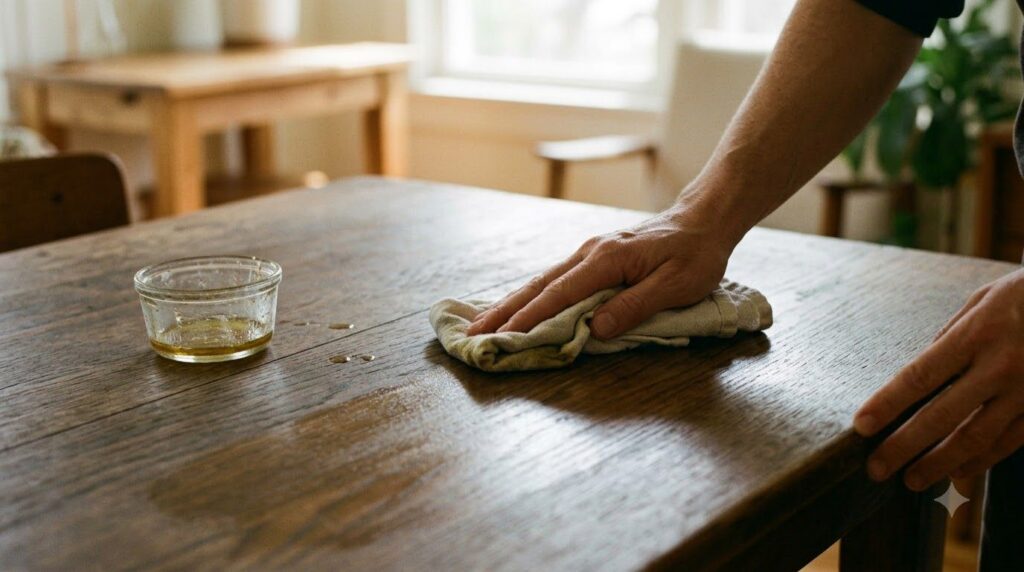
2. Olive Oil + Vinegar for Dull Wood Surfaces
Bring life back to dull wooden furniture, cabinets, or trim with this natural polish. This mixture can help restore a subtle shine and condition the wood.
What You’ll Need
- ¼ cup olive oil
- ¼ cup white vinegar
- Soft, clean cloth (microfiber works well)
How to Use It
- Mix the olive oil and white vinegar in a small bowl or spray bottle. Shake well before each use, as the oil and vinegar will separate.
- Dip a corner of your soft cloth into the mixture, or spray a small amount directly onto the cloth.
- Apply to the dull wood surface, wiping with the grain of the wood.
- Buff gently with a clean, dry section of the cloth until the shine is restored.
- Always test on an inconspicuous spot first to ensure it doesn’t cause any discoloration or damage, especially on antique or unsealed wood.
Why It May Help
Olive oil acts as a natural conditioner and moisturizer for wood, helping to hydrate it and restore its natural luster, much like a furniture polish. Vinegar, with its mild acetic acid, helps to gently clean away dirt, grime, and minor water spots without harsh chemicals. When combined, they create a gentle, non-toxic solution that can effectively polish and protect sealed wood surfaces, enhancing their appearance.
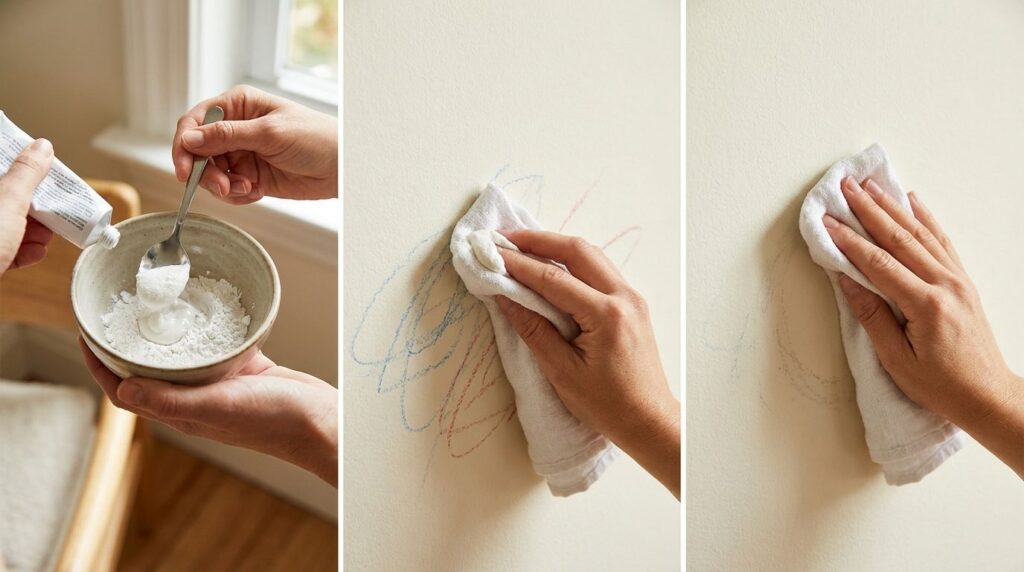
3. Toothpaste + Baking Soda for Crayon Marks on Walls
Little artists sometimes find canvas where it doesn’t belong. This gentle abrasive paste can help remove crayon marks from painted walls.
What You’ll Need
- 1 tablespoon white toothpaste (gel toothpaste not recommended)
- 1 teaspoon baking soda
- Damp cloth or sponge
- Clean, dry cloth
How to Use It
- In a small bowl, combine the white toothpaste and baking soda to form a paste.
- Apply a small amount of the paste to a damp cloth.
- Always test this method on a hidden, inconspicuous area of the wall first to ensure it doesn’t remove paint or cause discoloration.
- Gently rub the crayon mark with the damp cloth in small, circular motions. Avoid scrubbing too hard.
- Once the mark begins to fade, wipe the area clean with a fresh, damp cloth, then dry with a clean, dry cloth.
Why It May Help
White toothpaste contains mild abrasive agents (like hydrated silica) and detergents that are designed to gently scrub and clean. Baking soda adds to this abrasive quality, creating a slightly more potent paste. Together, they can carefully abrade and lift the wax-based pigments of crayon marks from painted surfaces without using harsh chemicals, provided the application is gentle and a test spot is performed first.
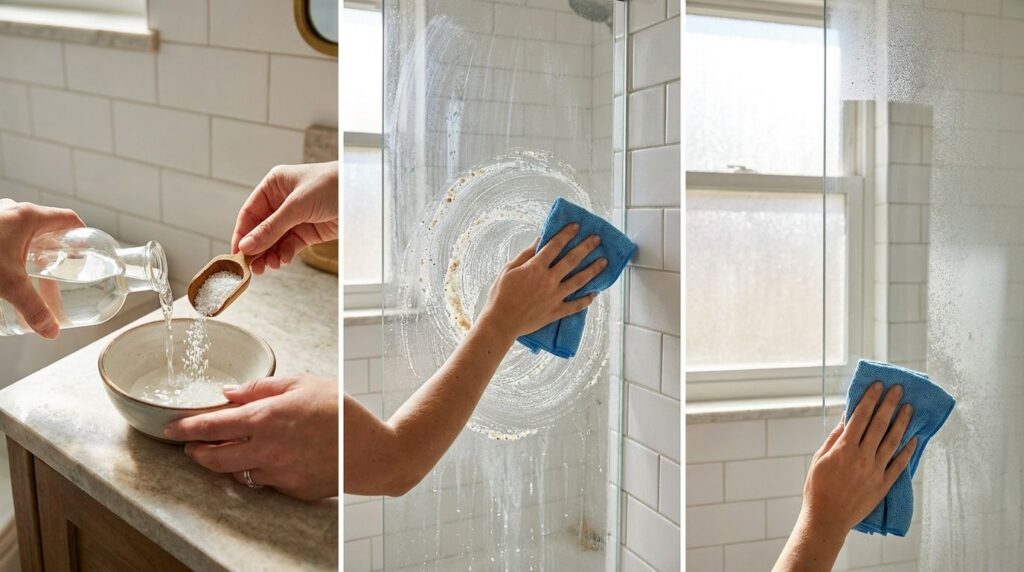
4. Vinegar + Salt for Cloudy Glass Shower Doors
Hard water stains and soap scum can make glass shower doors or windows look perpetually cloudy. This acidic and abrasive duo can help restore clarity.
What You’ll Need
- ½ cup white vinegar
- 2 tablespoons table salt (fine grain)
- Blue cleaning cloth or non-scratch sponge
- Spray bottle (optional)
- Warm water for rinsing
How to Use It
- In a bowl, mix the white vinegar and salt to form a slightly abrasive liquid. If using a spray bottle, ensure the salt dissolves sufficiently or mix in a bowl and apply with a cloth.
- Apply the mixture to the cloudy glass surface using a blue cleaning cloth or sponge.
- Rub the glass in circular motions, focusing on areas with heavier buildup. Then, wipe vertically to ensure full coverage.
- Let the mixture sit on the glass for about 5 minutes to allow the vinegar’s acid to work.
- Rinse the glass thoroughly with warm water and dry with a clean, lint-free cloth or squeegee for a streak-free finish.
- Always test this on a small, hidden area first, especially on tinted or coated glass, to ensure no adverse reaction.
Why It May Help
White vinegar contains acetic acid, a powerful natural solvent that effectively dissolves mineral deposits like limescale, hard water stains, and soap scum that cause glass to look cloudy. Salt acts as a mild abrasive, providing extra scrubbing power to help dislodge stubborn residue without scratching the glass. The combination offers both chemical action and mechanical scrubbing to restore clarity to glass surfaces.
Embrace Budget-Friendly Cleaning
These simple hacks demonstrate that effective home cleaning doesn’t always require expensive specialty products. By utilizing common household items, you can tackle a variety of messes, save money, and often reduce your exposure to harsh chemicals. Remember to always test new cleaning solutions in an inconspicuous area first to ensure they are safe for your specific surfaces. Happy cleaning!