Do you have wooden furniture that’s lost its luster? Over time, wood can become dull, scratched, and lose its original beautiful shine, making pieces look old and tired. Instead of reaching for expensive commercial products or considering replacing your beloved items, you can revitalize them with a simple, effective homemade wood varnish. This easy DIY solution can help clean, nourish, and bring back that impressive shine to your wooden surfaces using ingredients you likely already have at home.
It’s a practical and cost-effective way to extend the life and beauty of your furniture, giving it a fresh, cared-for appearance without harsh chemicals.
What You’ll Need
Ingredients / Materials:
- 1/2 cup olive oil
- 1/2 cup white vinegar
Tools:
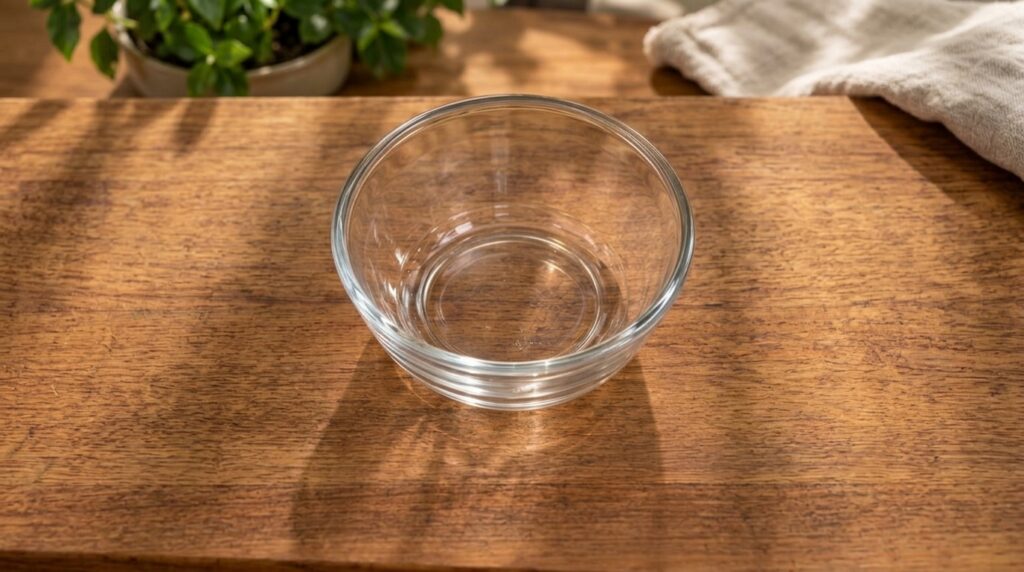
- Mixing bowl or small container
- Spoon or whisk for mixing
- Soft, clean microfiber cloths or lint-free rags (at least two)
Why This DIY Can Be Useful
This homemade varnish utilizes two powerhouse ingredients for wood care:
- Olive Oil: Acts as a natural moisturizer and conditioner for wood. It penetrates the surface, helping to hydrate dry wood, reduce the appearance of minor scratches, and impart a beautiful, natural luster. It’s also excellent for bringing out the wood’s natural grain.
- White Vinegar: A gentle yet effective cleaner. It helps to cut through grime, grease, and old polish buildup without damaging the wood. Vinegar’s mild acidity can also help to brighten wood and leave it streak-free, preparing it for the nourishing oil.
Together, they create a solution that cleans, conditions, and shines, making your old furniture look rejuvenated.
How to Make It
- Pour 1/2 cup of olive oil into your mixing bowl or container.
- Add 1/2 cup of white vinegar to the olive oil.
- Stir the mixture well with a spoon or whisk until the oil and vinegar are thoroughly combined. The mixture may separate slightly over time, so give it a quick stir each time before use.
How to Use It
- Prepare the Surface: Before applying the varnish, wipe down your wooden furniture with a dry cloth to remove any loose dust or debris.
- Apply the Varnish: Dip a clean, soft microfiber cloth into your homemade varnish mixture. Don’t saturate the cloth; you want it damp, not dripping.
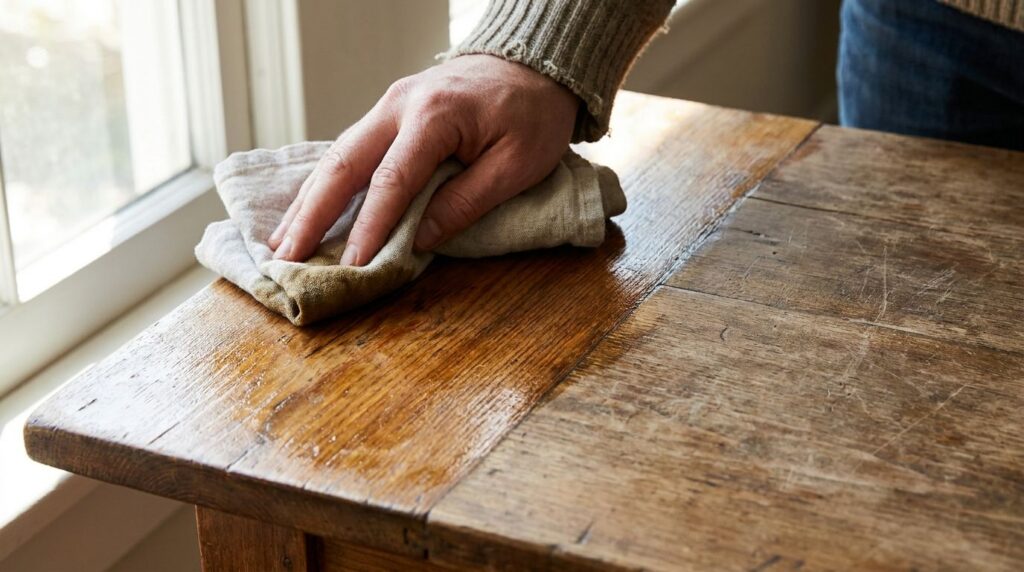
- Rub into Wood: Work in small sections, rubbing the varnish onto the wooden surface in the direction of the wood grain. Use gentle, circular motions to ensure even coverage. You’ll notice the wood absorbing the oil and becoming visibly richer.
- Allow to Absorb: Let the varnish sit on the wood for about 5-10 minutes. This allows the olive oil to deeply penetrate and condition the wood fibers.
- Buff to a Shine: Using a second clean, dry microfiber cloth, buff the entire surface vigorously until it shines and feels dry to the touch. This step is crucial for removing any excess oil and bringing out the luster.
What to Expect
You can expect your wooden furniture to look cleaner, feel smoother, and have a noticeable, natural sheen. Minor scratches and scuffs may appear less prominent as the oil helps to fill them in and moisturize the surrounding wood. The wood’s natural color and grain will be enhanced, giving it a refreshed and cared-for appearance. Results may vary depending on the condition and type of wood, but most pieces will show a significant improvement in luster and overall vibrancy.
Helpful Tips
- Regular Maintenance: For best results, use this varnish every few weeks or months, depending on how often the furniture is used and exposed to wear and tear.
- Small Batches: Since the oil and vinegar can separate, it’s often best to make smaller batches as needed. If storing, shake well before each use.
- Test in an Inconspicuous Area: Always test the varnish on a small, hidden area of your furniture first to ensure compatibility and desired results, especially on antique or rare wood types.
- Avoid Over-Oiling: Too much oil can leave a sticky residue. A little goes a long way, and thorough buffing is key.
Important Notes / Safety
- Not for All Surfaces: This DIY varnish is specifically for finished, sealed wood. Avoid using it on unfinished wood, particleboard, or painted surfaces, as the oil can soak in unevenly or cause discoloration.
- Rinse Thoroughly: Ensure all excess oil is buffed off to prevent a greasy feel or attracting dust.
- Ventilation: While natural ingredients, it’s always good practice to work in a well-ventilated area.
- Storage: Store any leftover mixture in a sealed container in a cool, dark place. It should last for several weeks.
- Allergies: If you have any allergies, be mindful of ingredients, though olive oil and vinegar are generally safe for most people.